Please note: This process requires Triggers, which is a premium feature. If you do not have Triggers, please contact your Account Manager for next steps.
Overview
This article will walk you through how to set up a welcome email for new subscribers. That way, shortly after a contact subscribes to receive your mailings, they receive a welcome email thanking them for subscribing with next steps (e.g. update preferences, get the latest news, check out upcoming events, etc).
Create a list for your Welcome Email
In your CRM or Vuture's Contacts Module, create a new list called "Vx Welcome Email". Please note, if you're using Vuture's Contacts Module or CSV lists, this should be a global list.
Important: It is important to create a new list, rather than repurpose an existing list, because as contacts subscribe, they will be added to the new list and be picked up by the recurring trigger to send the welcome email. If you were to repurpose an existing list, then everyone on the list will receive the welcome email the first time the recurring trigger runs.
*** You may need help from your Account Manager if you do not have access to your Subscription Form or if it is a custom form. This is typically found in a Container called "Global Forms".
To add contacts who submit your Vuture Subscription Form to the new "Vx Welcome Email" list, we'll need to reference this under Form Settings. Please follow the below instructions:
- Once you've navigated to your Subscription Form, click into the form to get the Form Editor Screen.
- Click on the "Form settings" tab

- Scroll down until you see the setting to add contacts to a folder or list. Please note, this is different for each CRM. Find the correct setting(s) below depending on your CRM integration:
-
Standalone Vuture (Contacts Module or CSV)
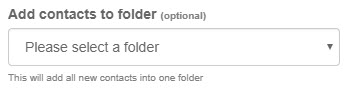
- Below is the setting you will want to to use to add contacts to a folder. From this drop-down, select the new "Vx Welcome Email" global list you created.
-
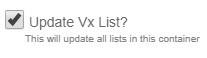
Please also check the box for "Update Vx List?" if it is not already checked.
-
InterAction
- Below is the setting you will want to use to add contacts to a folder. From this drop-down, select the new "Vx Welcome Email" list you created.
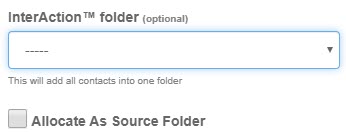
- Please note, you may wish to check "Allocate as Source Folder". This will set this folder as the source folder for new contacts. For more information on this setting, please click here.
-
OnePlace
- Below is the setting you will want to use to add contacts to a campaign in OnePlace. From this drop-down, select the new "Vx Welcome Email" campaign you created.
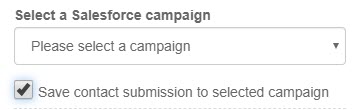
- Please also check the box for "Save contact submission to selected campaign" if it is not already checked.
-
Salesforce
- Below is the setting you will want to use to add contacts to a campaign in Salesforce. From this drop-down, select the new "Vx Welcome Email" campaign you created.
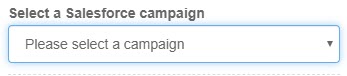
-
Dynamics
- Below are the settings you'll want to use to add contacts to the new "Vx Welcome Email" list. You'll need to select a Campaign and Marketing List.
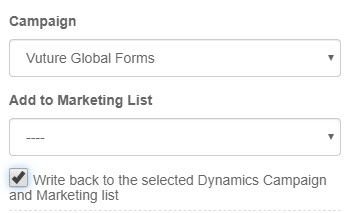
- Please also check the box for "Write back to the selected Dynamics Campaign and Marketing list" if it is not already checked.
- Click "Save" in the top right corner.
- Publish > Publish Now
Create a new email campaign for your Welcome Email
Create a new email campaign for your Welcome Email. You may wish to create a designated container called "Welcome Email' to keep everything nice and organized. You can also lock the container down so that only specific team members have access to this container/email campaign.
Your Welcome Email should include the following:
- A Thank You message for subscribing
- Next Steps that point them to areas of your website. This could include:
- A link to the Preferences Form, if they wish to share their areas of interest with you.
- A link to your About Us page on your main website.
- A link to the latest news on your main website.
- A link to upcoming events on your main website.
- A link to your LinkedIn page for following.
- Any other action you would like them to take now that they have subscribed to your mailings.
Friendly reminder to publish your Welcome Email once you're finished by clicking on the "Publish" icon > "Publish Now".
Setup a recurring trigger to send the Welcome Email
*** Please note, Triggers are a premium feature. If you do not have Triggers and would like to enable them, please speak to your Account Manager.
The final step is to setup a recurring trigger in your Welcome Email campaign to send the Welcome Email to newly added contacts on the "Vx Welcome Email" list.
Navigate to your Welcome Email campaign and watch the video below for steps. You can also follow along with step by step instructions here.
Step by step instructions:
1) Navigate to your Welcome Email campaign (if you're not already there).
2) Take a final look at your welcome email to make sure all the information is correct and all the links work properly. Once you've confirmed your happy with this, move on to step 3 to setup the recurring trigger.
3) To get to the Triggers screen, click on the Triggers icon.
4) Then click on the blue "+ New Trigger" button.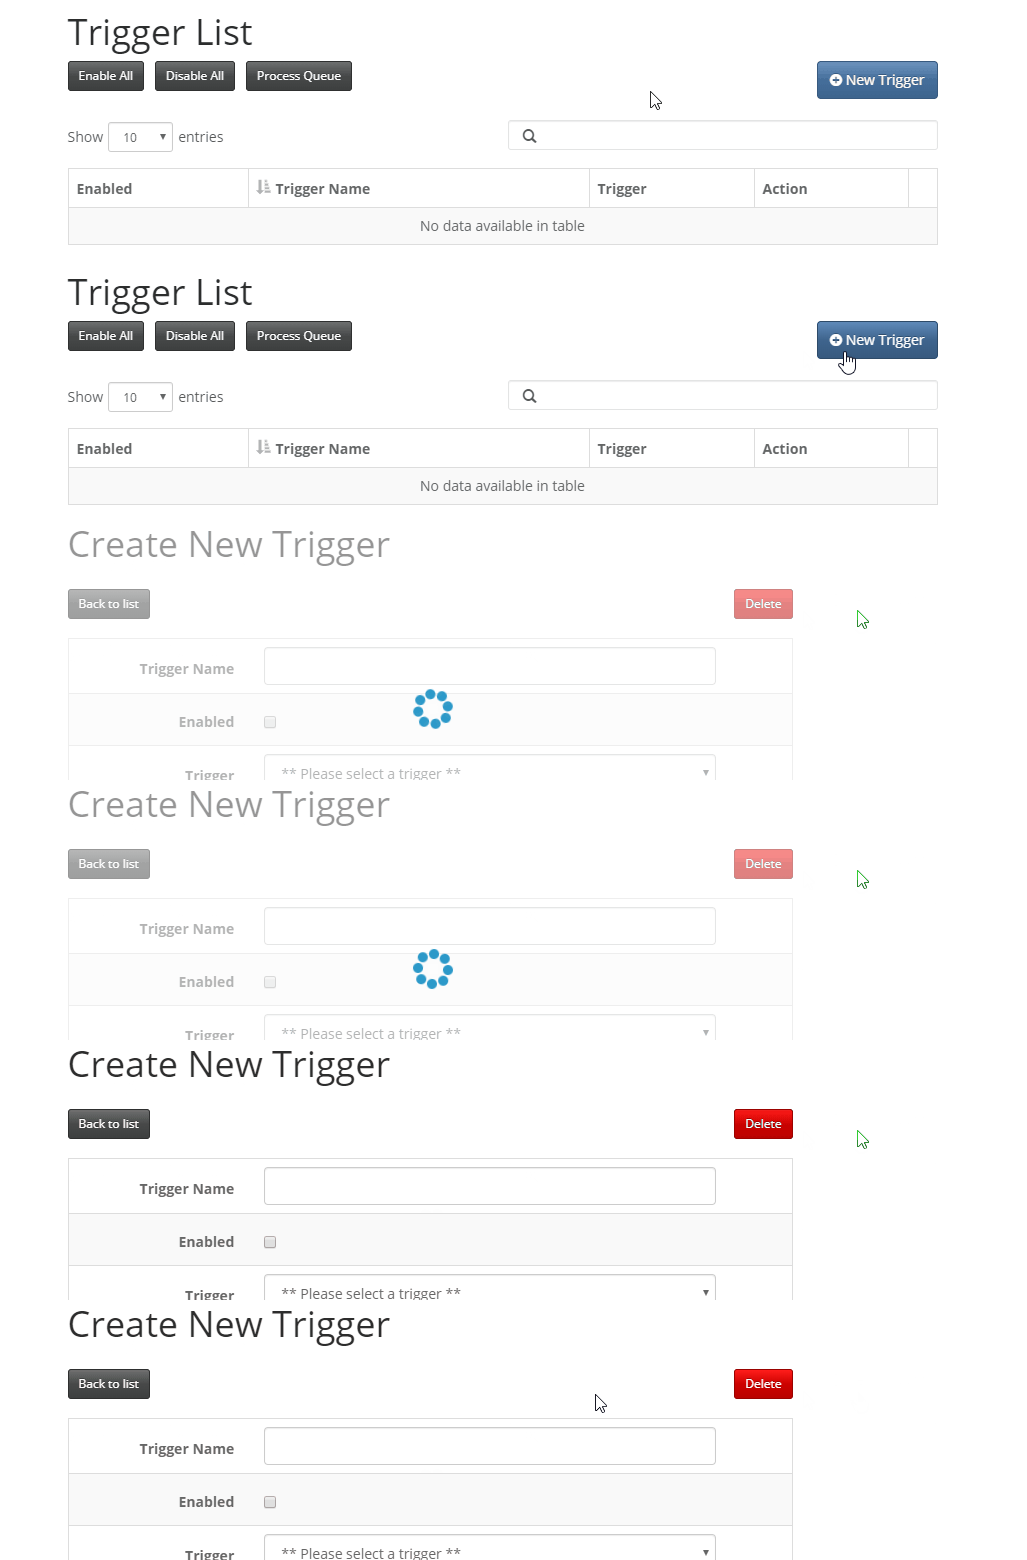
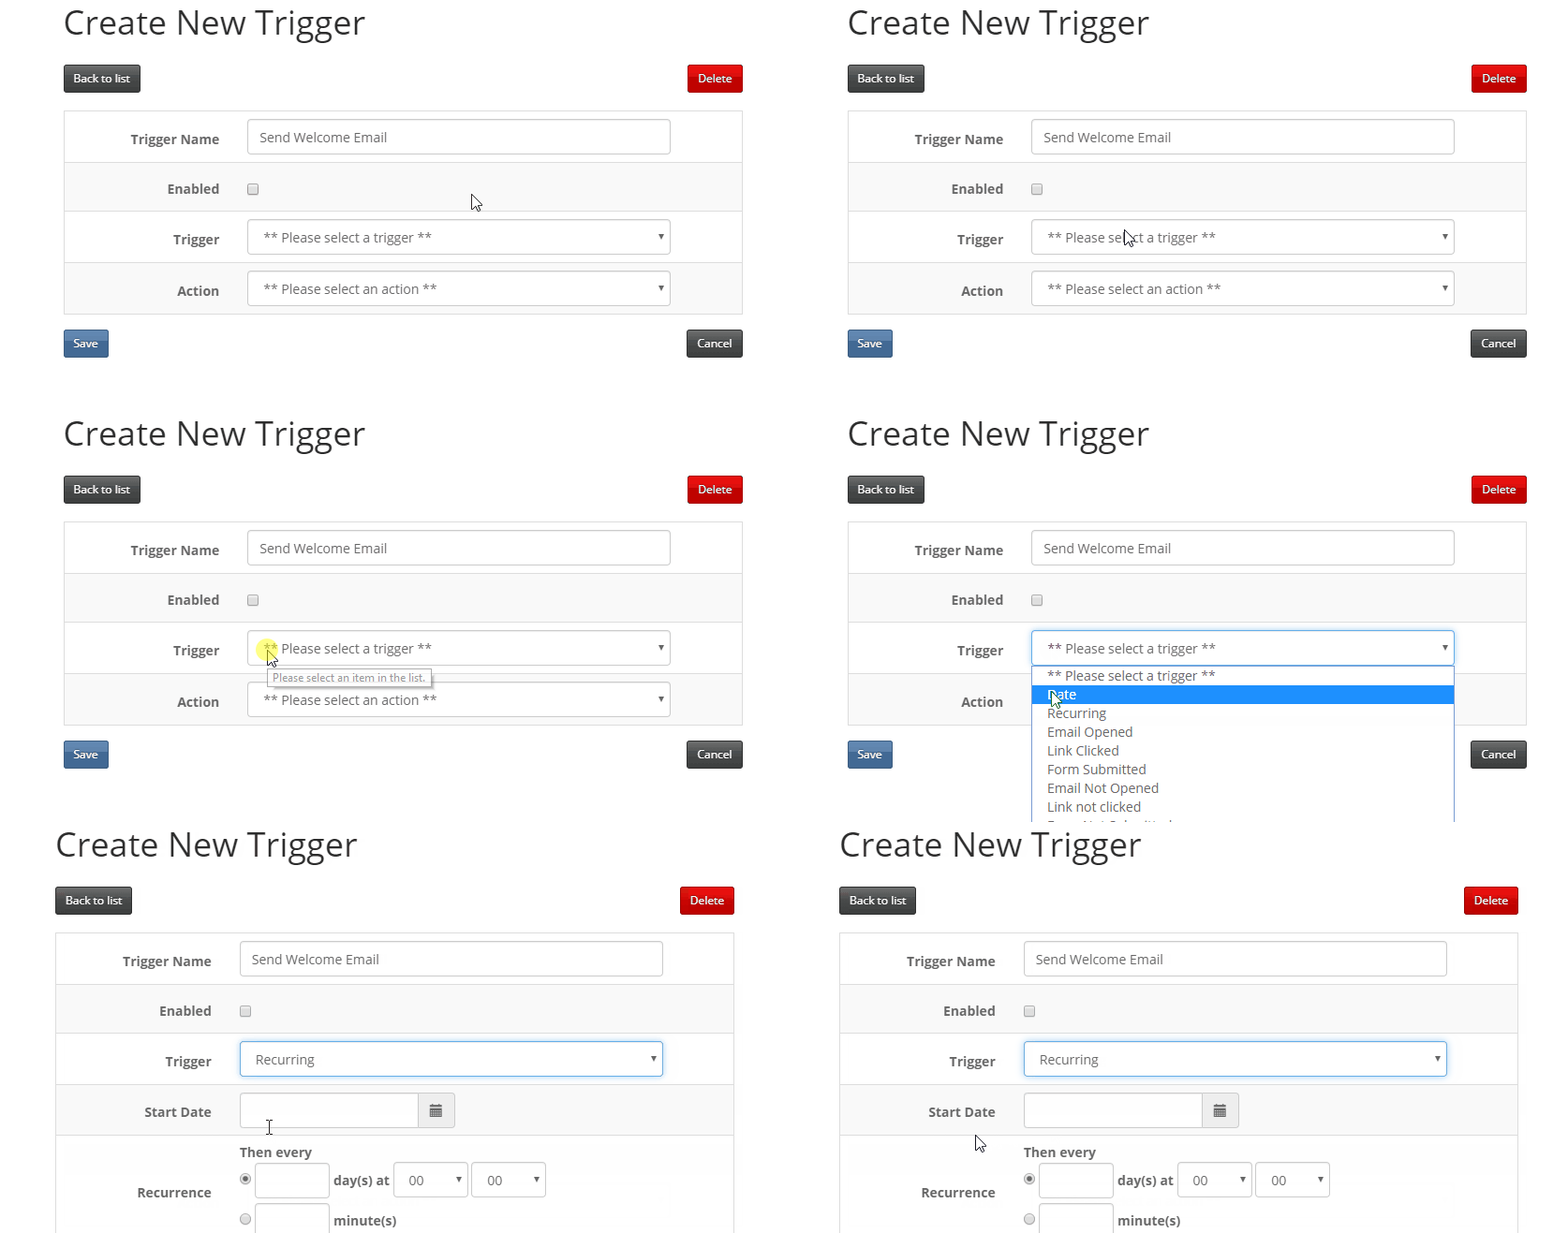
5) For the "Trigger Name" field, name this "Send Welcome Email"
6) Do not check the "Enabled" checkbox just yet. Leave this unchecked.
7) For the "Trigger", select "recurring" from the drop-down.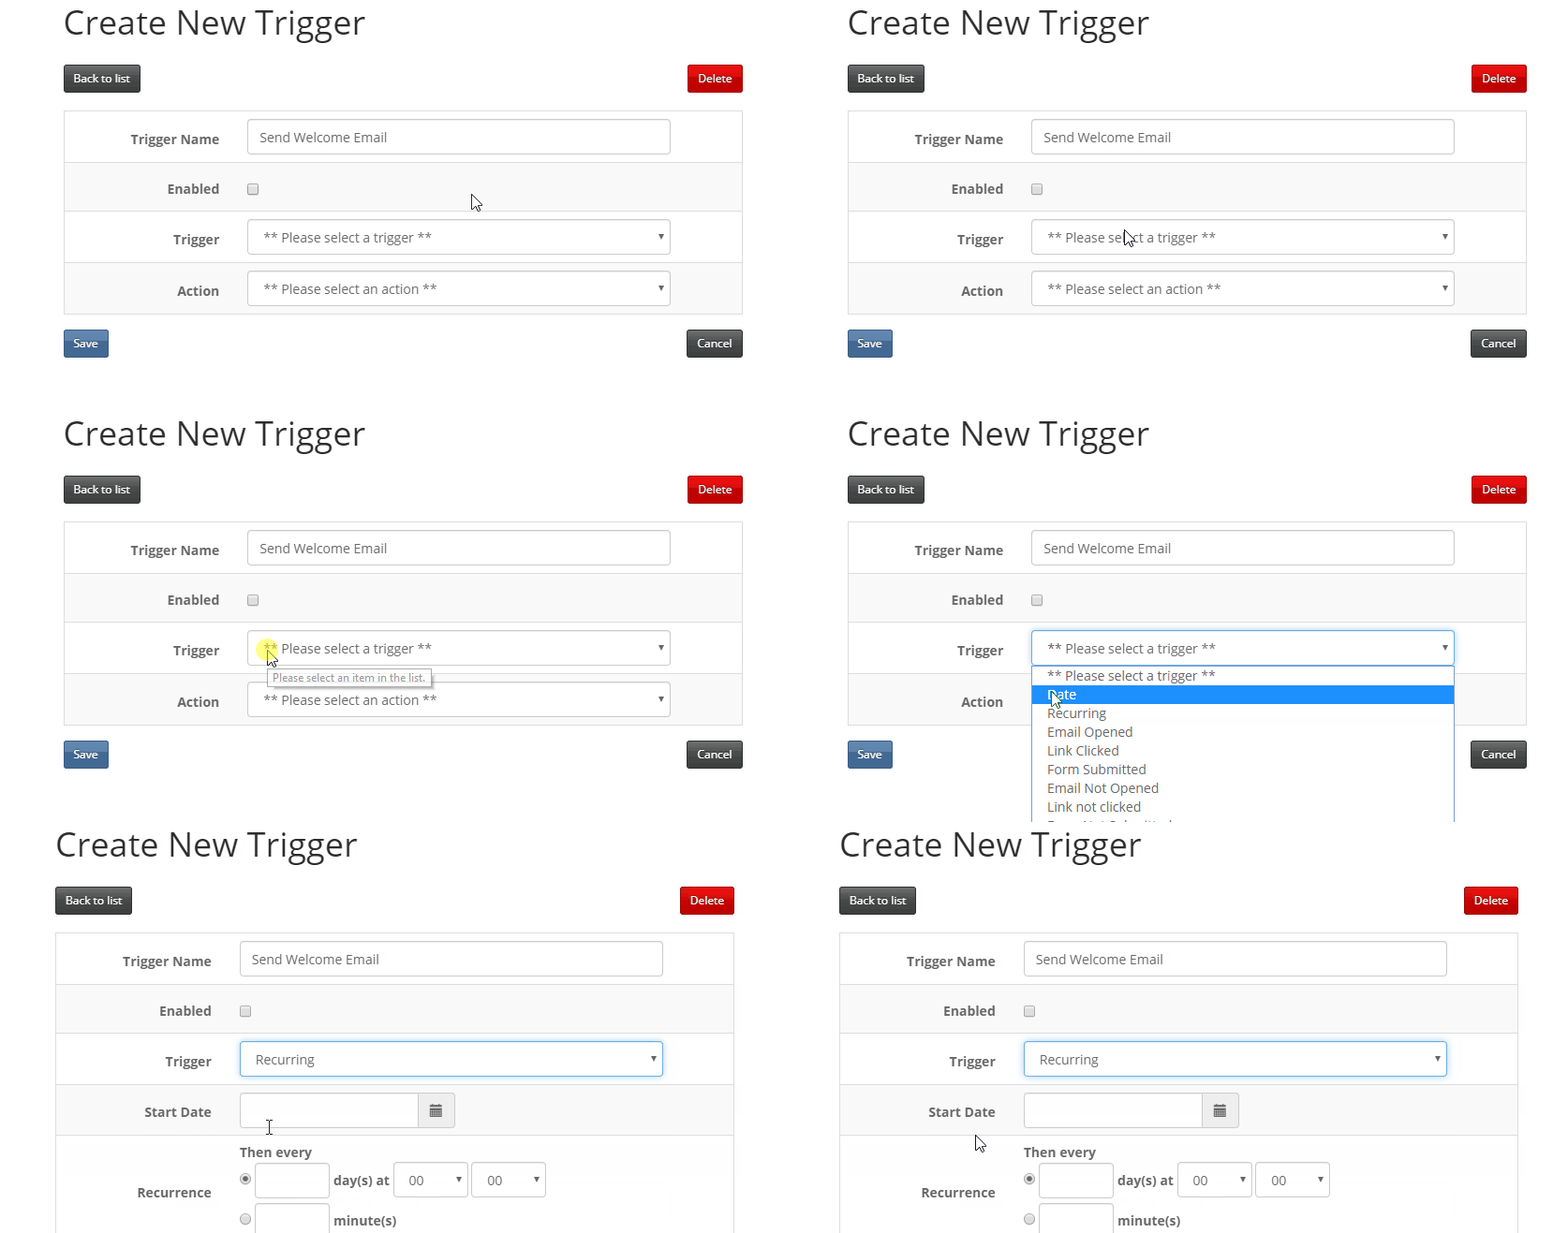
8) Choosing the recurring trigger type will add a few additional fields: Start Date, Recurrence, and End Date.
-
Start Date: Choose the date/time you wish for this trigger to start. This could be today at the time you're setting up this trigger, if you wish for it to start immediately.
-
Recurrence: Decide how often you'd like this trigger to recur. For example, if you set this to 60 minutes, the trigger will sweep through the "Vx Welcome Email" list every 60 minutes to look for new contacts. Please note, we do not recommend setting the recurrence time to less than 60 minutes. This should be set to 60+ minutes if using the minute(s) recurrence setting.
-
End Date: Select a date/time this recurring trigger will end. For Welcome Emails, we may want to set this far out in advance (e.g. 1+ year).
9) For the "Action" field, select "Send Email" from the drop down.
10) Choosing the action of "Send Email" will display additional fields: Email, From, Personalised From, Reply To, Subject, Email List Source, Email List, Filter, Send Confirmation Email. Please note: You may see other fields depending on your CRM integration. (i.e. Content type for InterAction).
-
Email: Select your Welcome Email from the drop down which should be in your Compose Email folder. This setting is telling the trigger which email you want to send.

-
From: Select your FROM address from the drop down. This is the FROM address that will be used for sending the Welcome Email. Please note: The email addresses in the drop down are dependent upon which FROM addresses are set for this container.

-
Personalised From: Leave this tick-box unchecked for your welcome email.

-
Reply To: (Optional) You have the option to enter in a Reply To address for anyone who wishes to respond to your Welcome email. Alternatively, you may leave this blank.

-
Subject: Type in the Subject Line for your Welcome Email. This subject line will be used when the trigger sweeps through the "Vx Welcome Email" list to send your Welcome Email to any newly added contacts.

-
Email List Source: Choose your CRM integration or "Vx" for standalone (e.g. CSV or Contacts Module). The data source you choose should be where you created the "Vx Welcome Email" list. Below is an example for clients using Vuture as standalone (e.g. CSV or Contacts Module).

-
Email List: Select the new "Vx Welcome Email" list you created as Step 1 of this Help Desk Article.

-
Filter: Leave this set to "No filter" for your Welcome Email.

-
Send Confirmation Email: Decide how often you'd like to be alerted that the trigger ran. We recommend setting this to "Send when at least one recipient", but you can read more about the different options here.

11) Click the blue "Save" to save your recurring trigger.
12) When you're ready to enable your trigger and start the Welcome Email journey, check the box for "Enabled".
Test
Test your Welcome Email by navigating to your Subscription Form and completing the form with a personal or test email address. Make sure you receive your welcome email in the time frame you set for the recurring trigger.
For example, if you submit your Subscription form at 1:00PM and your recurring trigger is set to every 60 minutes, you should receive your Welcome Email between 2:00PM and 2:30PM to the email address you tested with.
