New for 2019 - Payment formatting v2 gives users the ability to edit the text in the "Payment Instructions" and "Confirmation Message" sections of the payments pages, without using html.
To see the new option, ask your AM to update Admin.System.Payments.Payments formatting to version 2.
This will enable the following formatting options in two areas only - Payment Instructions and Confirmation Message:
- Add Bullet points
- Add numbering
- Add Hyperlinks
- Change text to Bold / Italic / underlined
- Text justification

Please note: when working with multiple payments pages, you can format the Payment Instructions to be in different styles. However, you can have only one formatted Confirmation Message page per campaign.
You can still use html on these pages if you wish.
Introduction to Stripe
The Vuture Payments Module uses Stripe as the payment processor. Stripe is the most widely used payment processor for technology companies and the platform that most new technologies are based upon.
You will need to set up your own Stripe account.
Visit https://stripe.com to sign-up to Stripe and for details of their fees (a small % per transaction).
Once signed up for Stripe please provide Vuture with your Stripe secret live and secret test keys, or with the Stripe live public and test public keys.
Click here to learn more about the Security of Stripe
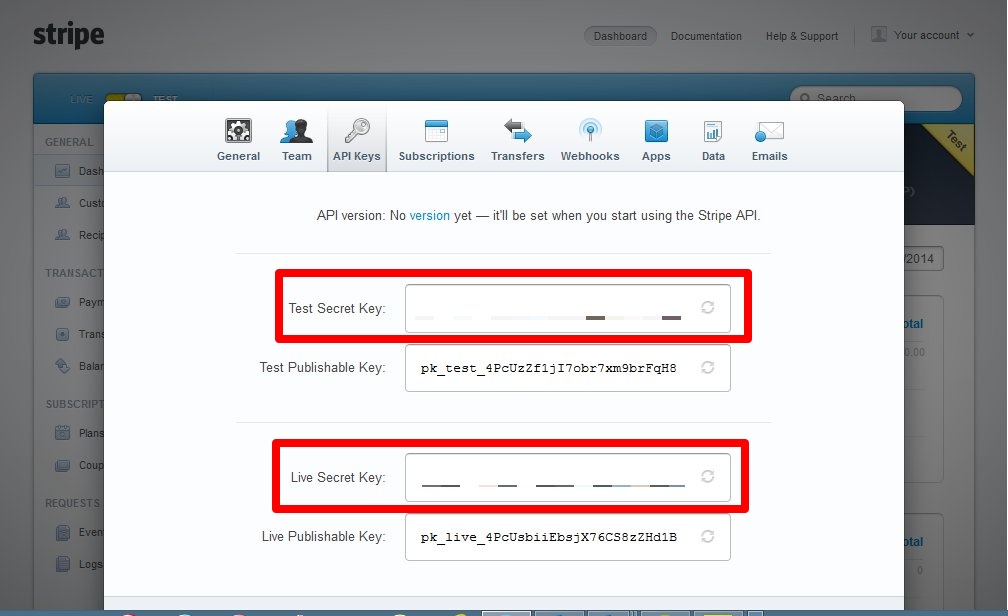
Your Vuture Administrator will turn on the payments module by going to System.Payments, enabling the payments module and adding the Stripe secret live and secret test keys, or the Stripe live public and test public keys
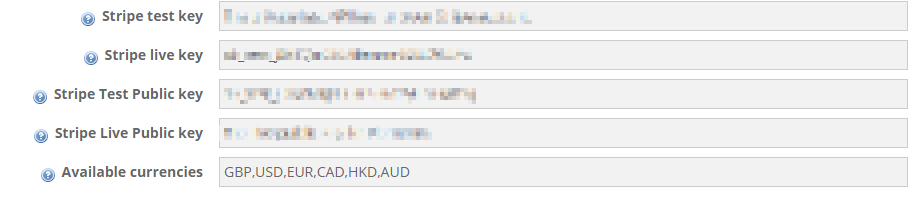
The list of available currencies can be modified to remove any currencies that are not required or leave the default setting which allows: GBP, USD, EUR, CAD, HKD & AUD.
Please contact Vuture Support it you have additional currency requirements.
Branding

You can use your own logo on the payment page. Please provide your logo as an image either 210px or 420px wide. It should be uploaded to a Vuture folder in an admin container (choose one where it will not be deleted) and the URL of the image entered into the "Logo URL" configuration setting. The URL can be an external URL but make sure it is HTTPS as the payments pages are loaded over HTTPS and some browsers will give a security warning on the payments page if the image is not loaded over HTTPS.
You can also enter your brand colour in hex format (e.g.#CCCCCC) which will be used as the background of the masthead and should match your logo.
Role-based Access
For each user role that you want to give access to create and edit payments pages, you will need to enable the feature "Admin.Roles.Email Campaigns.Manage Payment Information".
Please contact your Account Manager with the roles that require access so this can be configured.
