This article covers all aspects of managing images in your emails and landing pages including uploading, tagging, using and deleting images.
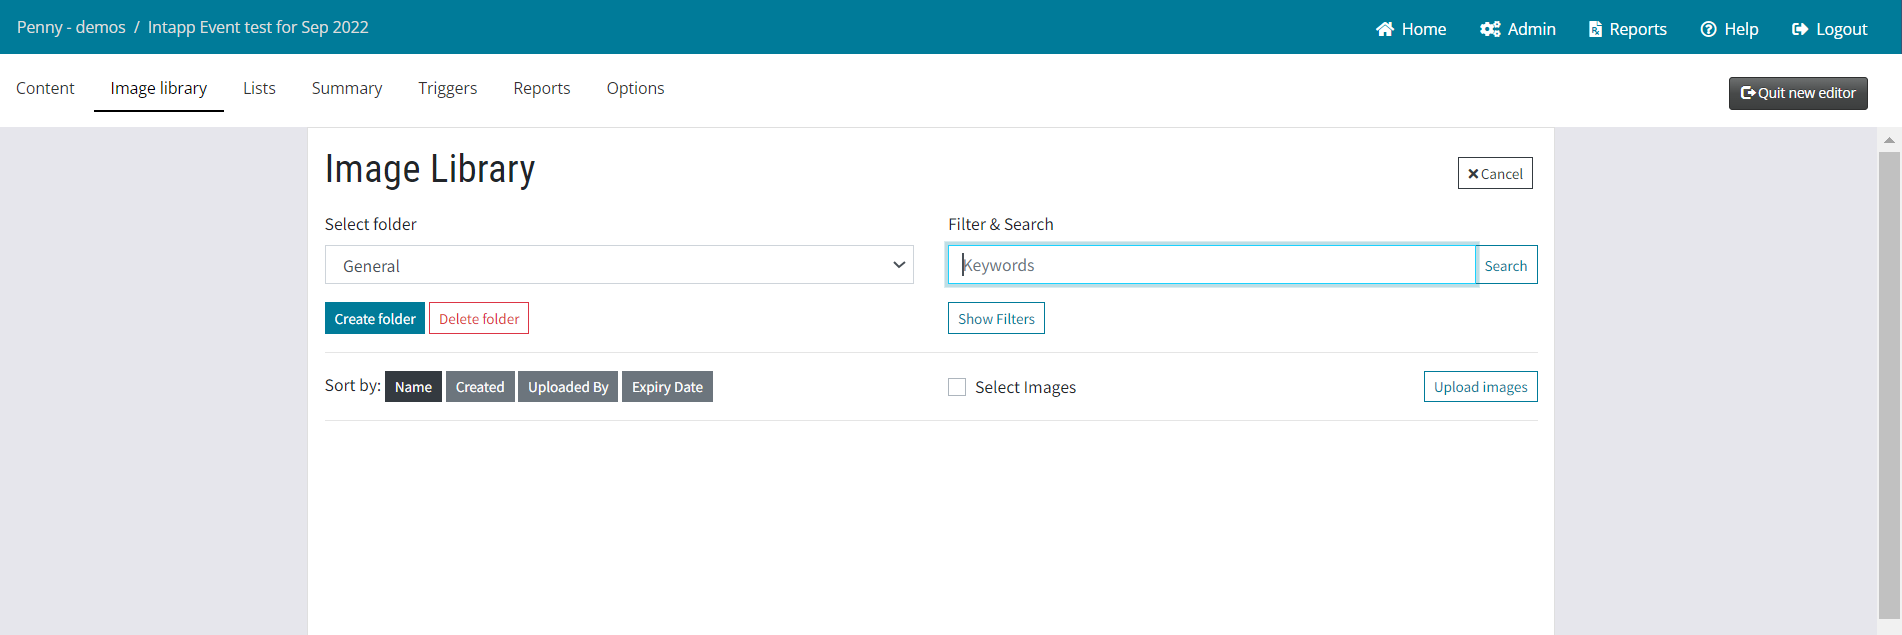
The user interface for the Image Library was updated in the newly refreshed Campaign Editor screens (image below). All functionality remains the same so all further images in this article are for the previous version of the user interface.
Overview
The Vuture platform has a built-in Image Library that allows you to upload and manage images. You can make these images available either globally or in specific containers.
You can access the Image Library by clicking on any image in your email or landing page.
Contents
Important: If you find that your uploaded images are blurry, please review this
Help Desk Article for best practice to avoid this from happening.
Global vs. Container Image Library
There are two types of image libraries built into the Vuture platform: Global and Container.
Important: To maintain access to your images, please ensure that the Global and Container Image Libraries have different names.
The Global Image Library allows you to access images globally, regardless of what Container you are in. Within this image library, you may create folders for different types of images that should be available globally. For example, you may wish to have a "Bio" folder that includes all bio photos of your attorneys or fee earners.
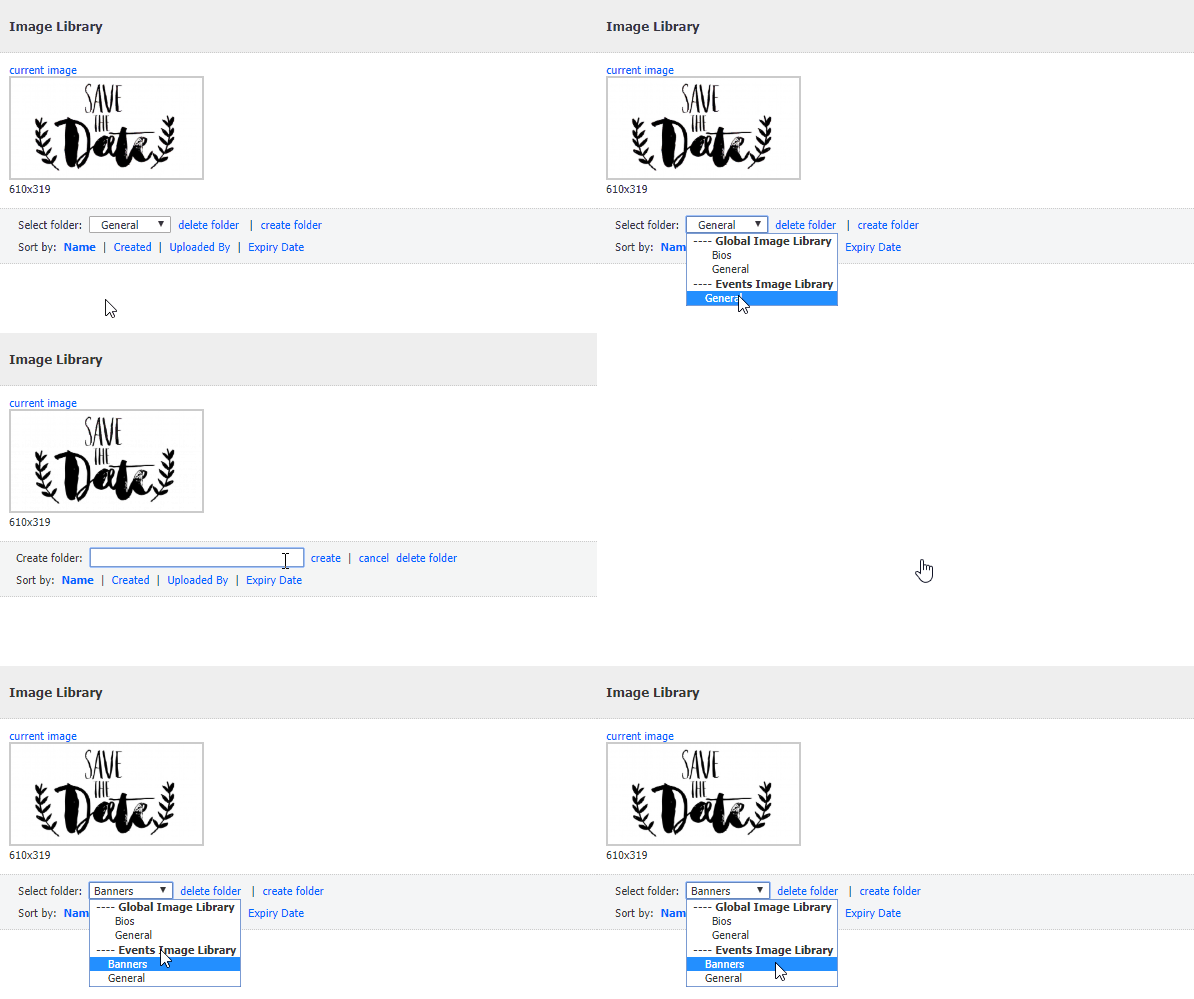
The Container Image Library allows you to access images in that container only. Within this image library, you may create folders for different types of images that should only be visible in this container. For example, you may wish to have a "Banner" folder that includes banner photos which should only be used for this Practice Area, Department, or type of mailing.
To create a new folder, you'll first want to decide if it should be a Global Image Library folder or a Container Image Library.
- If you wish to create a Global Image Library folder, click into the "General" folder under "Global Image Library". You are now in the Global Image Library. Then click on "create folder", give it a name, and click "create". You will then see your new folder under the Global Image Library.
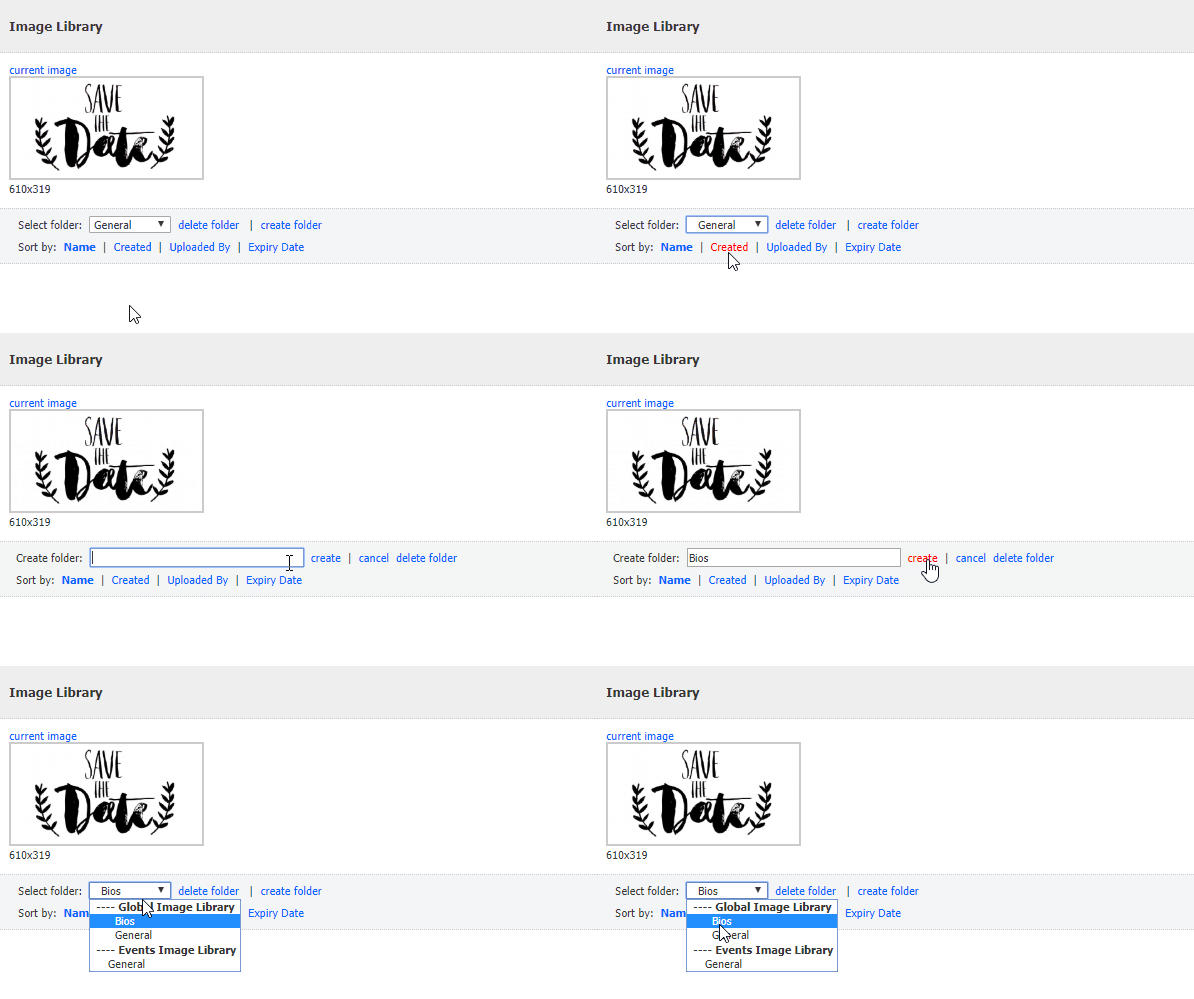
- If you wish to create a Container Image Library folder, click into the "General" folder under "Container Name Image Library". For example, if I am in the "Events" Container, it will read "Events Image Library". You are now in the Container Image Library. Then click on "create folder", give it a name, and click "create". You will then see your new folder under the Container Image Library.
Renaming a Folder
It is not possible, once a folder has been created and named, for you to rename a folder yourself. It can be done, but you will need to contact your CSM and ask them or Support to do it for you in the back end of Vuture.
Upload Images
- Select the folder to which you want to upload the images using the Select folder drop-down.
Images that are in the Global Image Library will be available across all containers. Images in the Container Image Library will only be available within that container.

- Click on Click here to upload images on the right hand side.

- Click Choose files and select the files from your computer you want to upload. You can select multiple images.
- You can follow the previous step as many times as you need.
- Click Start upload
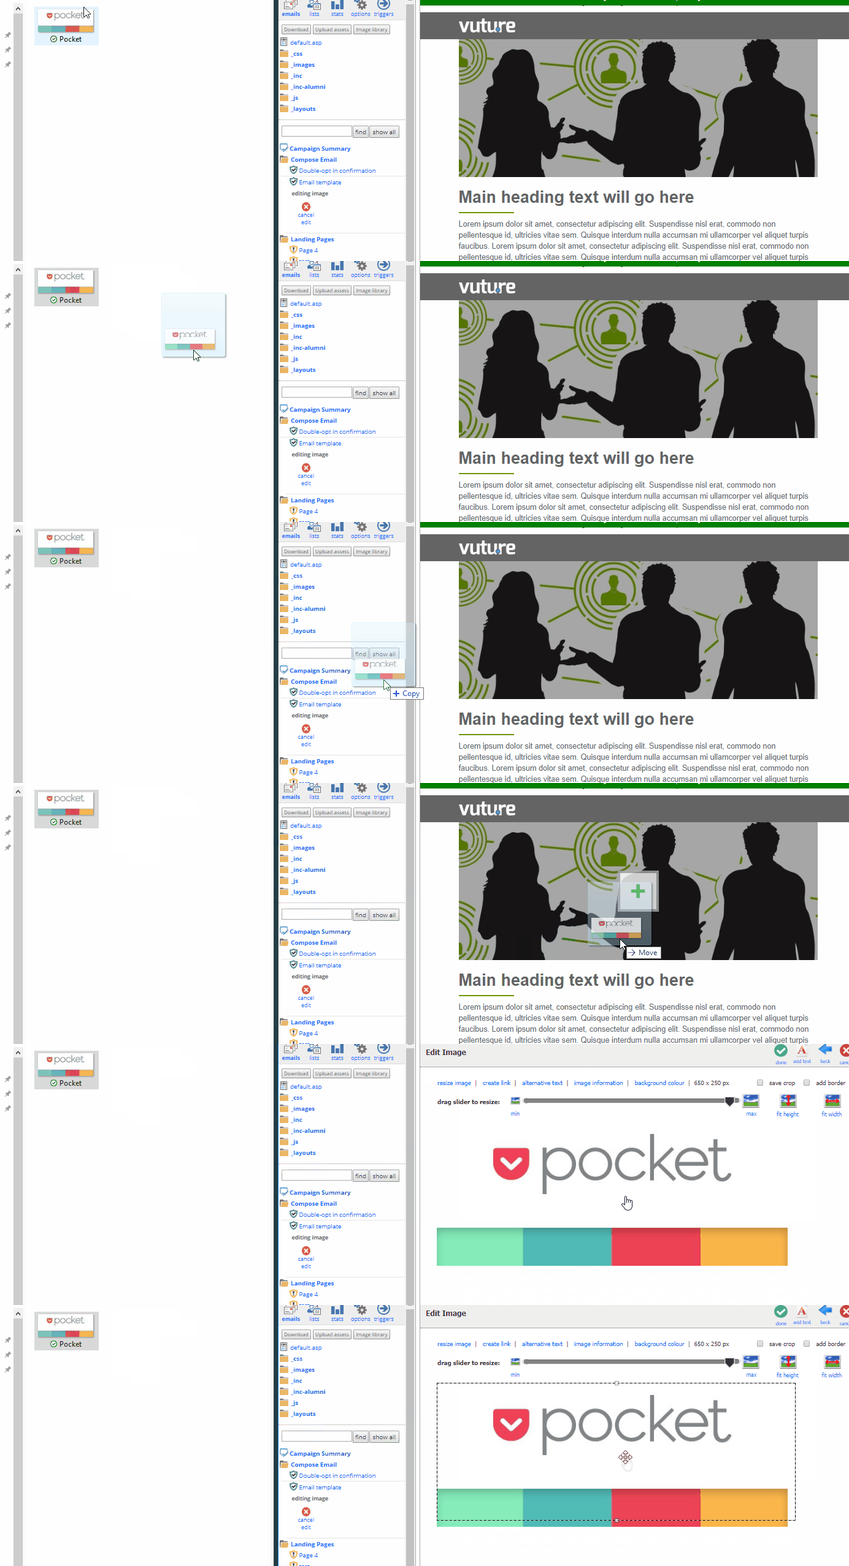
- Alternatively you can also drag an image from your computer directly into the image in your email or landing page. This feature uploads images into a container-level folder called "Uploaded images", creating this folder automatically if it does not already exist. If the image manager does not load ask your Account Manager to enable it by going to "Admin>System>EditOptions>Check Enable drag and drop image upload".
Allowed Image Formats: JPG, GIF, PNG, EPS, TIF and PDF are allowed by default. If you need to upload other file types ask your CSM to add them to Admin>System>FileUpload>Allowed File Types
Maximum Image Size: The default maximum file upload size is 30MB. If you need to upload larger files please get in touch with our support team.
Limiting the Containers to which users may upload images: Generally, all users who have the Role "Upload Images" checked, may upload images to any container, including Global Containers. If you wish to restrict this access so that Admin users, for example, may only upload images to the containers they commonly use, this is now possible.
If you wish to restrict this access, so that Admin users cannot upload images to Global containers, ask your CSM to uncheck the option Admin.Roles.Upload to Global Image Folders.
By default, this is checked for Super Admin and Admin roles but you now have the option to choose.
Search, Filter and Sort Images
- You can search for images in the selected folder by entering your search in the Keywords box and clicking Search

- You can filter images in a given date range by the date they expire (if you have set expiry dates) or the date they were uploaded.

- You can sort images by "Name", "Created", "Uploaded By" or "Expiry Date" by clicking on the link.

Delete Images
If you want to delete an image simply click on delete directly underneath the image. 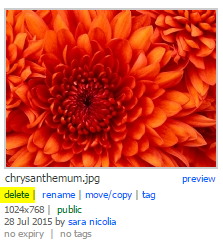
You can delete multiple images at once by enabling the "Select Images" checkbox, selecting multiple images and clicking on "Delete selected images"
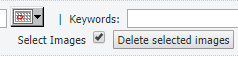
Note: You can only delete an image from its parent container. If it is shared with other containers you will see a plus icon in the top left and can hover over to get the parent container. You have to then manually navigate to that container to delete it.
Replace Images
If you want to replace an image with another, click on replace directly underneath the image. The new image will keep the existing name.
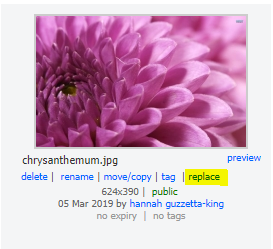
This feature will be of use when dealing with partner profile pictures, for example. To save your image library filling up with old, outdated pictures, which may be selected by mistake in the future, this option will directly replace one image with another in the library only. It will not replace any images already in use on pages and landing pages.
Rename Images
- You can rename your images by clicking rename underneath the image.
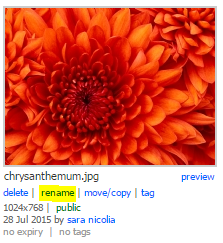
- Once you've renamed the image click save
Move or Copy Images
Trying to figure out the best way to handle your images if you are updating your Container Structure? Check out this article.
Tagging Images and setting an expiry date
The tag image functionality allows you to set an expiry date on images and tag images with your own custom tags.
Expiry Date
If you use images that you have purchased, they might have an expiry date after which you are not allowed to use them. You can set an expiry date for an image in Vuture by clicking on tag and setting the expiry date there. Once the expiry date is reached, the image will not be deleted from the library or from any emails or landing pages but users will be prevented from adding the image into any further emails or landing pages.
Note that if you have already added an image into an email and the image has now expired you will need to manually remove it from the email.
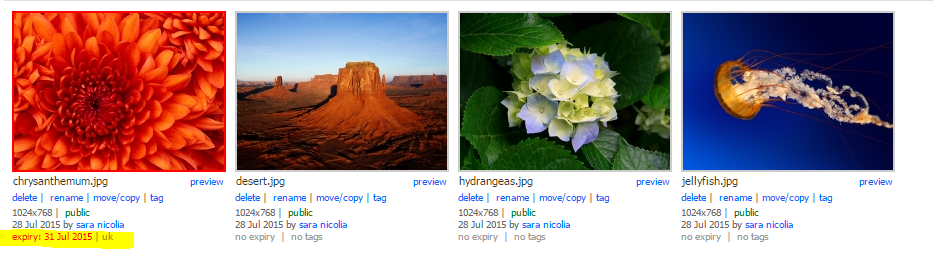
Tagging Images
You can tag your images to make it easier to find them in the search.
- Click on tag underneath the image
- Select the required tags from the tag category drop-down
- click save.
You can manage your Tags and Tag Categories by going to Admin>Tags. If you don't have access to tags get in touch with your Account Manager or support.
Cropping and Inserting Images
Once you are ready to begin working on an image you can simply click on the thumbnail of the image within the image library.
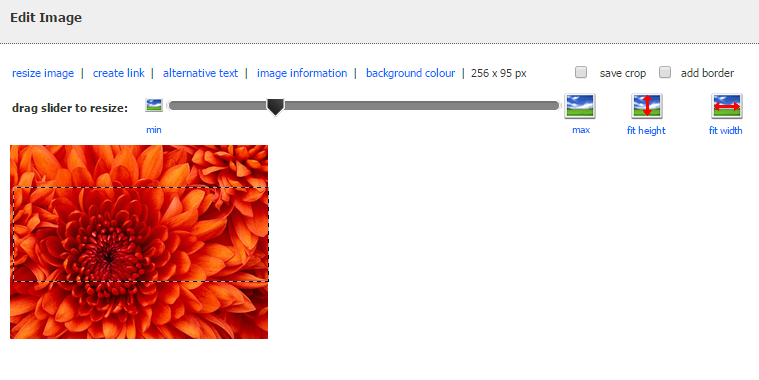
You will then see a dotted line which indicates the size of the image in the snippet. You can click and drag a new crop of your image and resize your image using the slider.
Once a new image is selected, Vuture will automatically try to resize the image to fit the space available. You can use the controls to resize and crop the image. Change the size of the image by dragging the slider bar. Select which part of the image you wish to crop by moving the crop box.
Use the max, fit height and fit width buttons to automatically resize the image.
"create link" turns the image into a link with the same options as in the text editor.
Ticking "save crop" will crop the image as normal into the page but it will also make a copy of the selected crop and save it into the same image library folder.
It will be visible when you go back to the image library so you can select it and use it again later without having to recrop.
Use a Vuture setting to help improve quality
If you find that images are not appearing as expected, you can ask your Customer Success Manager to add a setting to force the cropped image to be twice the size of the placeholder (unless the original image is less than twice the size of the placeholder) so it scales down more efficiently on the screen of the end user. The setting is found in Admin.System.Image library.High Res Scale Factor (recommended setting: 2)
Adding Alternative Text
"alternative text" is used to give the image descriptive text otherwise known as an alt tag. Alt tags are best practice because when the email recipient has images switched off they will only see a white square with a red x in one corner, plus the image .jpg name. If you give an image an alt tag your email recipients will see the alt tag and understand what the image is intended to portray. This is useful for visually impaired website users, visitors with images switched off and for search engines.
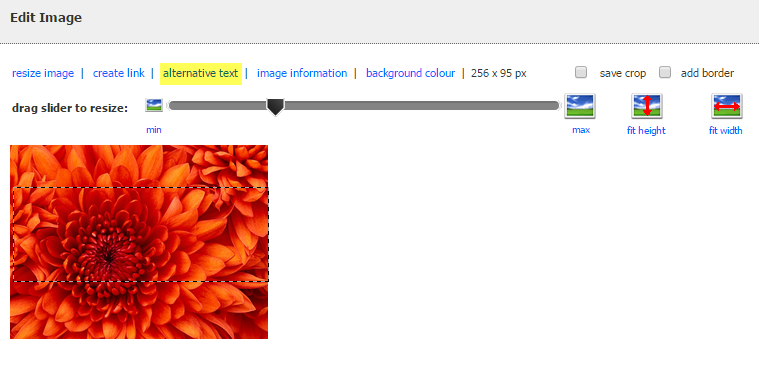
Note: By default, adding an alt tag to each image is optional. If you wish to make adding alternative text to an image mandatory, please ask your account manager to enable it at "Admin.System.ImageLibrary.Make Alternative Text mandatory". This will affect all images in your instance so you may want to warn your users before taking this step. Once this is enabled, whenever a user goes to add/upload an image in a campaign (past or new), they will be prompted to add in the ALT Text.
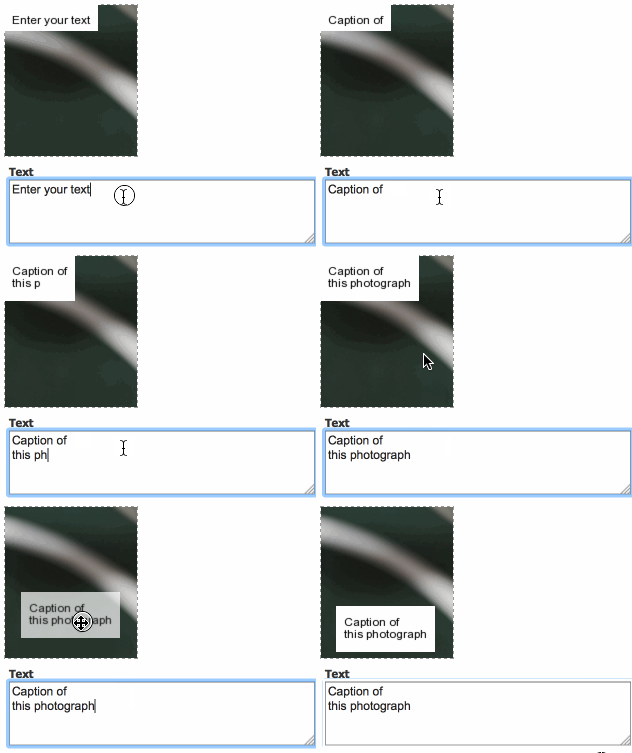
Adding text over images
You can add text over images.
Click on add text from the top right-hand side of the image editing screen.
Type in text and drag it to where you would like the text to sit.
You can change the colour of the text based on your brand colours. These are configured as part of your system setup.
You can rotate the text.
Click done to save.
Any TrueType or Open Type fonts can be used as long as it is installed on the web server and is not required on the client computer. Please contact us if you need an additional font.
Colours are picked from your corporate colour swatch which is set up by your administrator.
