Overview
Create follow up emails for events using Filters. Filtering looks at the CRM Entity that writes back to in real time, vs. forms submitted. Working this way means that if a contact has been updated manually in Dynamics, the correct up-to-date data will be captured.
Contents
Prerequisites
You need to have v2 of the Dynamics integration.
Creating Filters
Filters are created in the Send screen in the Vuture platform.
- In your published email click Send.
- On the Email setup tab, complete the standard fields for sending an email
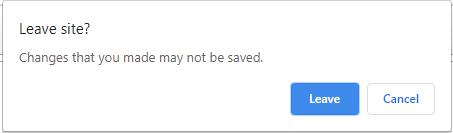
- Click new filter
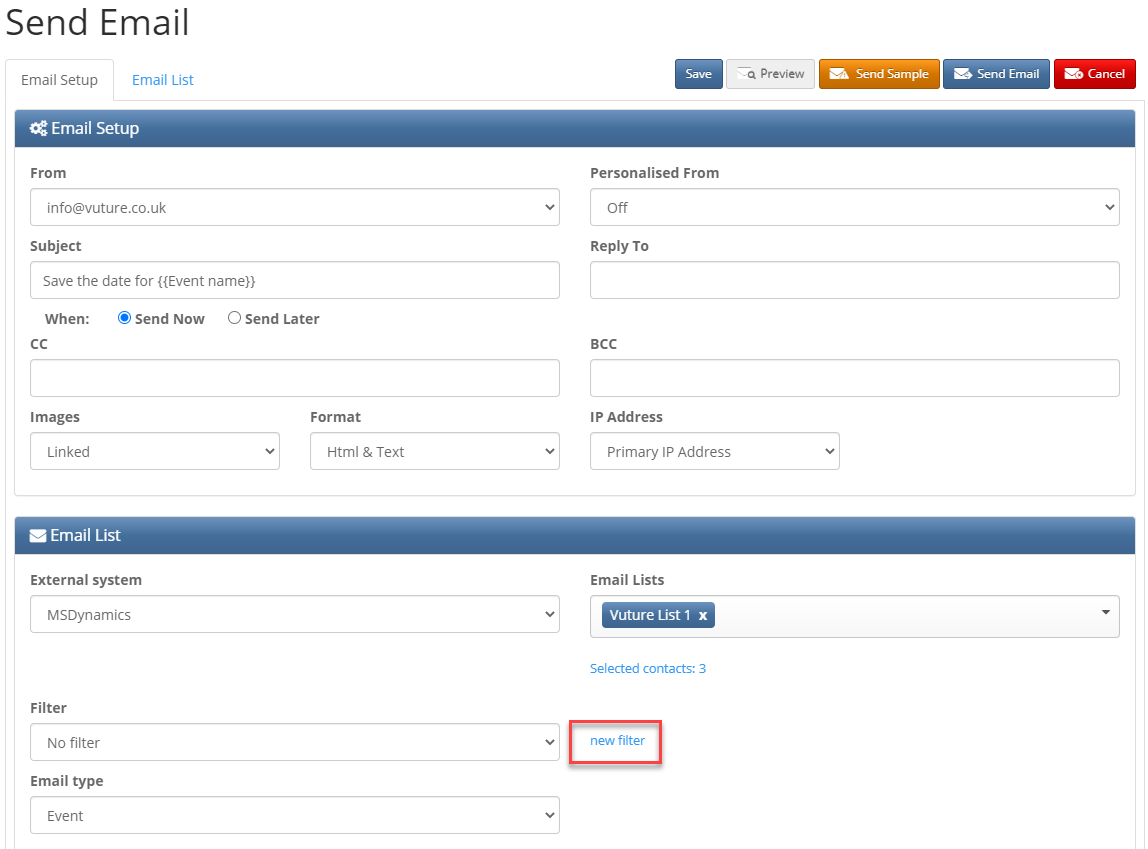
- At the prompt, click Leave
The Add Email Filter screen appears.
- Type a descriptive name for the Filter, in this example we are going to filter on those who have not yet responded to the RSVP field, and we will type 'RSVP is empty'.
- Select a Campaign Filter.
Note: If creating a Container filter, when there are many campaigns in a container, it is best practice to add the campaign name at the beginning of the Filter name so you are clear to avoid confusion and using the incorrect list.
It is important to note that there are 3 Entity's to select from, Contact Core Fields, Contact and Vx RSVP.
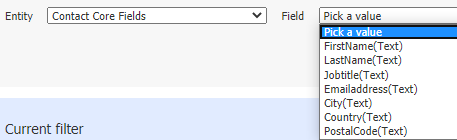
The Entity Contact Core Fields: contains the core fields such as FirstName
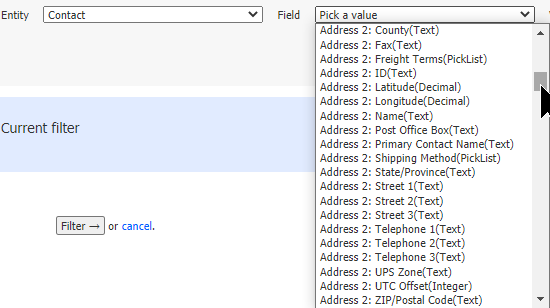
The Entity Contact: contains all contact information such as Address, Phone details etc.
The Entity, Vx RSVP: holds all the Custom fields, and Vx_RSVP(Boolean) field that records in real time all the Accepts, and Declines.
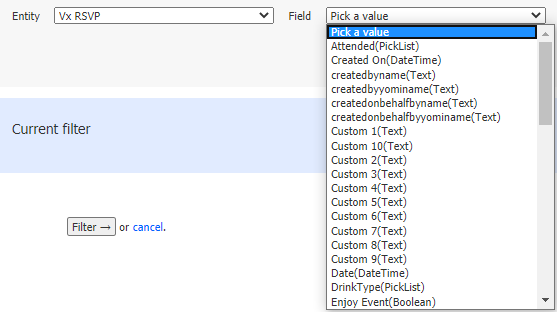
- To continue to setup a filter for those who have not yet responded to the RSVP field, select Vx RSVP from the Entity.
- Click into the Field drop down list and select Vx_RSVP(Boolean)
- From the Value select Is (unless this is changed to Is Not) select the desired option, in this example <Empty>
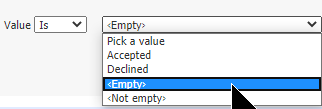
- Click Add to the far right, then click Filter to return to the Send window with the Filter applied.
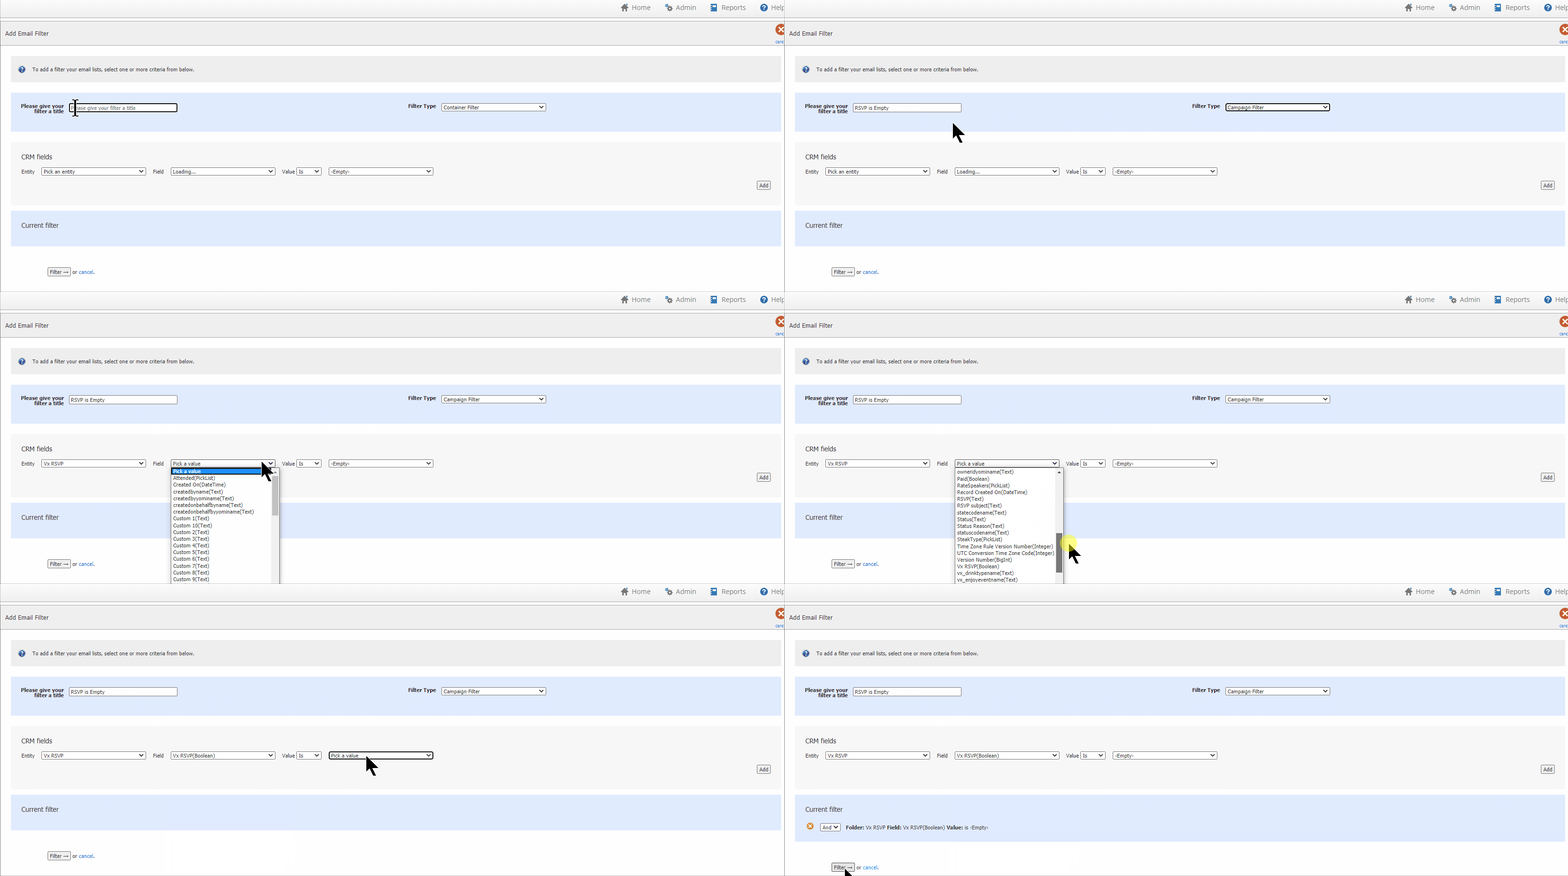
Please see below animated GIF (click to expand) on how to create a filter for those who have not yet responded to the RSVP field. You may then use this filter to send a Reminder to Register email just to these contacts.
When you are returned to the Send screen the Filter you just created is applied to the list.
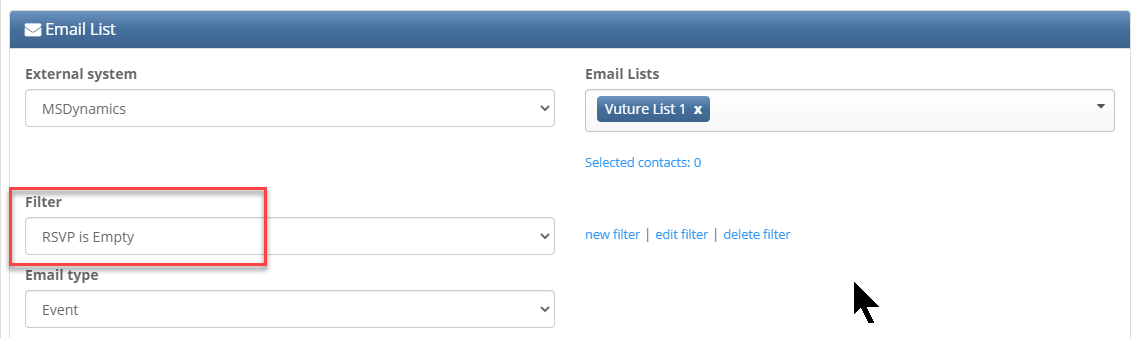
- Click the Email List tab to view your list with the filter applied.
- Click Send to complete the send with the Filter applied.
Editing Filters
Filters are edited in the Send screen.
- In your published email click Send
- On the Email setup tab, complete the standard fields for sending an email.
- Click the drop-down arrow of the Filter field and select the Filter to be edited.
- Click edit filter.
The Add Email Filter screen appears
- To remove the current filter condition click the white x in the orange circle
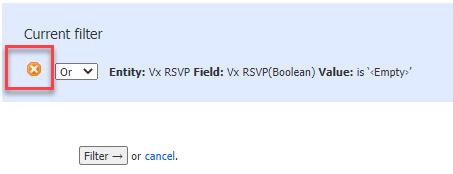
- Select the desired Entity, Field and Value, then click Add
- Click Filter to return to the Send screen with the edited Filter applied.
Deleting Filters
Filters are deleted in the Send screen.
- In your published email click Send
- On the Email setup tab, complete the standard fields for sending an email.
- Click the drop-down arrow of the Filter field and select the Filter to be deleted.
- Click delete.
