Overview
This Help Desk Article will walk you through how to setup a Preferences Form in Vuture with InterAction.
Contents
Simply put, a Preferences Form is a prefilled form in your Vuture platform, where subscribed contacts can update their contact information and show interest for different areas of preference.
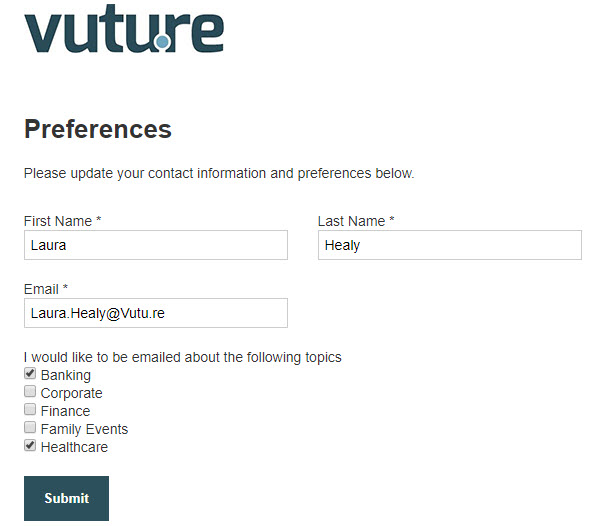
Upon receiving an email sent from the Vuture platform, the contact can click through to the Preferences form. This form will prefill with the contact information you have held against them in InterAction. If they need to make edits to their contact information, they can do so on this form. Once submitting the form, the contact information will be updated in InterAction for that contact - following any DCM rules in place.
The contact can show interest in a specific area or topic (i.e. Banking, Corporate, Finance, etc.). These "areas of interest" are marketing lists in InterAction and are used to better understand your contacts' interests. This can help you to build targeted lists based on those who are interested in a specific area. For example, if you are running an event for Banking, you could pull the contacts from this 'Banking' Marketing List to create a more targeted invite list for the event within InterAction.
How does the 'areas of interest' section work?
Upon receiving an email sent from the Vuture platform, the contact can click through to the Preferences form. To show interest in a specific area or topic, they simply check the box and hit submit. Once they've hit submit, this contact is added to that Marketing List.
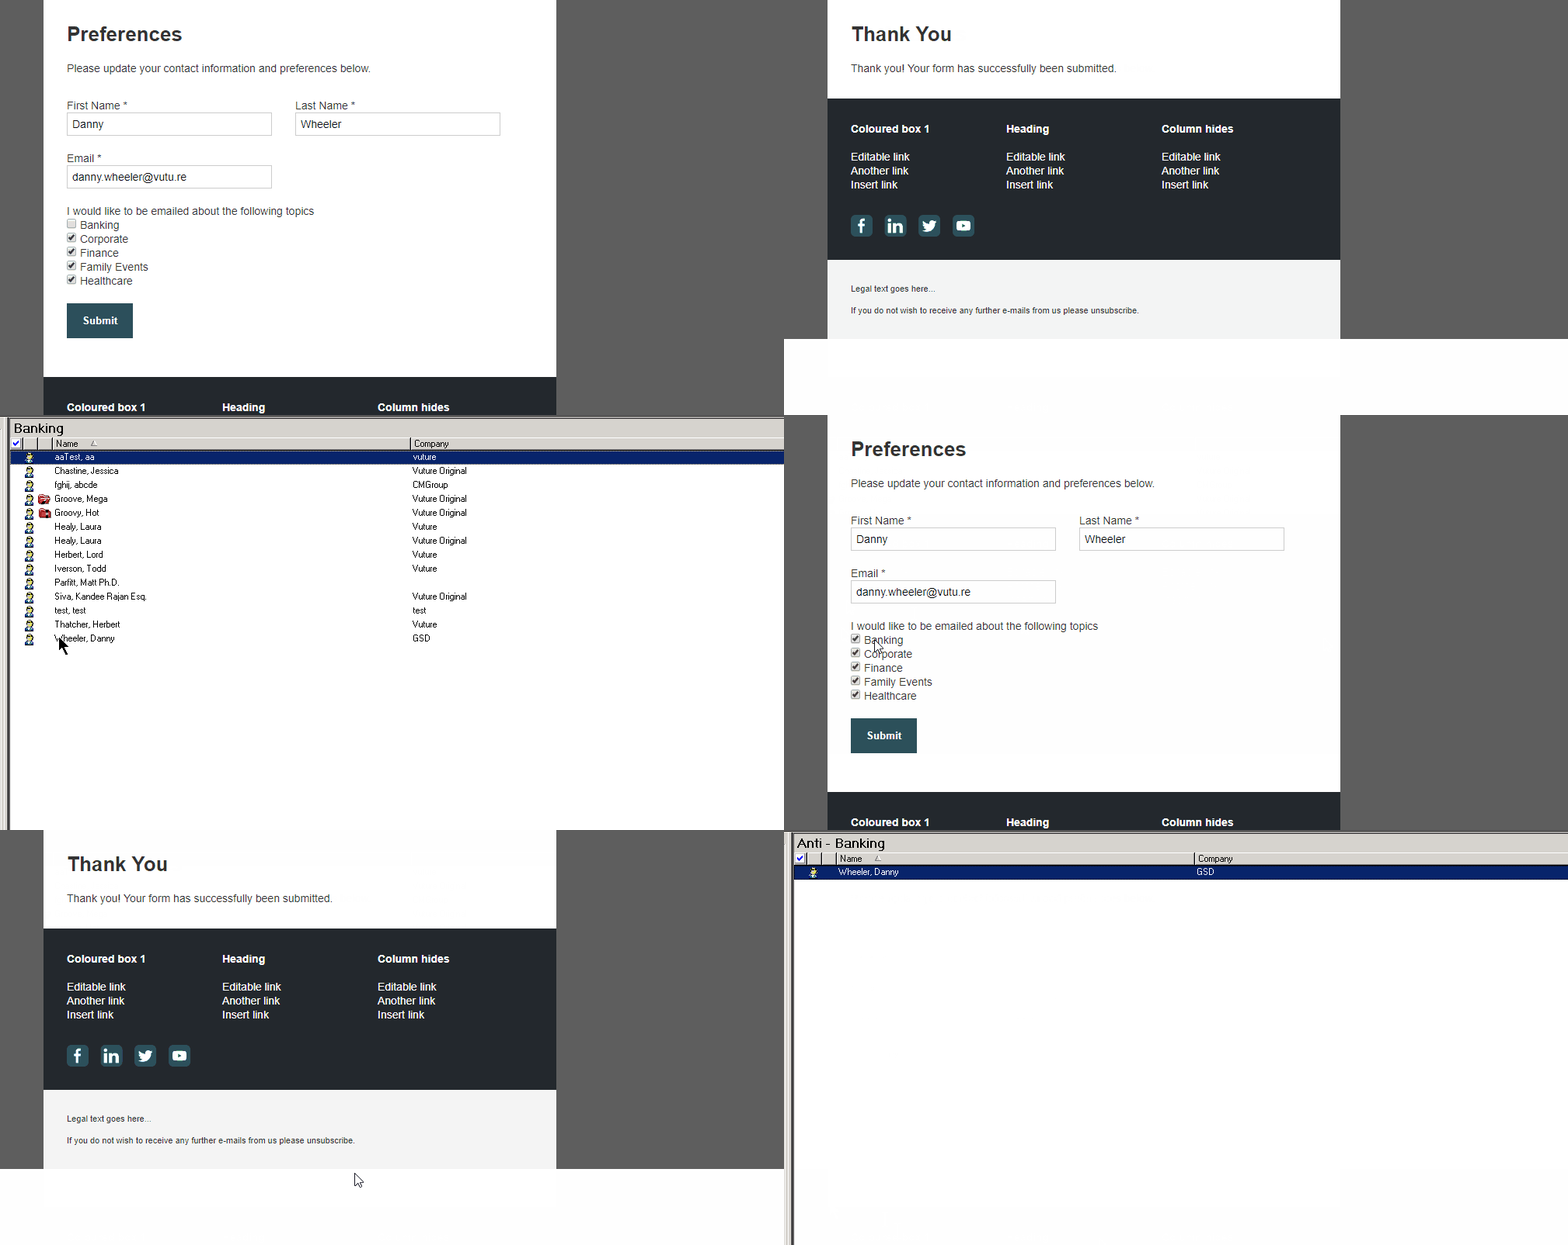
For example, if our contact Danny, checks off 'Banking' and submits the form, he is added into the 'Banking' Marketing List in InterAction.
If the contact later decides they are no longer interested in that area of interest or topic, they can return to the Preferences form by clicking through an email they received via the Vuture Platform. They can then simply uncheck the box for that area of interest and hit submit. Once they've hit submit, this contact is removed from that Marketing list and added to an Anti-list.
For example, if our contact Danny decides he is no longer interested in 'Banking', he can uncheck 'Banking' and submit the form. This will remove Danny from the 'Banking' Marketing List and add Danny to the 'Anti - Banking' list.
Please see the below animated GIF which demonstrates how the 'areas of interest' section works.
Requirements
Setup your Marketing Lists and Anti-Lists
You will need to decide which 'areas of interests' or 'topics' you would like to offer your contacts on your Preferences form.
Then, for each 'area of interest' or 'topic', you'll need to create an InterAction Marketing List for it and name it as the 'area of interest' (i.e. 'Banking').
You will also need to create an Anti-list for each 'area of interest' or 'topic' Marketing List. Your Anti-list will need to be named in the following way: Anti - {Exact Name of Marketing List} (that is Anti space hyphen space Marketing List Name)
For Example, if our Marketing List is called 'Banking', then the Anti-list would be called 'Anti - Banking'.
Please note: It may take about 15 minutes to see the new InterAction lists appear in Vuture.
Confirm the following is setup on the back-end of your Vuture Platform
You will need to ask your Account Manager or Vuture Support to make sure the following is enabled:
- Admin.System.Interaction.Always unsubscribe when removing from a list
-
Verify the number at the following screen in Vuture mirrors the value in InterAction “Admin.System.InterActionUnsubscribe Folder Type Id” – This number needs to reflect the Folder Type Id in InterAction for the created anti-lists.
How to setup a Preferences Form within Vuture
Please follow the below instructions to setup your Preferences Form within your Vuture Platform. Please note: Your Project Manager may have already created a Preferences Form for you. Please check in your Global Forms campaign before creating a new one. If you wish to add/remove areas of interest or topics, see steps 9-10 & 14-15 below.
1. Navigate to your Global Forms container. Please note, this may also be named "Forms".
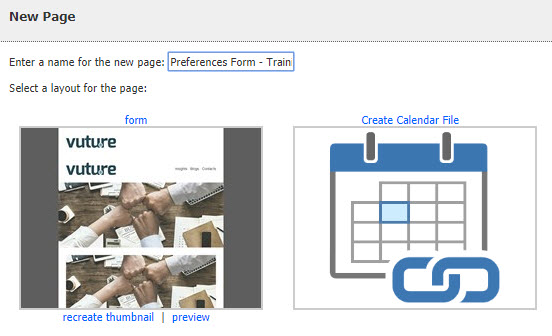
2. Within the Global Forms campaign, create a new Landing Page. Be sure to choose a layout with a form and name your page as "Preferences Form". See example of this below.
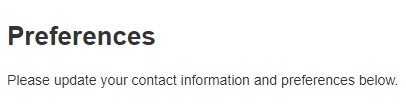
3. On the Preferences Form landing page, give it a title of "Preferences" and add any instructional text for your contacts.
4. Click into the form area to get to the Form Editor Screen. Add or remove any contact fields that you'd like to include. Make sure the First Name, Last Name, and Email Address fields are required.
5. To add the 'areas of interest' or 'topics', make sure you are on the 'Add a field' tab. Scroll down until you see 'InterAction' and click on 'Subscription options'. This will add a new 'Subscribe' field to the bottom of your form. See animated GIF below.
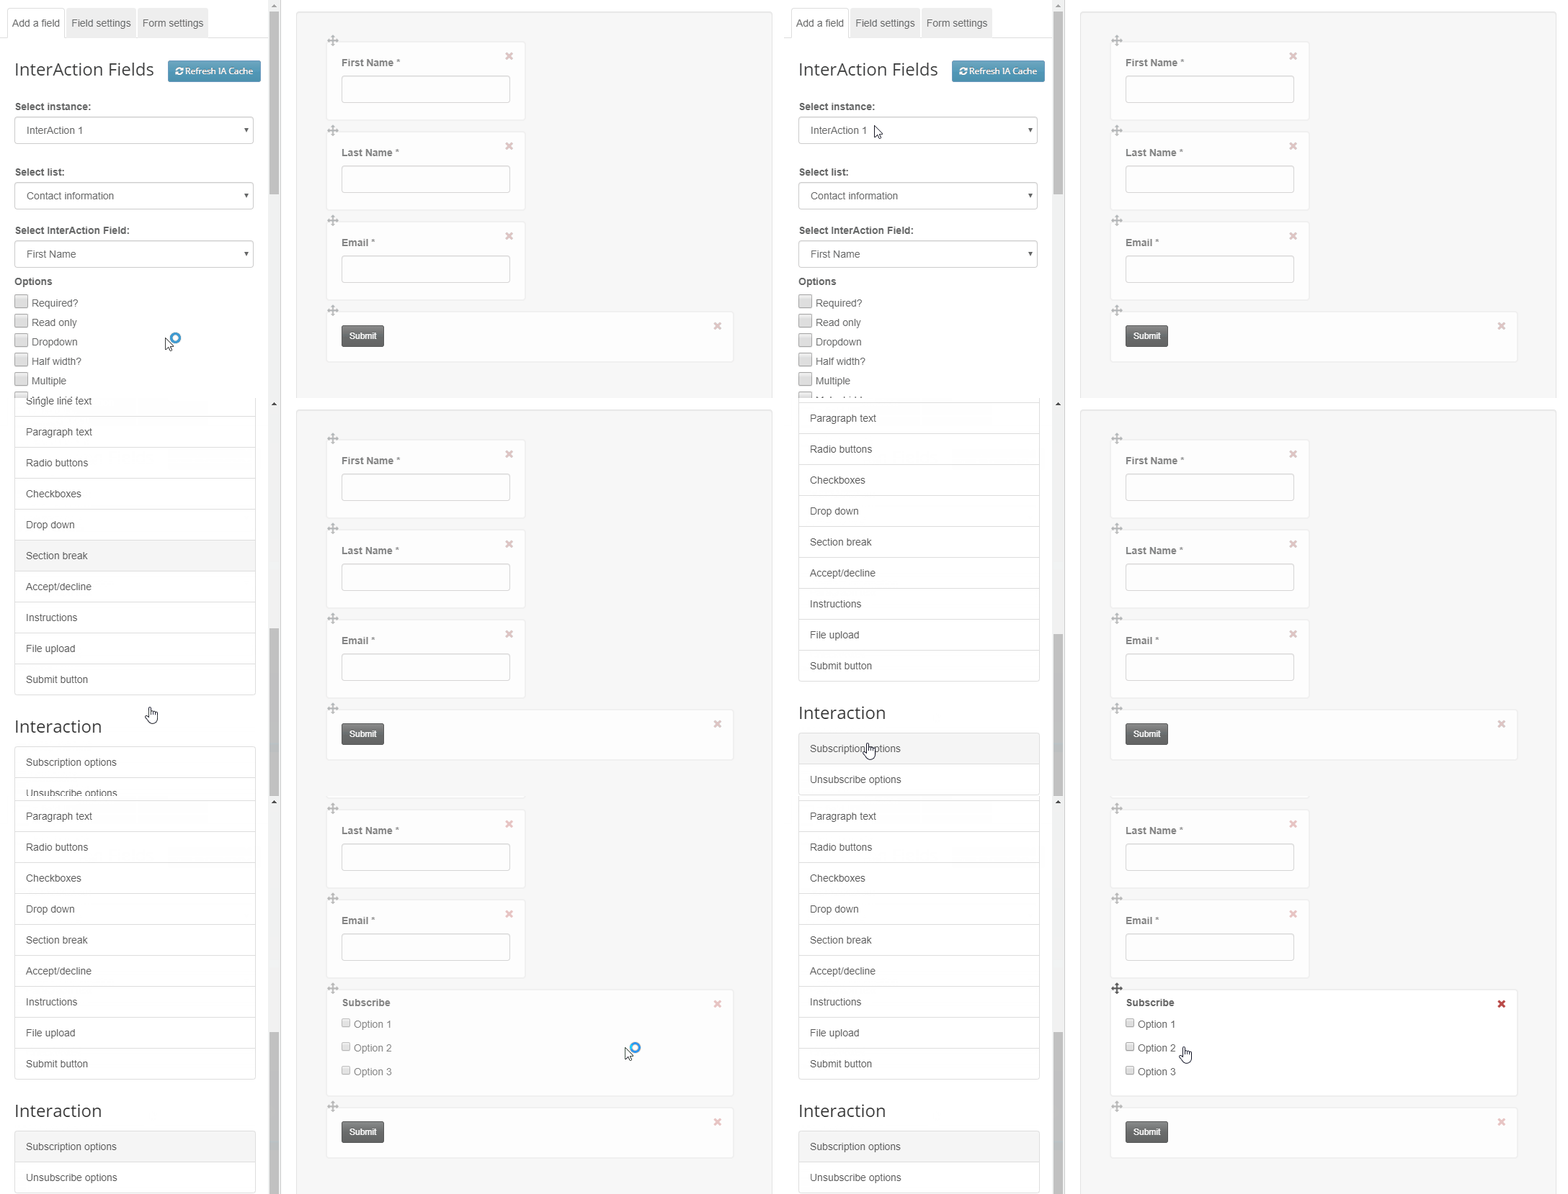
6. Next, click into the newly added 'Subscribe' field to setup your 'areas of interest' or 'topics'.
7. You may change the 'Field label' from 'Subscribe' to something like "I would like to be emailed about the following topics". See animated GIF below.
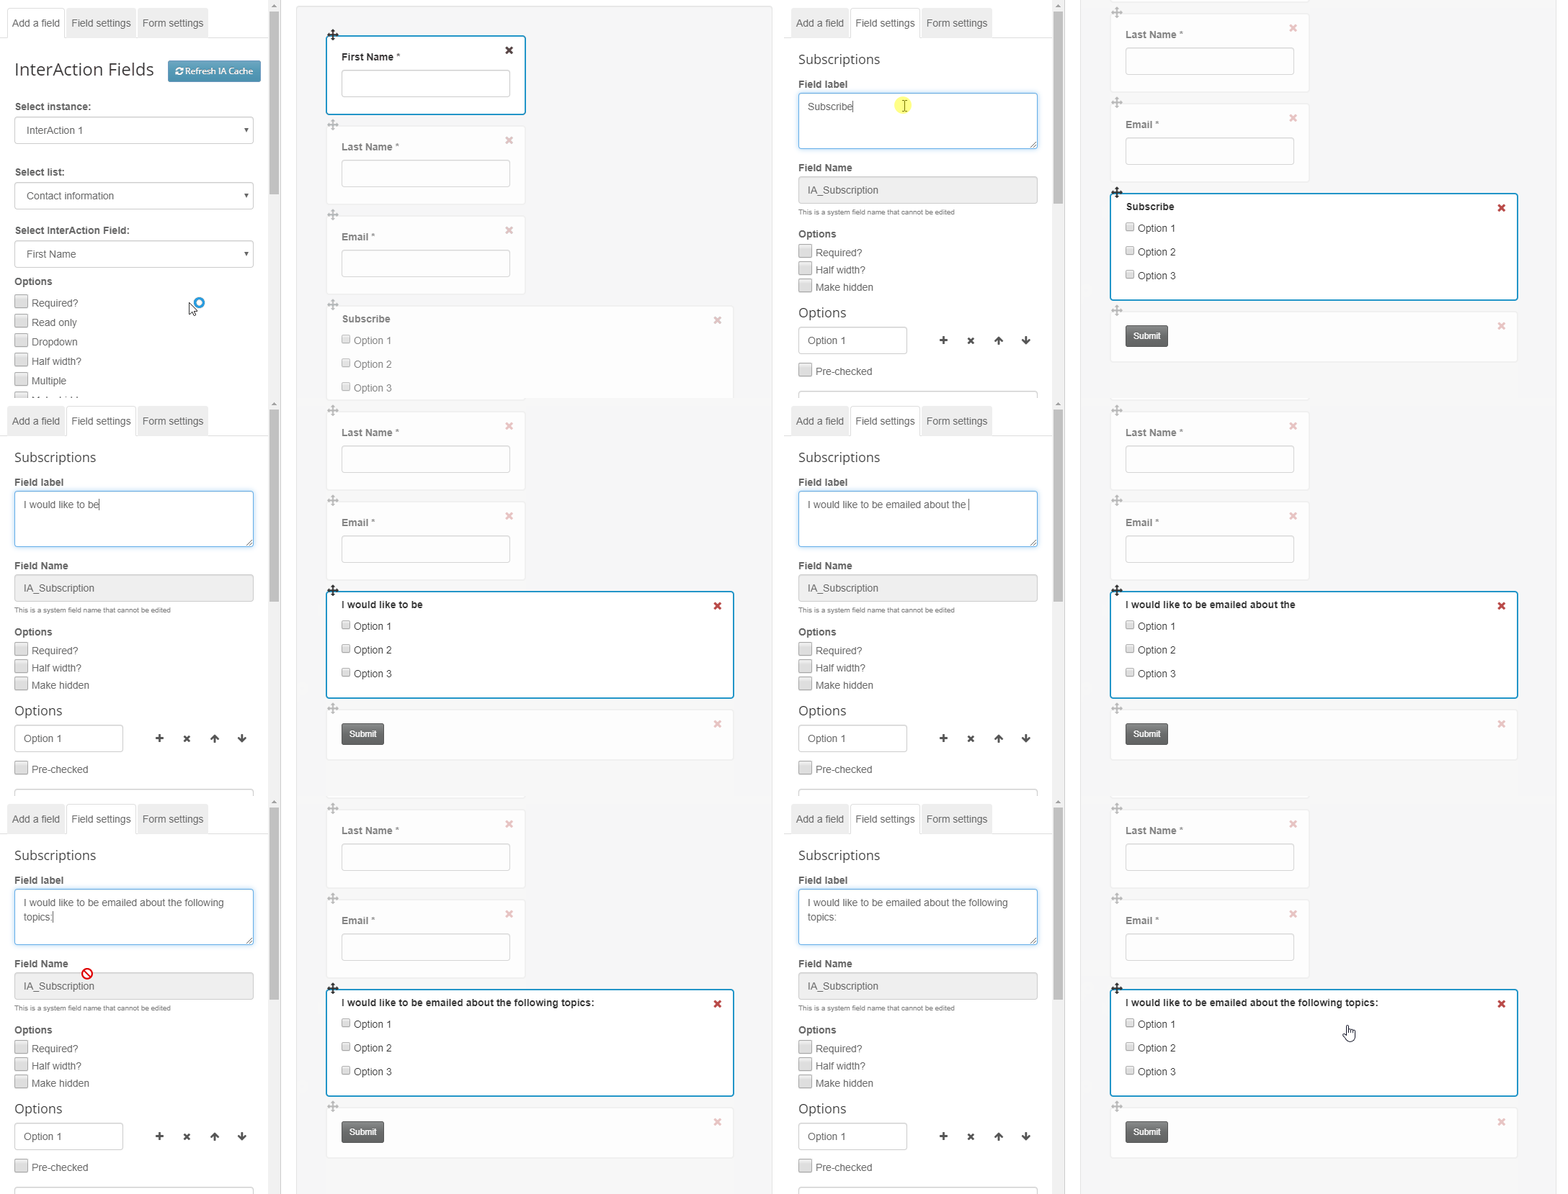
8. Next, to setup your 'areas of interest' or 'topics' click into "Option 1" and rename it as your first 'area of interest' (i.e. Banking). Then, choose the Marketing List you created for this 'area of interest' in InterAction from the drop-down. Repeat for each 'area of interest' for Options 1-3.
9. To add more then three 'areas of interest' or 'topics', click on the '+' icon to make a copy of that 'area of interest'. Then rename it and choose the Marketing List to match. See animated GIF below.
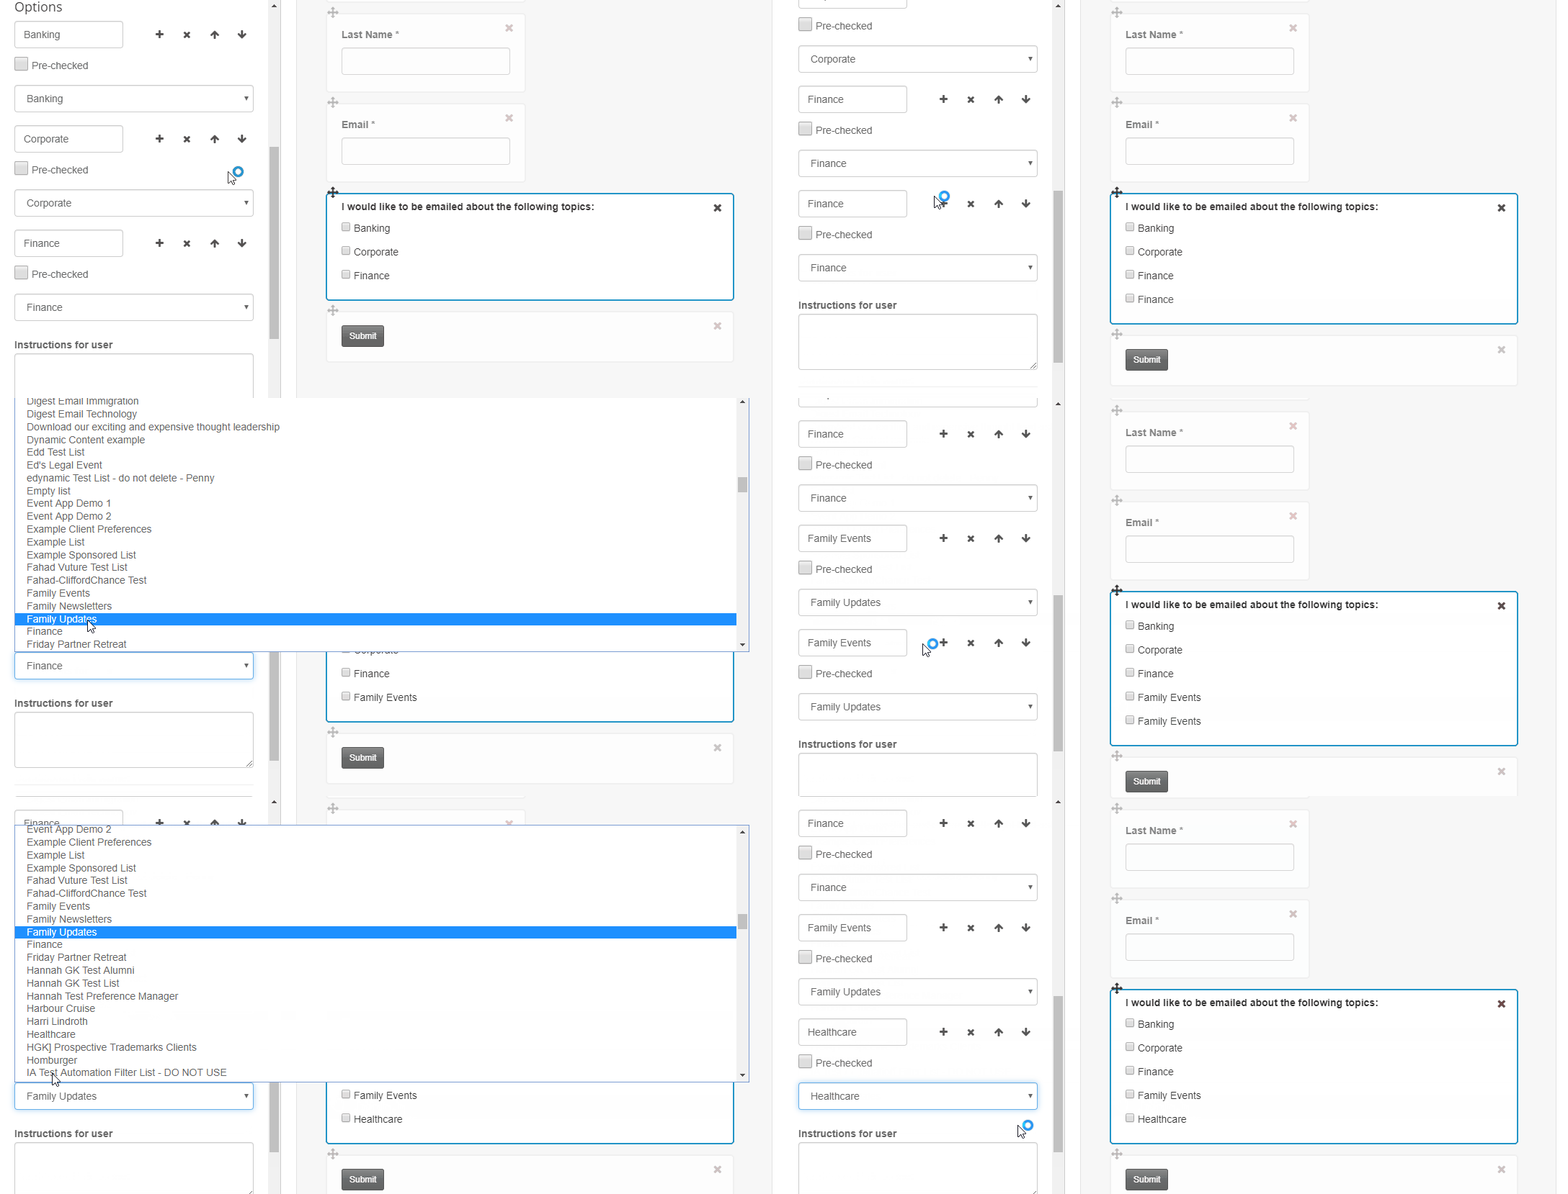
10. To remove an 'area of interest', simply click the 'x' icon. See animated GIF below.
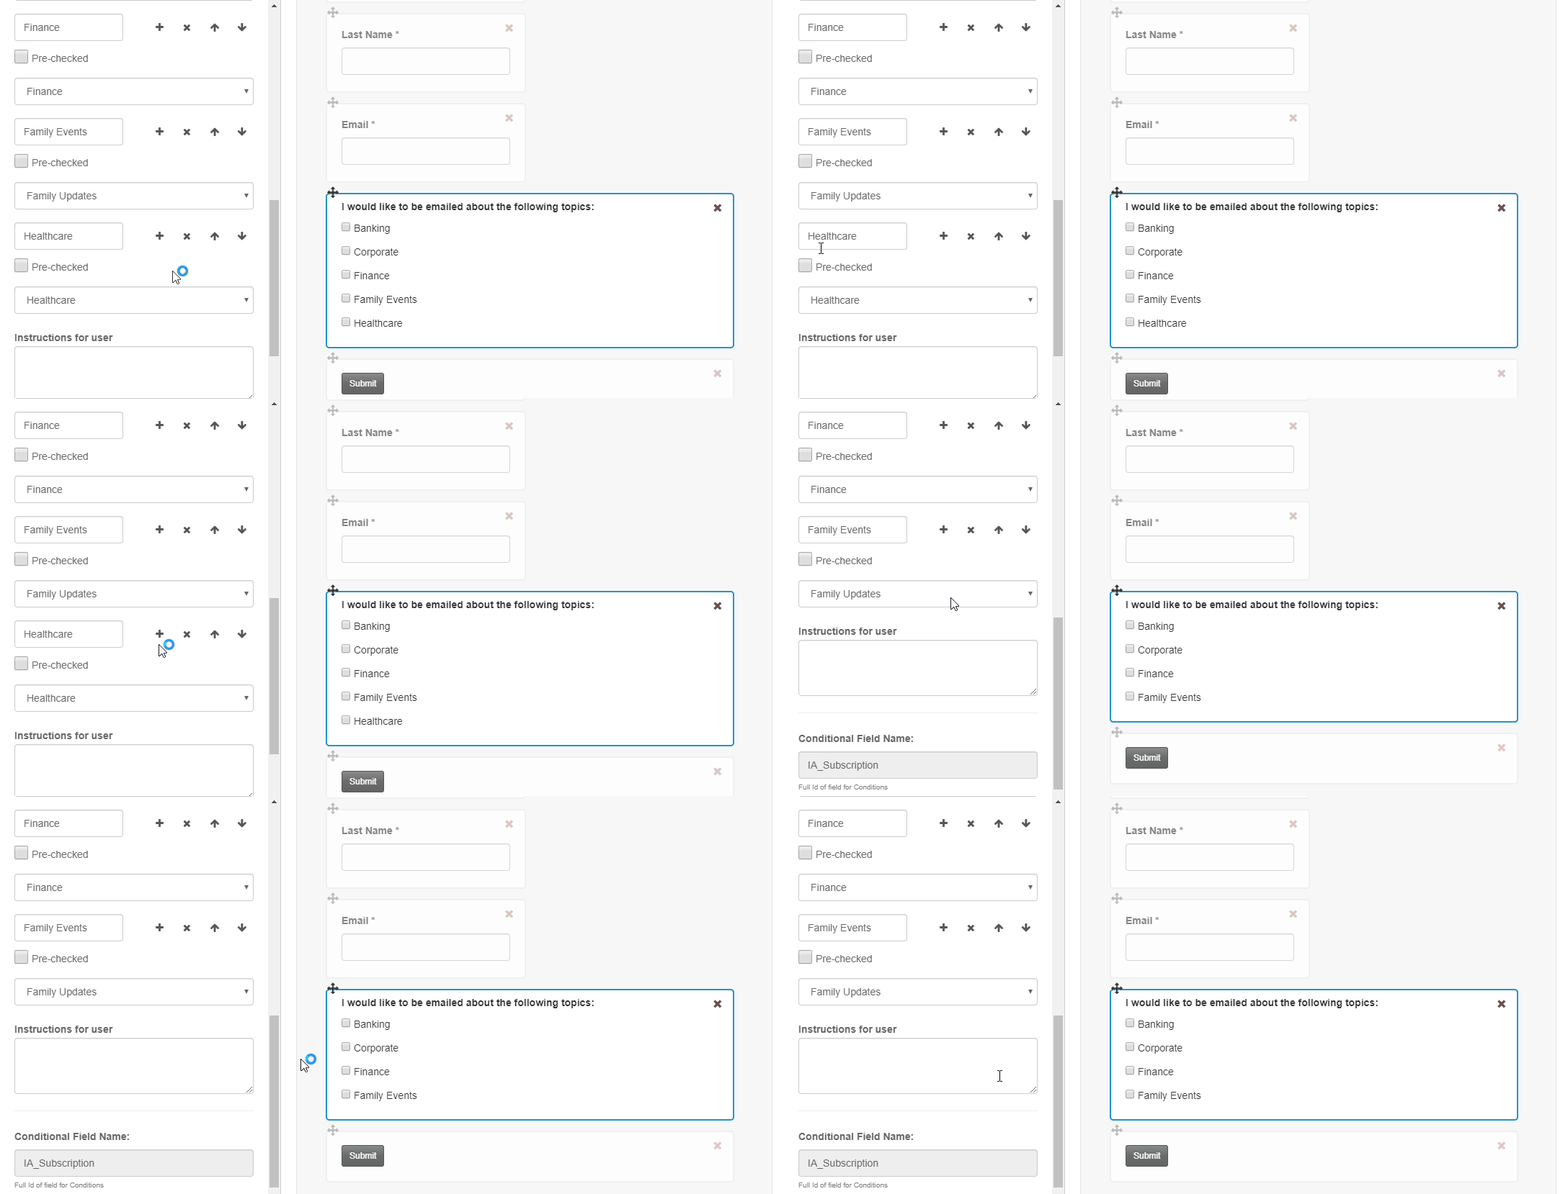
11. Once you're finished adding your 'areas of interest', click on the Form Settings Tab.

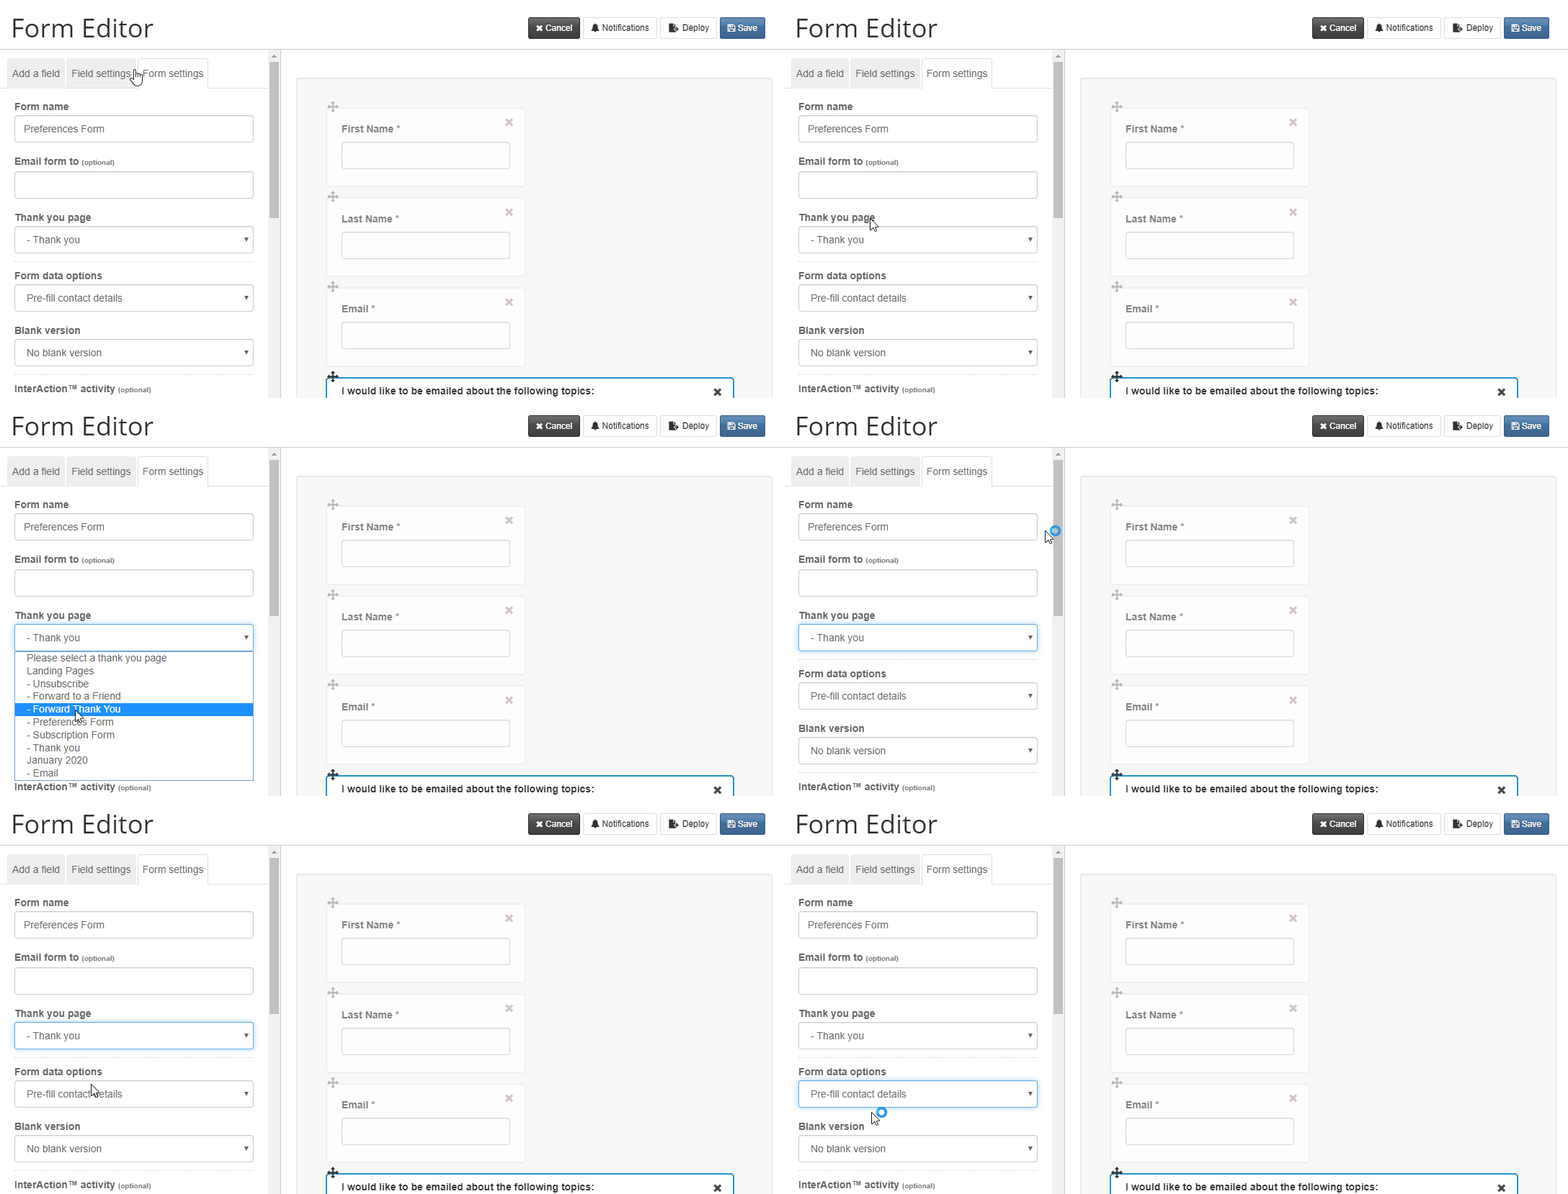
12. Within Form Settings, set a 'Thank You page' for the contact to see upon submitting the form. Also, make sure your form is set to 'Pre-fill contact details'.
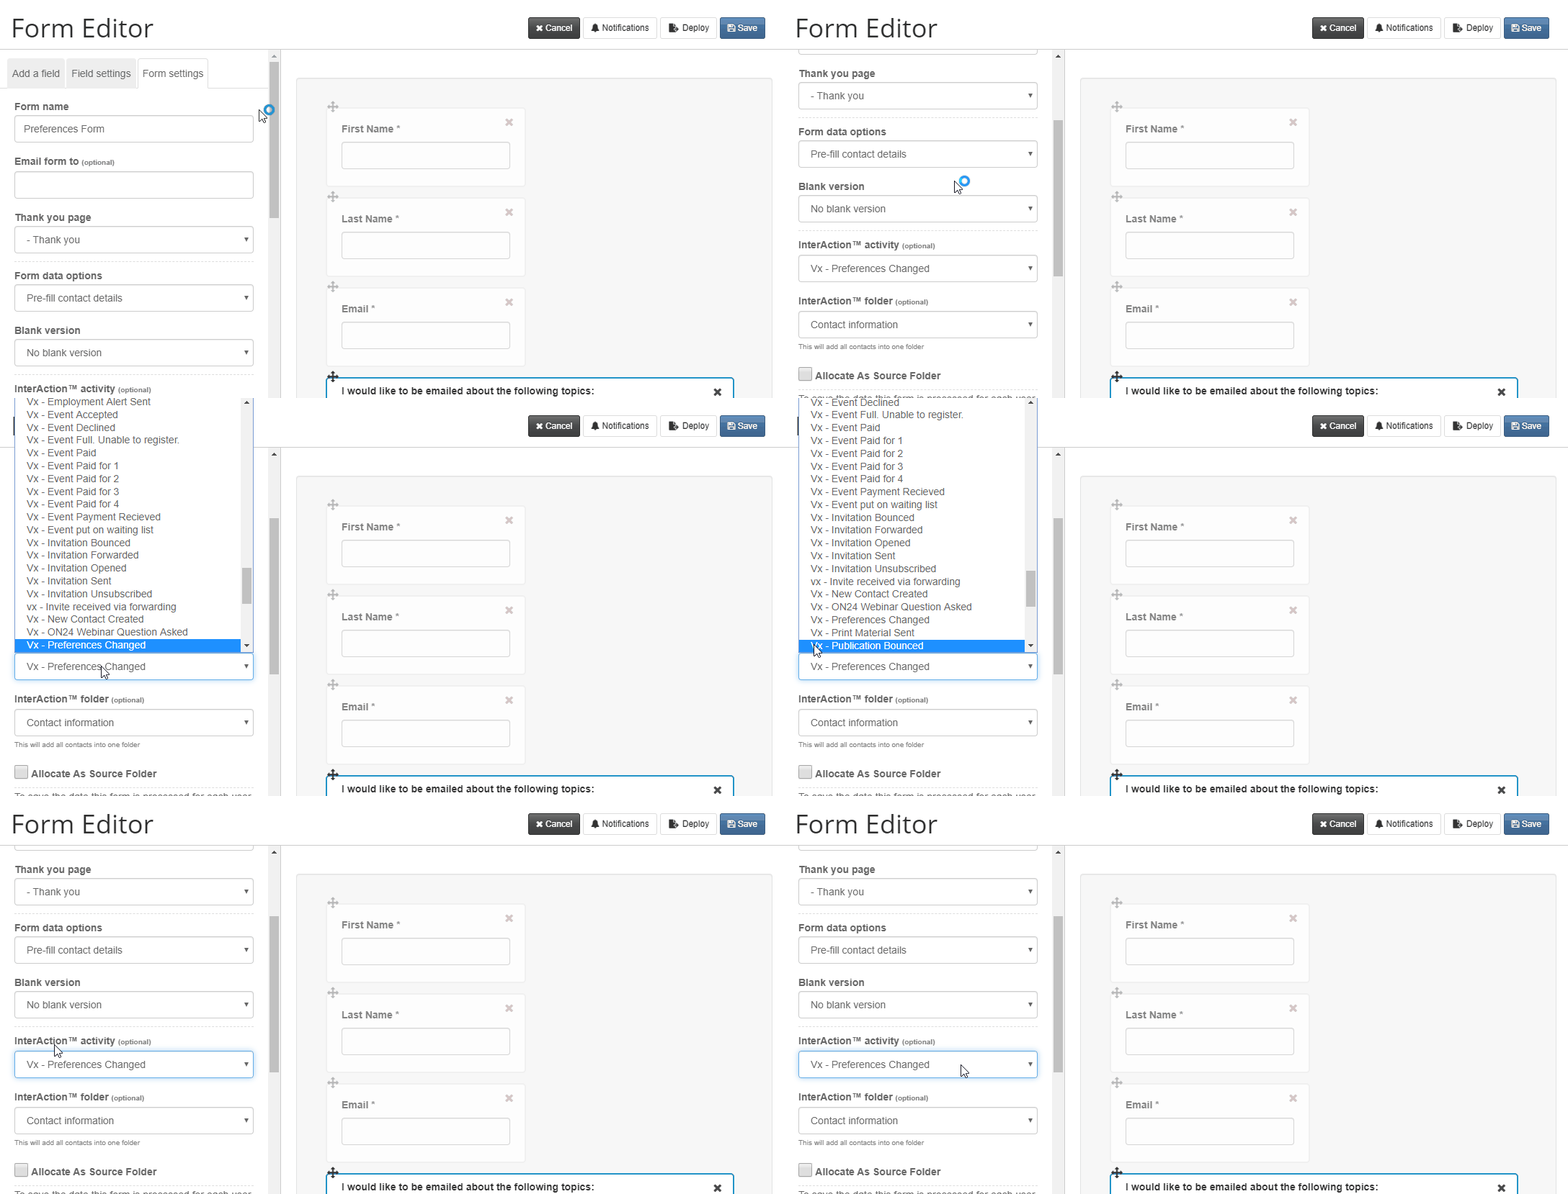
13. Optional - Set a custom activity to be written back to InterAction once someone submits this Preferences form.
14. Save your form. Then Publish > Publish Now.
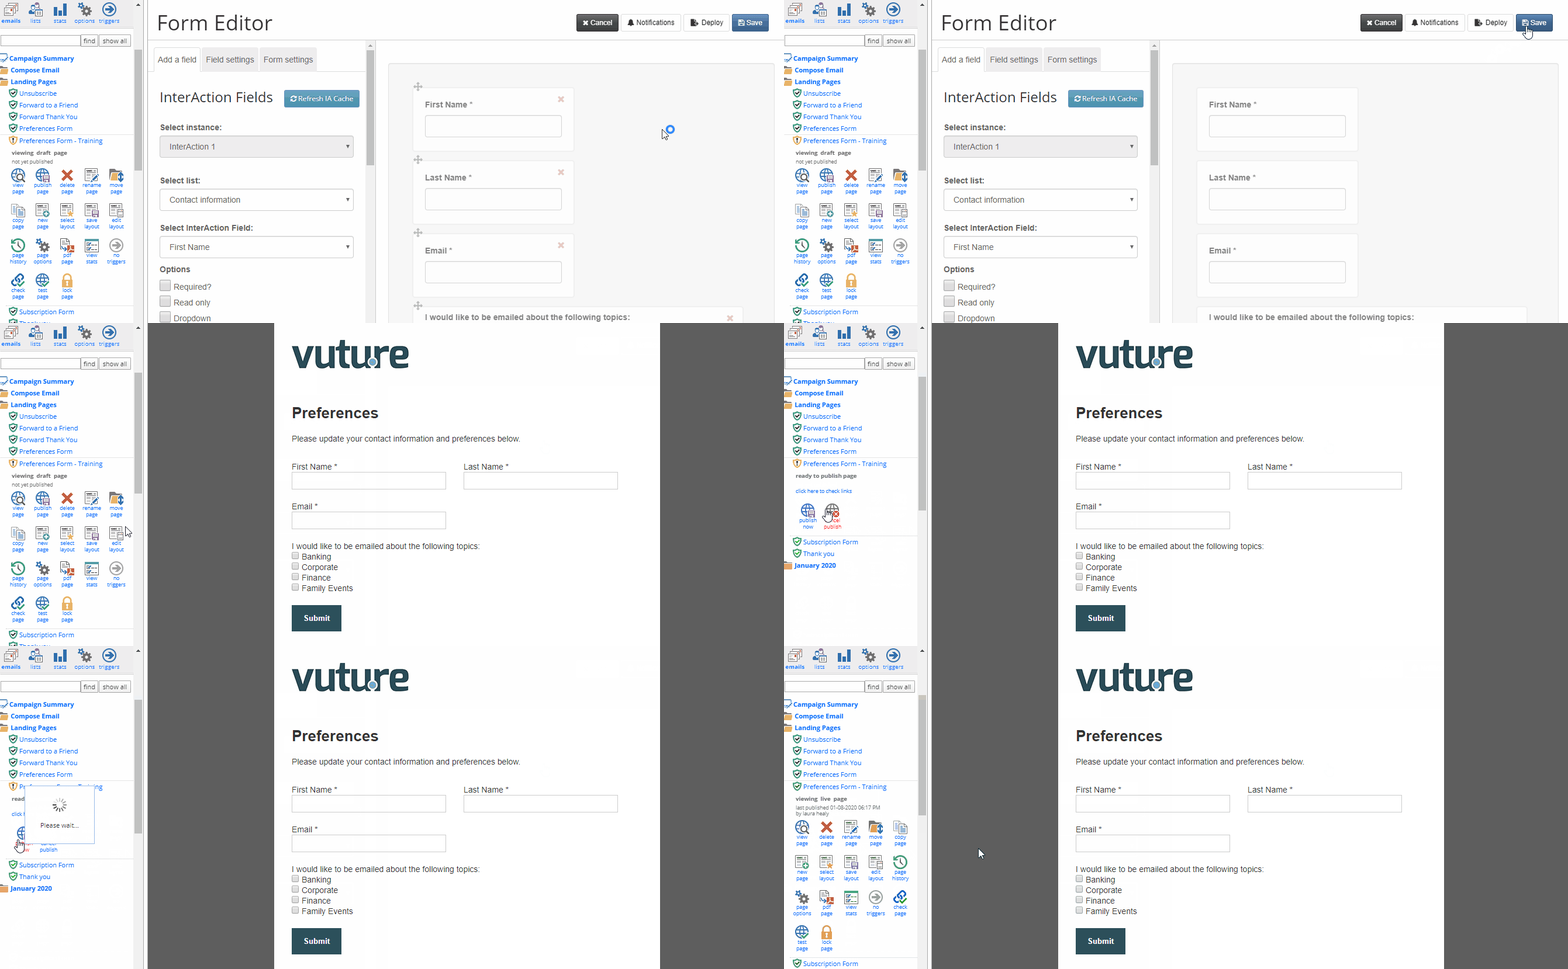
15. Test your Preferences Form. Send yourself a live email from Vuture with a link to your Preferences Form. Click through to the form, make changes to your contact information and 'areas of interest', then submit the form.
How did it write back to InterAction? Was your contact information updated? Were you added/removed from the 'area of interest' Marketing List? If you removed yourself, are you added into the 'area of interest' Anti-List?
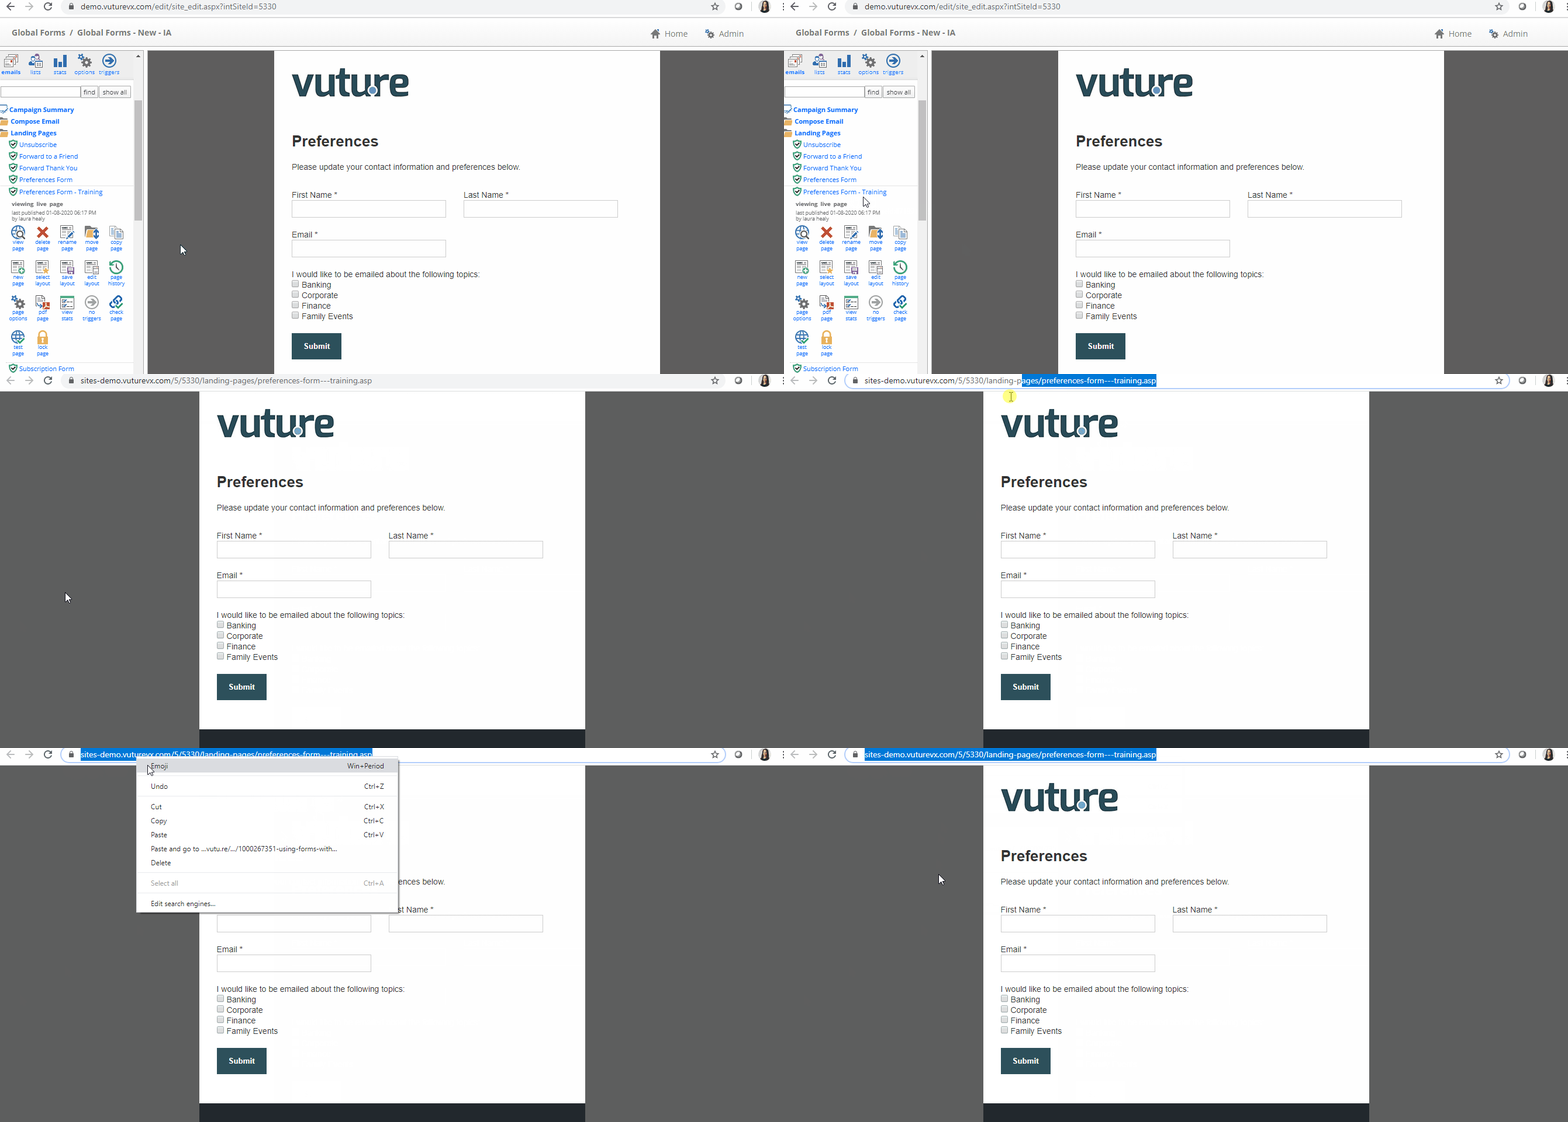
If this is a new form and you're not sure what link to use to include in your test email, click on the "View Page" icon then copy the URL and paste it into your live test email. See animated GIF below.