Overview
One-click registration is a Premium snippet (incurring an extra charge) that allows you to create simple accept and decline buttons or links in an email, without the recipient having to click through to an RSVP form.
Please contact your Customer Success Manager if you would like to discuss having this snippet added to your templates.
Contents
One-Click best practice
The one-click registration functionality is a convenient way to allow your contacts to Accept or Decline an event invitation directly in the email invitation itself.
Three Limitations and Warnings:
1. Recording the response for the correct contact
If a contact forwards the email to a colleague and the colleague clicks Accept, the RSVP field for the original contact will be updated in InterAction - incorrectly - to indicate that the original contact plans to attend. InterAction will not record the colleague's intentions at all.
We suggest that you can reduce the likelihood of this happening by adding some text to your invitation email along the following lines:
"This invitation is intended for you only. Please do not forward to friends or colleagues. If you have a colleague who wishes to attend this event please email [email name and address here]."
Or, you could use a blank form and link to it from the sentence above, with - "Please enter your colleague's details on the form here".
This will allow colleagues to sign up without affecting the RSVP status of your original invitees.
2. Uses only list-specific additional fields
It is not possible to use global fields in this feature. This is by design. It is best practice to change only list-specific fields not global fields for the One-Click RSVP snippet. The rise in numbers of Bot Clicks means that there is a good chance some false positives would be recorded, which makes it high risk if you are editing the more permanent, global contact fields.
3. Triggers
This feature does not work with the Link Clicked Triggers or Form Notifications.
Thank you pages can be personalised with the usual Vuture personalisation fields such as {First Name}.
There are two versions of the one-click registration snippet, Text link and Image link.
One-Click Registration with Text Link
To use one-click registration you require the accept and decline snippets to be added to your templates. There are separate snippets for accept and decline.
Registration link editor
When you click on a text link one-click registration snippet from the email editing screen you are presented with the following editor:
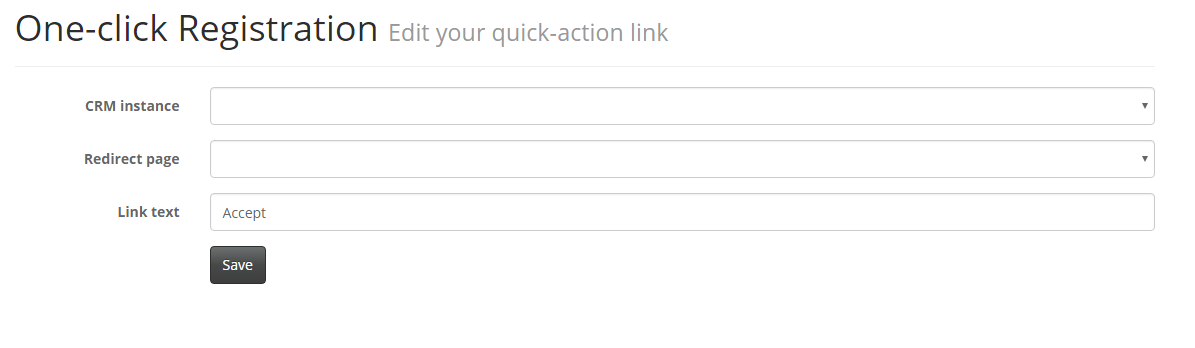
Choose the required options:
-
Instance: the InterAction instance, if you have more than one
-
Folder: the InterAction folder that contains the accept or decline field
-
Field: the accept/decline field
-
Value: the required value for this field
-
Link text: the text to be displayed in the link
-
Landing page: the page that the recipient will be taken to after clicking the link
One-Click Registration with Image Link
To use one-click registration with an image link you require the accept and decline image snippets added to your templates. There are separate snippets for accept and decline.
Registration link editor
When you click on an image link one-click registration snippet from the email editing screen you are presented with the following editor:
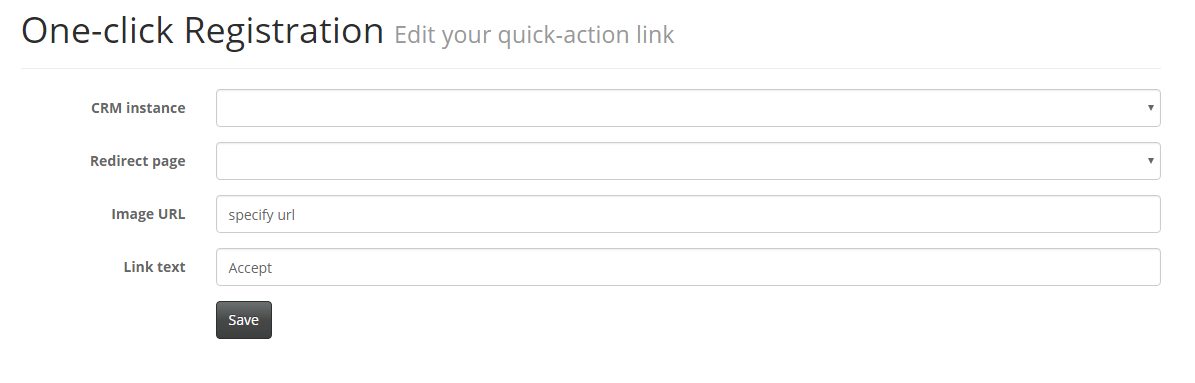
Choose the required options:
-
Instance: the InterAction instance, if you have more than one
-
Folder: the InterAction folder that contains the accept or decline field
-
Field: the accept/decline field
-
Value: the required value for this field
-
Image url: the full URL of the image to be displayed including http:// or https://
-
Alt text: the alternative text for the image
-
Landing page: the page that the recipient will be taken to after clicking the link
What happens when I click accept or decline?
When clicking one of the links we look up this link against a database of InterAction additional fields and follow a three-step process:
- Write the additional field value against the contact
- Write an activity against the contact (see requirements below)
- Redirect the user to the destination landing page
Requirements to write back an Event Accepted/Declined activity
There are number of requirements for an event accepted./declined activity to write back. If the conditions below are not met, no activity will be written back but the additional field will be updated and the user will be redirected to the chosen page.
Field Name: To write an activity the field name must start with ‘RSVP’ (case sensitive).
Activity Subject: The activity subject will be "Event accepted/declined: Email subject" but Email subject can changed through the "Admin.System.Interaction.ActivitySummary" setting to be:
- Email subject (default)
- Page name
- Campaign name
Accept Field Value: The field value must contain one of the following values (case insensitive):
- "accept"
- "yes"
- "ja takk"
- "akkseptert"
or exactly equal "deltar"
Decline Field Value: The field value must contain one of the following values (case insensitive):
- "decline"
- "no"
- "nei takk"
- "avvist"
or exactly equal "deltar ikke"
