Overview
The Campaign Summary screen is a home page for each campaign providing quick access to key elements. It works for all CRMs.
Contents
Prerequisites
Your Vuture Administrator can enable this screen for some, or all, of your roles using the setting "Admin.Roles.Email Campaigns.Campaign Summary Screen".
Once enabled, the "Campaign Summary" is displayed in the Menu bar above the Campaign at the top of the screen when editing a Campaign.
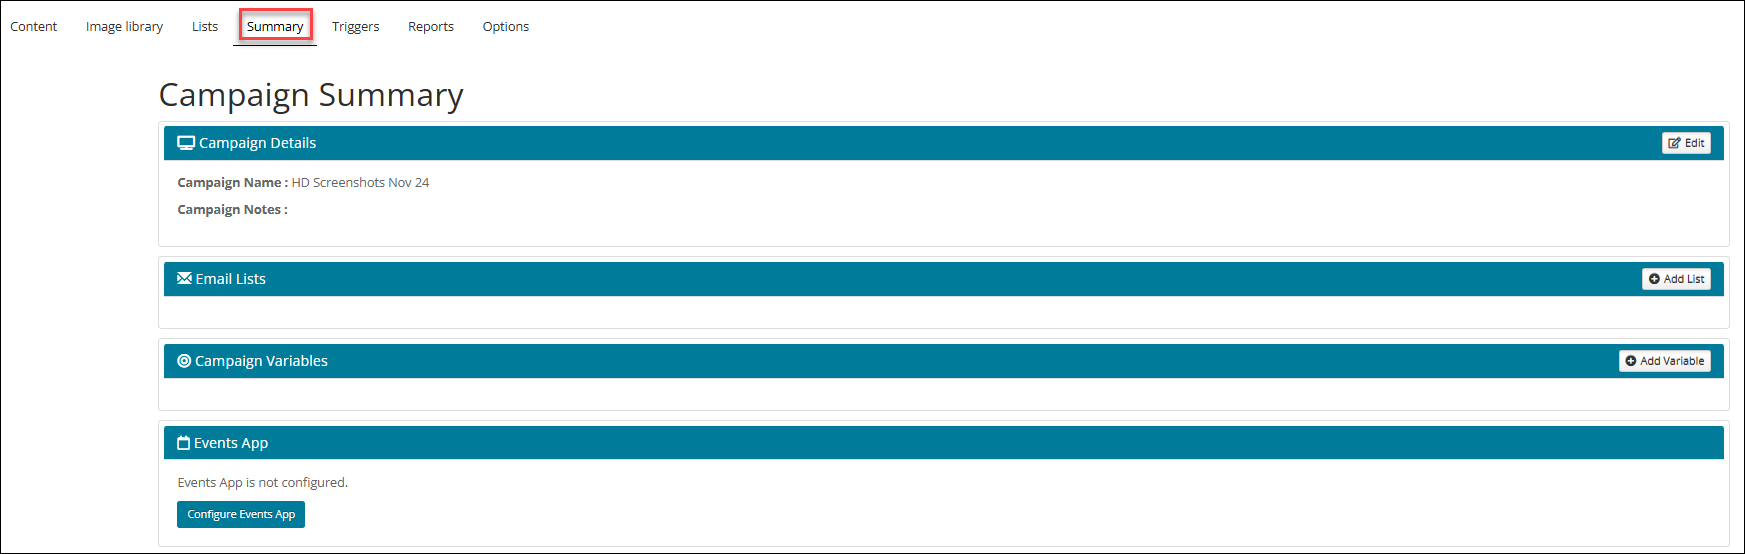
Clicking on the icon displays the Campaign Summary screen which includes the following in expandable sections:
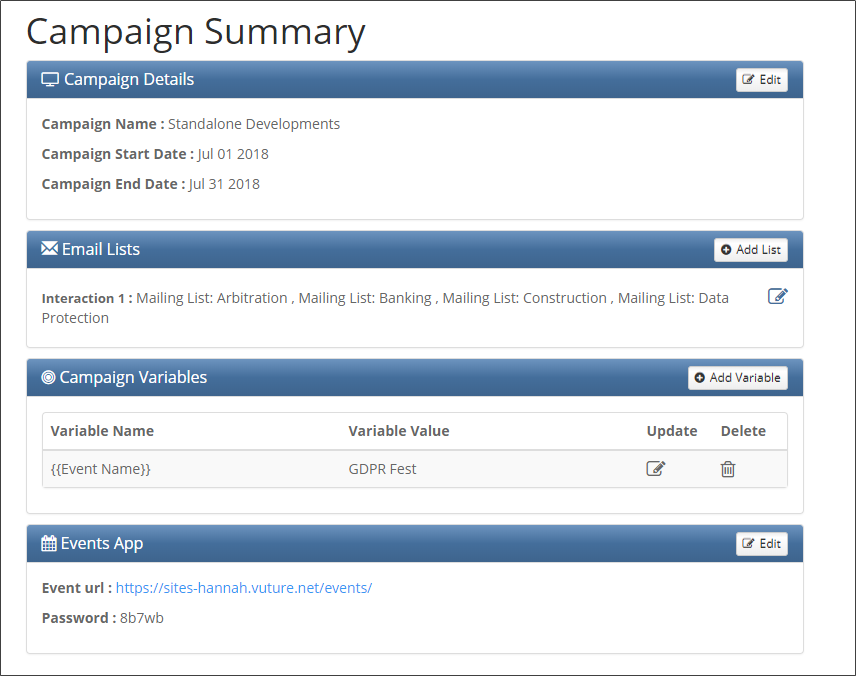
- Campaign Details: This panel displays the campaign name and optional searchable notes as well as Start and End dates for your campaign. Click Edit to change either of these. Note that if you edit the Campaign Name from here, it requires a refresh before you see the new name in the browser tab.
- The Start and End dates, when set, will mark the time span on which the campaign is shown on the Campaign Calendar. The Campaign Notes are searchable, so adding Campaign Notes could make it easier to locate campaigns in the future.
- Email Lists: Select if you would like to restrict the lists available to this campaign. Once selected only these lists will be available on the Send Email screen. If this section is left blank all email lists will be available.
Currently the list selection only applies to the Send Email screen, and not the Triggers screen or the Events App.
- Campaign Variables: All Campaign Variables and their values are displayed in this panel. Click "Update" to change the value of a Variable. Click "Delete" to remove a variable. Click "Add Variable" to add a new Campaign Variable. For more information on Campaign Variables, click here.
Please note: You can save Campaign Variables with your Template and they will be immediately available from this screen when creating a new email campaign. To find out which step to do this when creating a Sub-Template, click here. - Events App: If you have the Events App enabled, you can manage and deploy it from this screen. Click "Edit", select the attendee list for your event, enter a password or click "Random" then click deploy. This panel will then display the Event App URL and password. You are able to copy the password directly to your "clipboard" by hovering over the password and clicking.
It is now easy to create separate Event Apps, each linked to an email campaign. Each Event App has its own unique URL and password but can have one or more events inside it.
When deploying the Event App from the Campaign Summary screen, the Event App logo, colour scheme and icons are inherited from your system defaults which can be setup by your Vuture Administrator using the system configurations at "Admin.System.Events".