Overview
We now have the ability to add extra tabs to the Event Module, in addition to the existing Attendee Check-in Screen. This feature works for all CRMs and Vx Standalone, where the Events Module works.
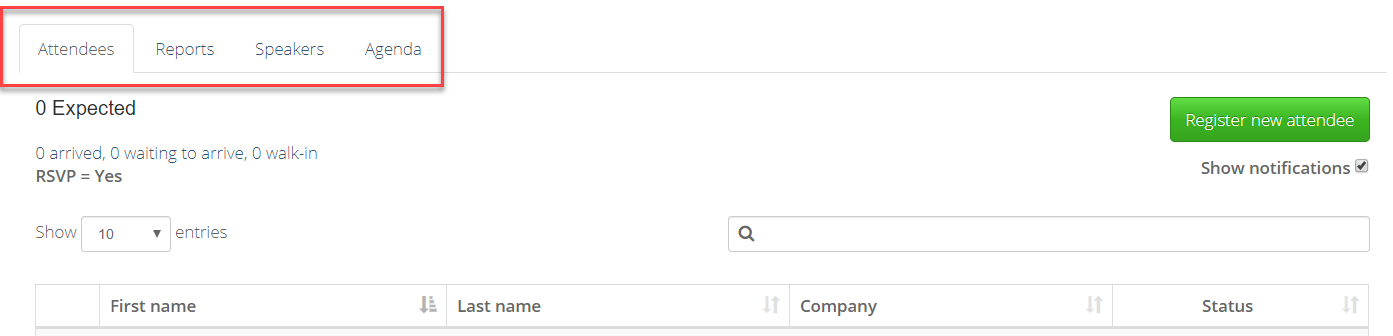
These extra tabs can be populated by you, using any page you choose from your campaign, by selecting the pages in the Event Module configuration screen.
Contents
Prerequisites
Version 10.4.12.xxxx and higher of Vuture. This version of Vuture started to be rolled out in the first week of September 2019. It may take a week or two to reach your instance.
The Event Module v2 or V3. If you currently have an event running on v2 you will not see the tabs unless you re-deploy the event.
The pages available to put onto the tabs must all be in the same campaign as your event.
Why would I want to use this feature?
The data on the tabs is mainly for the use of your firm's team member holding the laptop or iPad. You could potentially include:
- Pictures of the speakers, with their biographies.
- A map of the location of the event.
- The Agenda with timings for each section of the event.
- Forms, using them to gather extra information from attendees
- Report snippet data to keep track of acceptances.
Video Overview
Step by Step
In your Events campaign, decide which pages you want to be available as extra tabs, and create them. You can use email pages or landing pages or a combination of both. In the image below I have chosen to create a Reports Page, a Speakers page, an Agenda page and a Google map landing page.
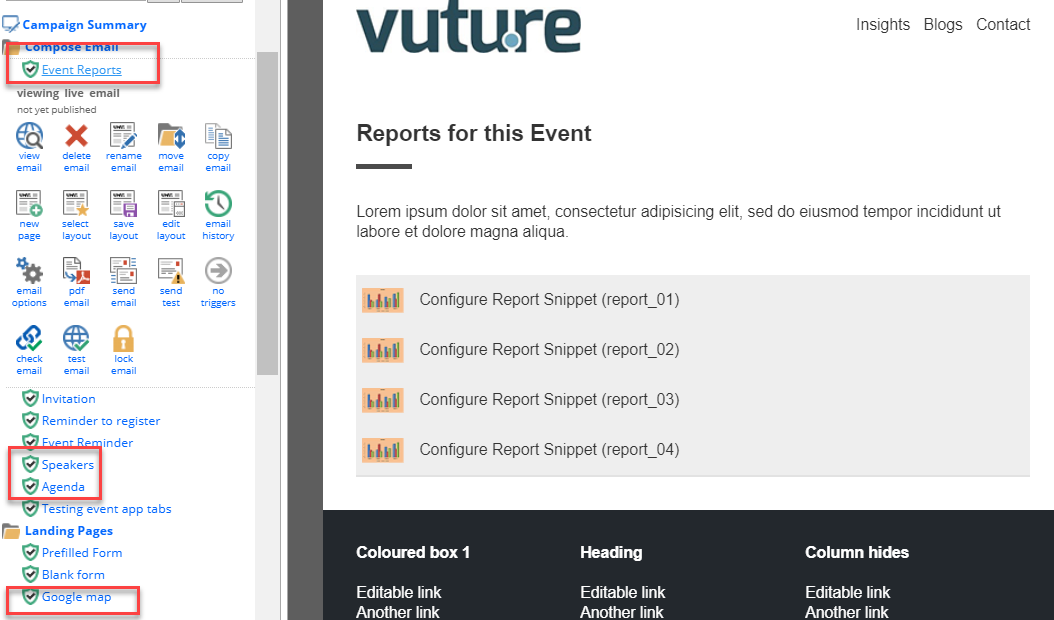
Create any pages you like in the usual way, moving snippets about and editing the text as normal. Name the pages and landing pages clearly.
The rest of the event is run as usual, with invitations, RSVP forms, reminders and so on.
In the Events Module
Once you have deployed your event you will get a URL and password, as usual. Go to the URL and log in.
Create the new event if you have not already, and select Configure.
The top part of the page has not changed and is covered in other articles on this help desk such as this one
Scroll down to the foot of the page and you will see the new option Add Tab. Click on this.
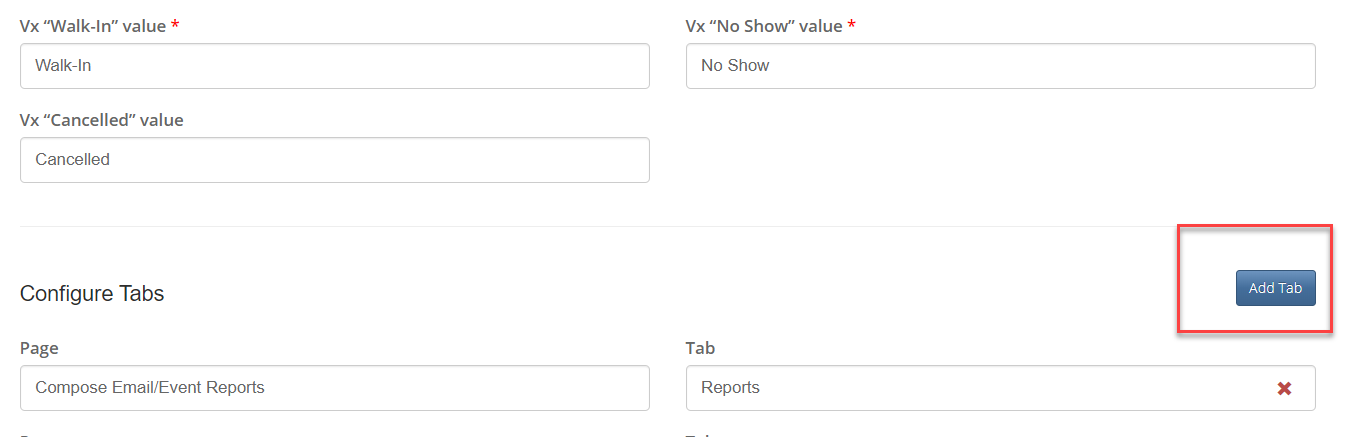
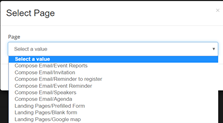
Click into the Page box and select the page or landing page from your campaign.

Click into the Tab box and type the name of the Tab as you would like it to display. Keep the names short, but meaningful.
Click Save at the bottom left of the screen and you are done.
You can have as many extra tabs as you like, but bear in mind that only 4 to 6 will fit across some screens, depending on the size of screen you are using. After that they will wrap round, which may be confusing to read.