Overview
This Help Desk Article is intended to help you create an event sub-template based on best practice for email creative design, efficiencies for the events team, and automation.
Contents
Consider the type of Event
When creating an event sub-template, it is important to keep in mind the type of event this sub-template is intended for. For example, you may have a regular event, webinars, or seminars. If the layout, design, or registration process is different than your regular event, you may wish to create a sub-template for each kind of event.
Apply Creative Design Best Practice
It is important to think about how the design of your email can help encourage contacts to get to your desired outcome: RSVP. Consider the following in your design:
Attention Span
- The average adult attention span is 8 seconds. This means you have 8 seconds for the contact to decide to continue reading or skip to another email. It is important to play to this rule in your design by doing the following:
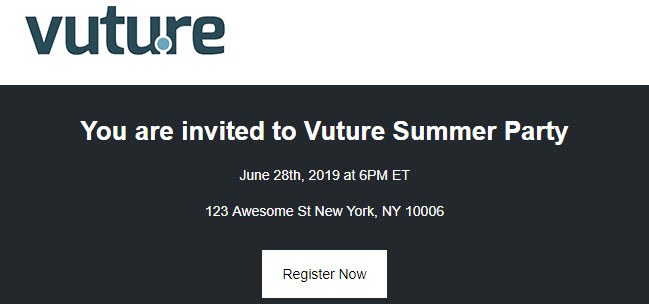
- In the top of your email (E.g. Banner or first line of text) include:
- Call to Action button (e.g. RSVP)
- Date & Location - this should be live text.
- Personalize with First Name.
- Consider bolding the most important text to allow for easy scanning.
- Use lots of white space.
Mobile Prevalence
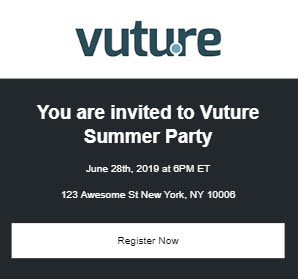
- It is important to think about how emails look on different screens and devices (e.g. Desktop, Tablet, Smartphone). It is best practice to use a One Column Template for this reason.
-
Important: If using a Two Column Template, keep in mind that the right-hand column will stack underneath the left-hand column. Consider changing to a one column template.
- 1 out of 5 people in the Professional Services Industry read email on their phones.
- Keep the following in mind for your design:
- Make sure your Call to Action (e.g. RSVP button), Date, and Location are above the fold. To ensure this, try sending a test email to yourself and open it on your phone. You should not have to scroll down to see this important information.
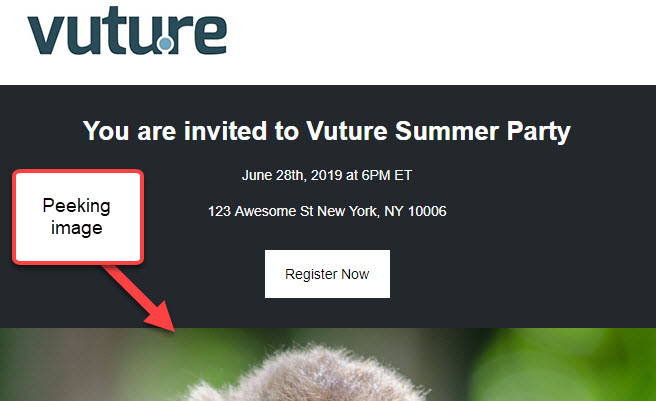
- Consider using an image that peeks up just above the fold, so that you must scroll to see the full image on your phone. This plays to the contact's curiosity.
- Make sure you have a second Call to Action (e.g. RSVP button) at the bottom of your email, to eliminate contacts from having to scroll to the very top to RSVP. Make it as easy as possible for them to RSVP.
Other Considerations
- Always have a Call to Action (e.g. RSVP Button) at the top, above the fold, and the bottom of your email.
- If using images, they should not take up too much space, in terms of height, if used toward the top of your email. Or, consider using a peeking image just above the fold to entice contacts to scroll to see the full image.
- Link images to your call to action (e.g. RSVP Form).
- All text should be live text and not in an image. That way, you are not relying on the contact to download the images to see important information about the event.
Create your Invitation & Confirmation Emails
When creating your event emails, you'll typically want to include the following in your event sub-template:
- Invitation - intended to send to contacts inviting them to the event with a call to action to RSVP.
- Confirmation - intended to send to contacts who have RSVP'd to your event with all of the details (e.g. Date, Time, Location, Agenda, iCalendar download, etc.)
- Your events team will be able to setup a form notification or trigger(e.g. Form Submitted or Recurring) to automate this confirmation email.
- Please note: Triggers is a premium feature.
Optional: You may wish to also create the following emails:
- Save the Date - intended to alert contacts that an event is happening, but does not include a call to action to RSVP.
- Reminder to register - intended to send to contacts who did not respond to the original invitation.
- Any other mailing that is important to your organization's event process.
Keep in mind the creative design best practice described above to help encourage contacts to RSVP.
When creating your RSVP Forms and Landing Pages, you'll typically want the following in your event sub-template:
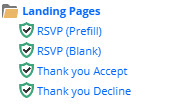
- RSVP Pre-filled Form - intended for contacts who are on your attendee list.
- RSVP Blank Form - intended for contacts who are not on your attendee list and may have been forwarded the invitation.
- Thank You Accept Landing Page - intended for contacts who RSVP yes to your event.
- Thank you Decline Landing Page - intended for contacts who RSVP no to your event.
RSVP Forms
It is important to keep this best practice in mind when setting up your RSVP Forms. That way, all of this best practice is applied to your RSVP Forms for any event campaign created from this sub-template and your team members do not need to remember to do this each time.
You may also wish to add placeholders in your forms with Vx-Instruction text, such as "Don't forget to add your RSVP Field."
Landing Pages
Consider what type of information you wish to include on your Thank You Accept and Thank You Decline pages. Consider the following:
- Thank You Accept Landing page could include:
- Happy you can join us text.
- Event Date, Time, & Location
- Agenda
- Download iCal file
- Thank You Decline Landing page could include:
- Sorry we'll miss you text.
- Link to your website with other upcoming events.
Create & Apply Campaign Variables
For content that you will be repeating throughout the event, you'll want to create Campaign Variables. For example, you will likely be repeating some of the following information in your Invitation, Confirmation email, RSVP Forms, and Thank You pages.
- Event Name
- Event Date
- Event Time
- Event Location
- Event Description
- Contact Email Address
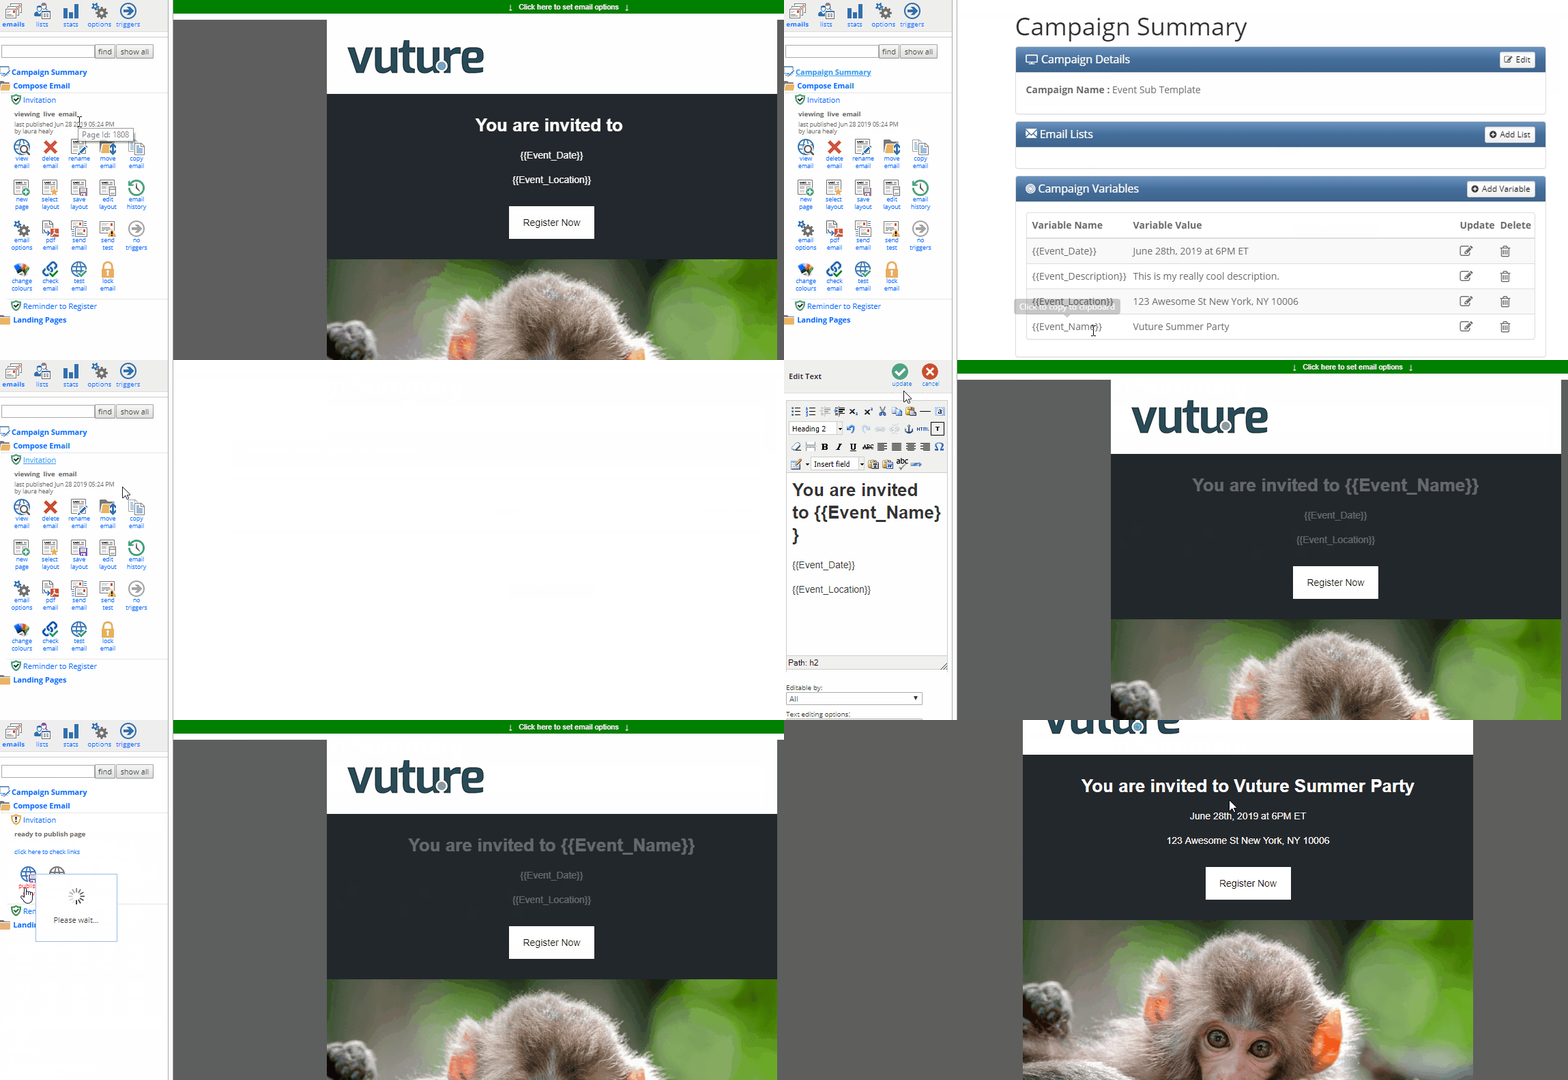
All of this content can be created as Campaign Variables, e.g. {{Event_Name}}, and be used throughout the entire event sub-template. That way, all your events team needs to do is update the value of the variable to have it populate throughout the entire event campaign.
For a How To, please visit this Help Desk Article.
Create your iCalendar File & Link to it
Now that you've created your Campaign Variables, its time to create your iCalendar file for registrants to download. You may also use your Campaign Variables for Event Name, Event Location, and Event Description in the iCalendar file. That way, all the events team will need to do is fill in the start date/time, end date/time, timezone, and reminder time when setting up the event campaign from this sub-template.
To create an iCalendar file in Vuture, please click here for a How To. To add your campaign variables to your iCalendar file, please click here for instructions.
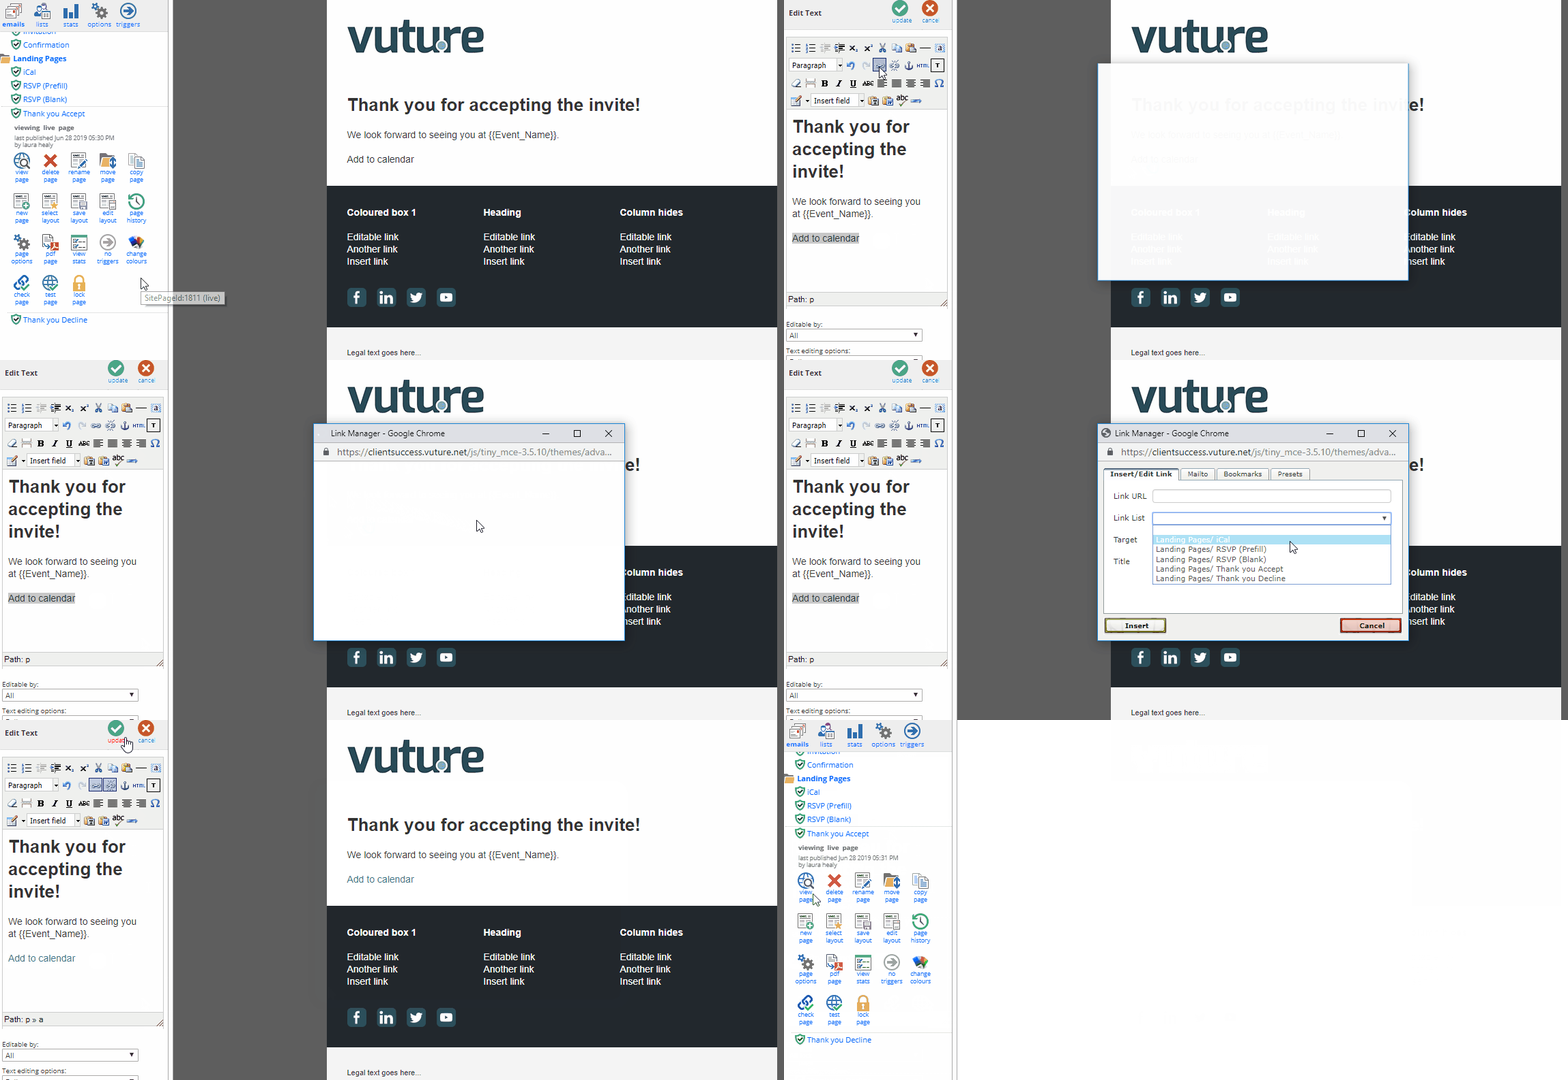
Once your iCalendar file is created, you will then want to link to it in your Thank You Accept Landing Page and Confirmation Email.
Save out your Sub-Template
It is now time to save out your Sub-Template. Please visit this Help Desk Article for a How To, including videos, and keep in mind that you will need to save your campaign variables to your Sub-Template.
