Keywords: Trigger, Triggers, confirmation email, booking confirmation, InterAction, recurring trigger.
Overview
This article will walk you through how to use a 'Recurring' Trigger to send a confirmation email once someone RSVP'd yes to an event.
These instructions are meant for those who are using Vuture with InterAction. If you're using Vuture as standalone (CSV or Contact's Module), please click here for instructions on sending a registration confirmation email once someone registers to an event.
Please note, Triggers is a requirement. If you do not have Triggers, please speak to your Account Manager.
Step by Step Instructions
Please follow the below instructions to send a confirmation email once someone RSVP'd yes to an event using a 'Recurring' trigger.
1. Create your confirmation email that will be sent to those who RSVP'd yes to your event. You may wish to include a link to download the iCal file in this email. You may also wish to add personalisation to this email (i.e. Dear First Name, or pull in data from additional fields that the contact submitted on the RSVP form).
2. Make sure your registration confirmation email is 'Published' otherwise click on 'Publish' > 'Publish Now' to publish.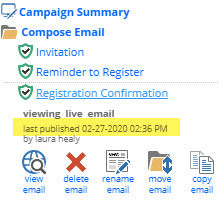
If you wish to display an Additional Field value in your confirmation email, for registrants to see what they submitted on the RSVP form, please see the step by step instructions here.
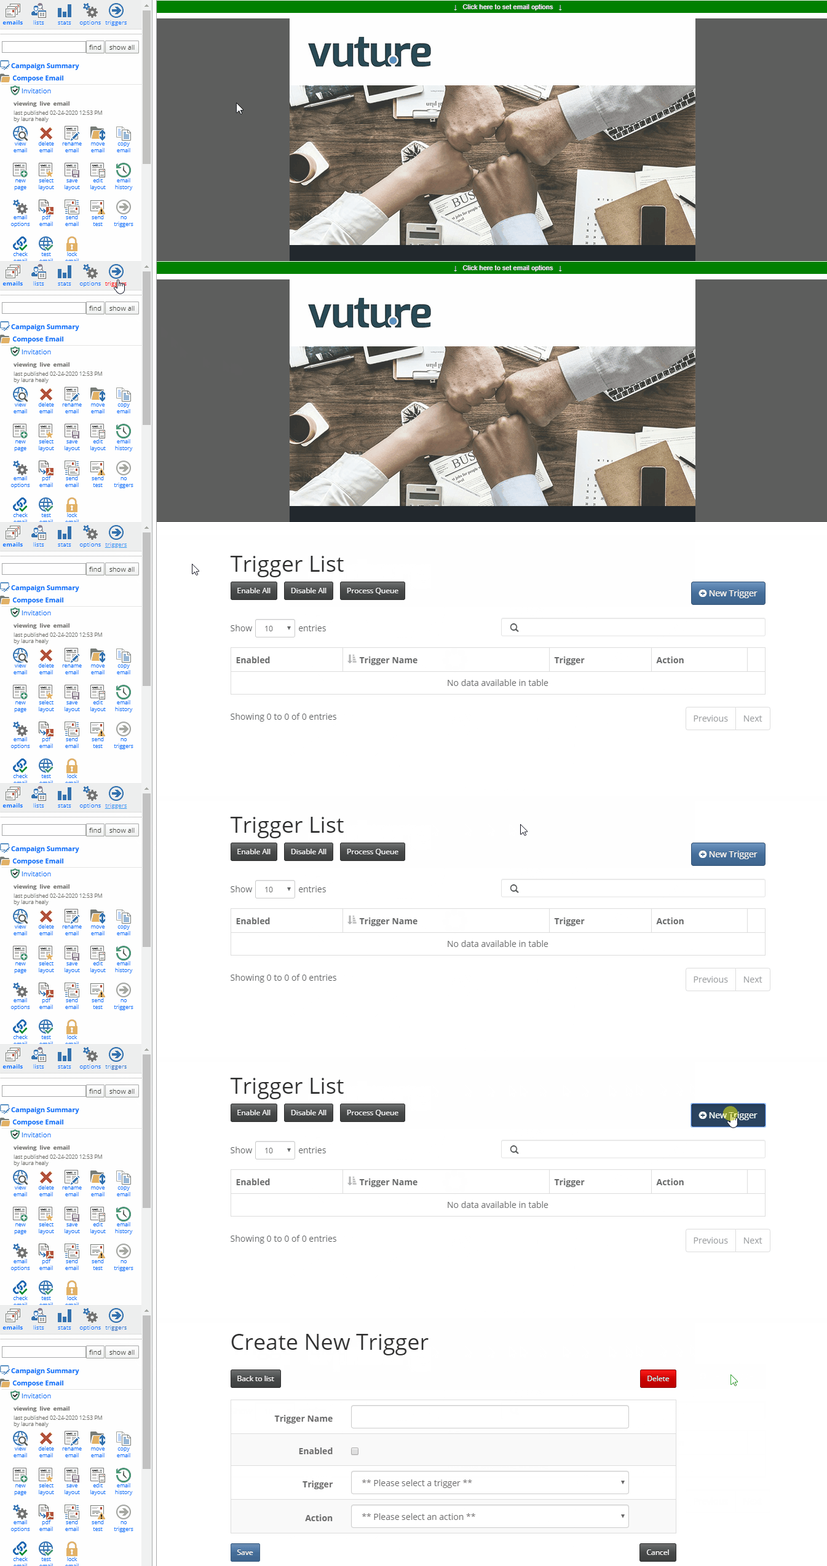
3. Navigate to the Triggers screen and click on '+ New Trigger'.
4. Give your Trigger a clear name for what this Trigger will do for you. For example, if it is going to send the registration confirmation email, name it 'Send registration confirmation'.
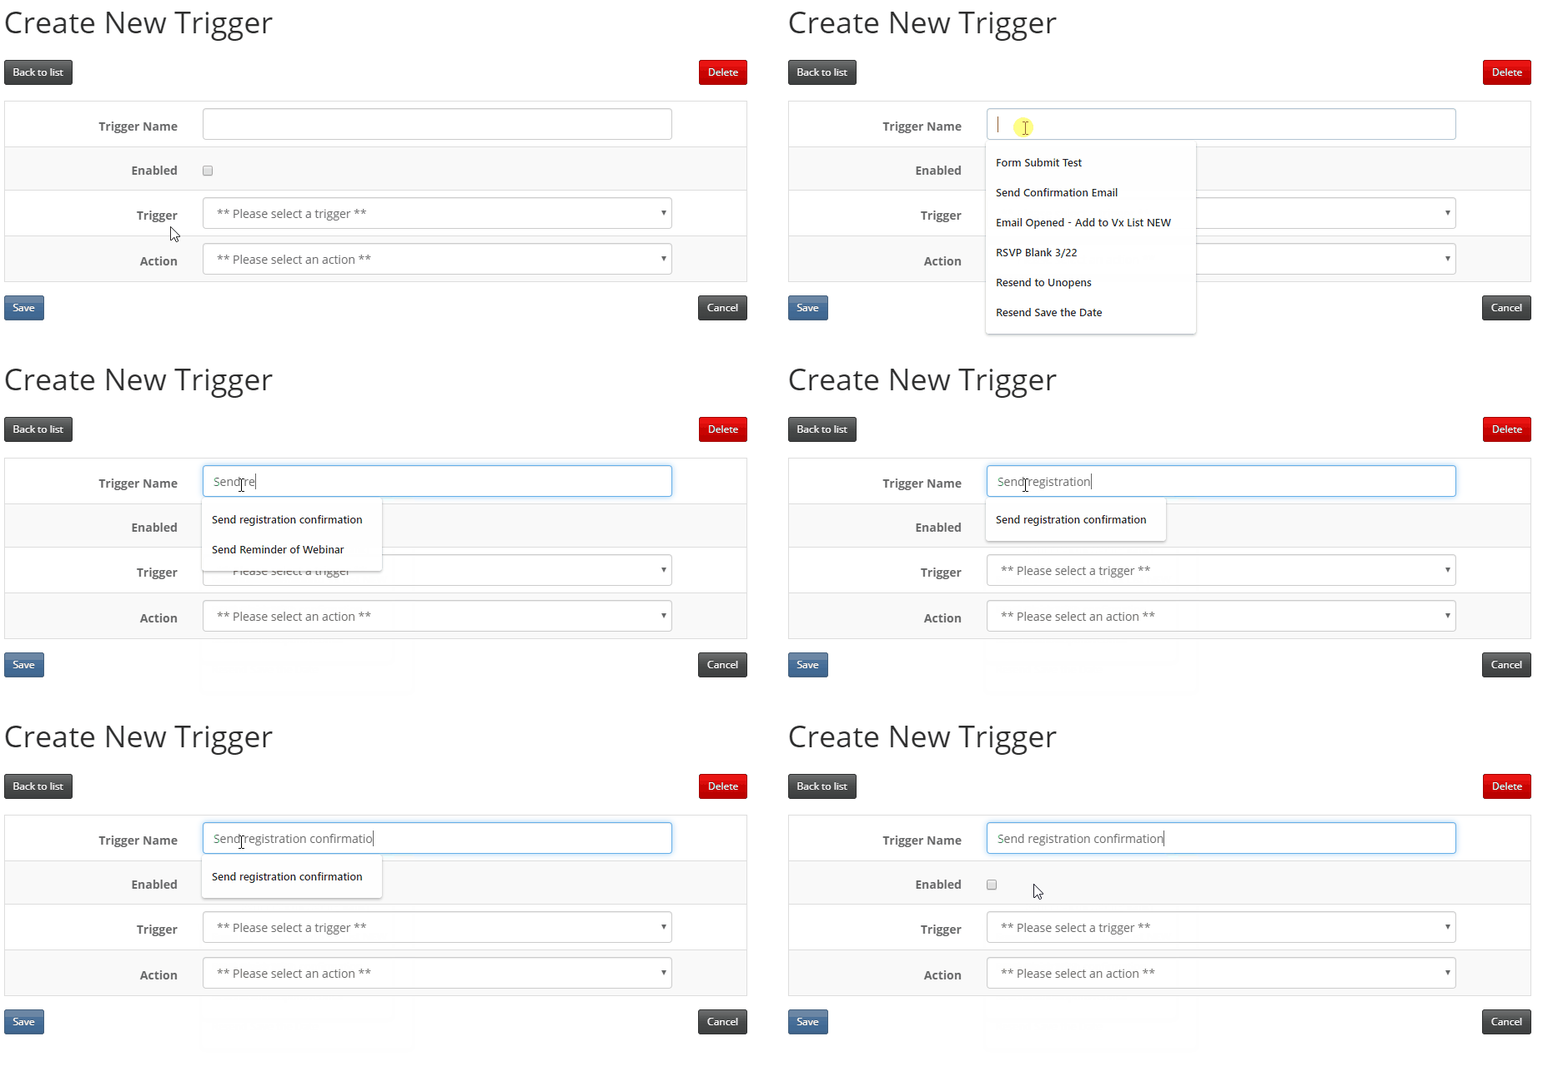
Important: Do not enable the trigger just yet. Wait until this trigger is setup and enable it from the 'Trigger List' screen.
5. Select the 'Recurring' Trigger from the 'Trigger' drop-down. Then select the specific date/time you'd like to start this recurring trigger.
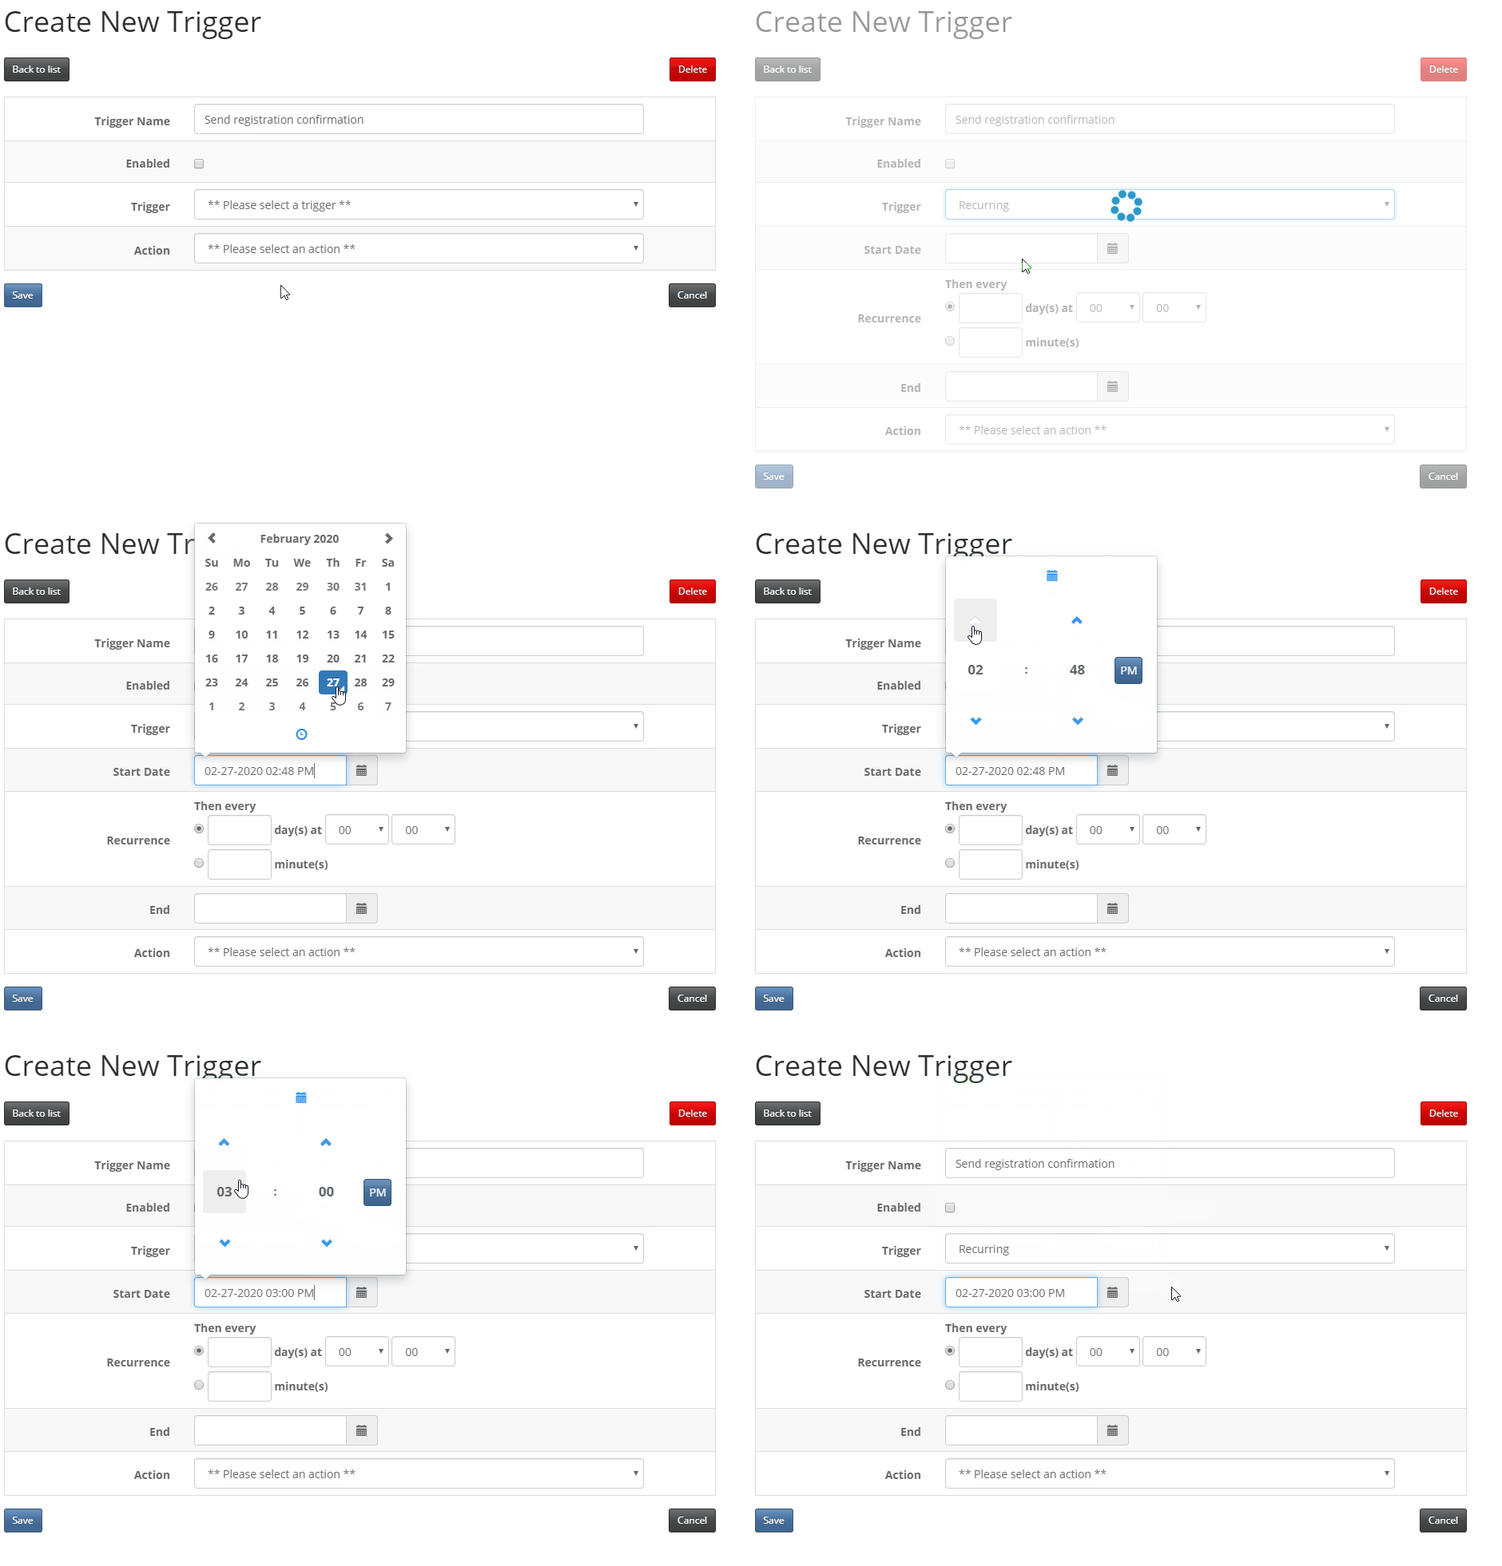
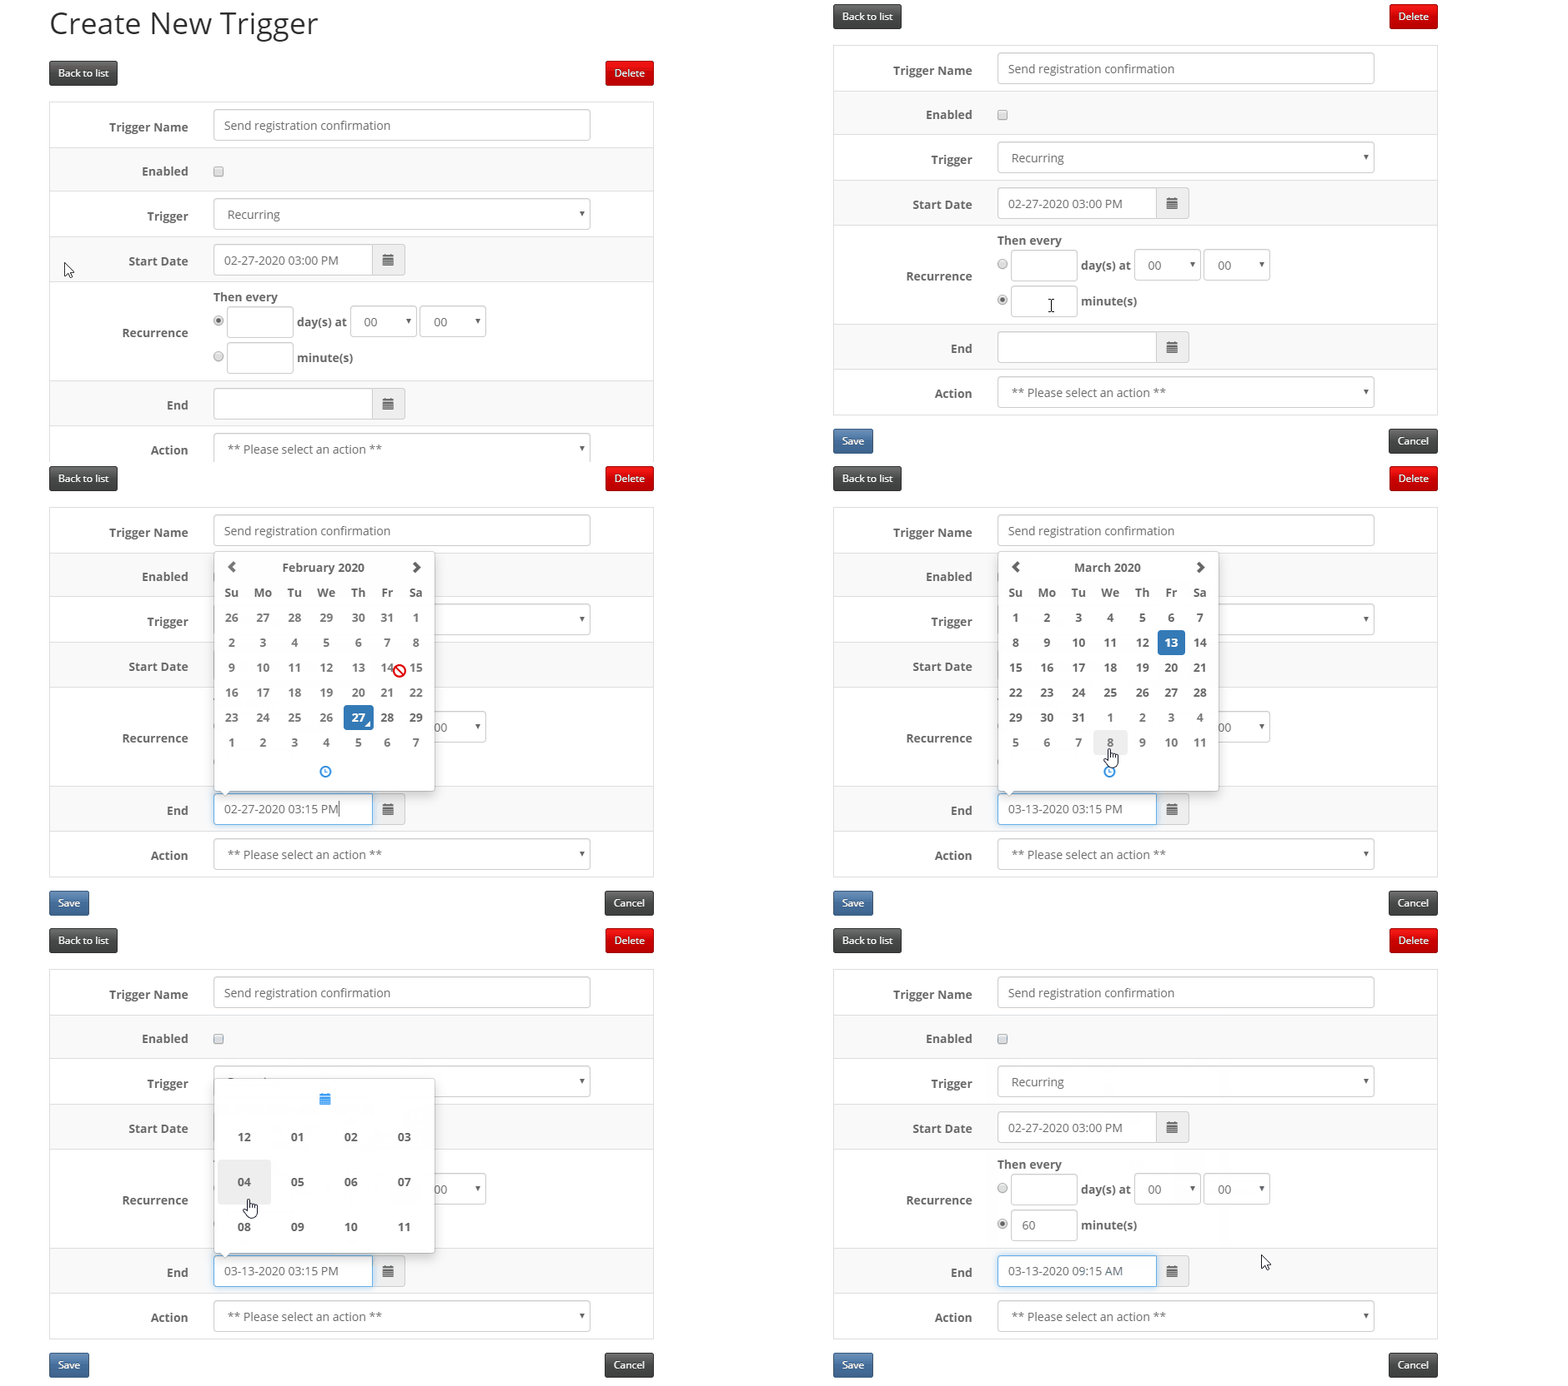
6. Next, choose your 'recurrence' for sweeping the list to find any new contacts that RSVP'd yes. Important: We recommend a minimum of 30 minutes so as not to overload your InterAction with the number of API calls Vuture needs to make. If running multiple recurring triggers in your Vuture system, please increase this to a minimum of 60 minutes.
Then select the end date/time for this 'Recurring' trigger (i.e. when registration is closed).
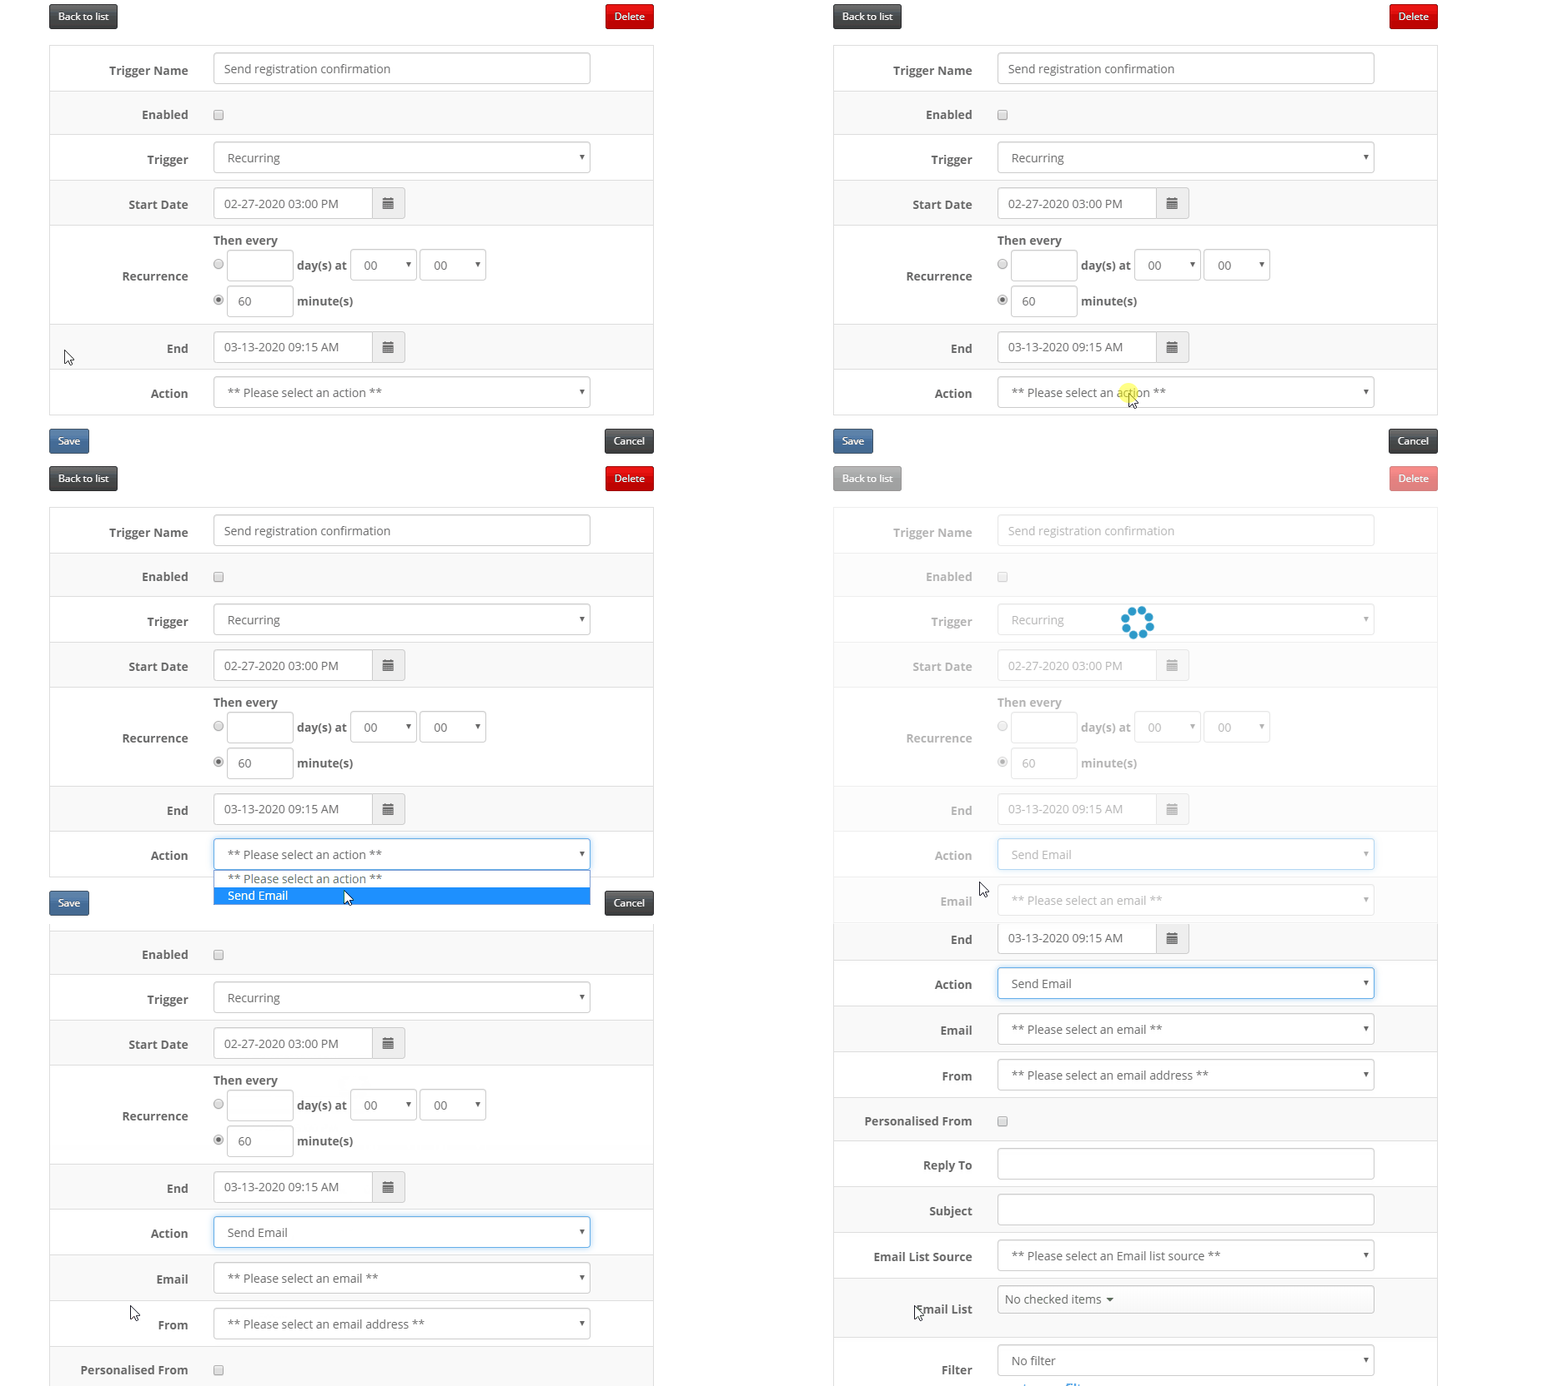
7. Select 'Send Email' from the 'Action' drop-down.
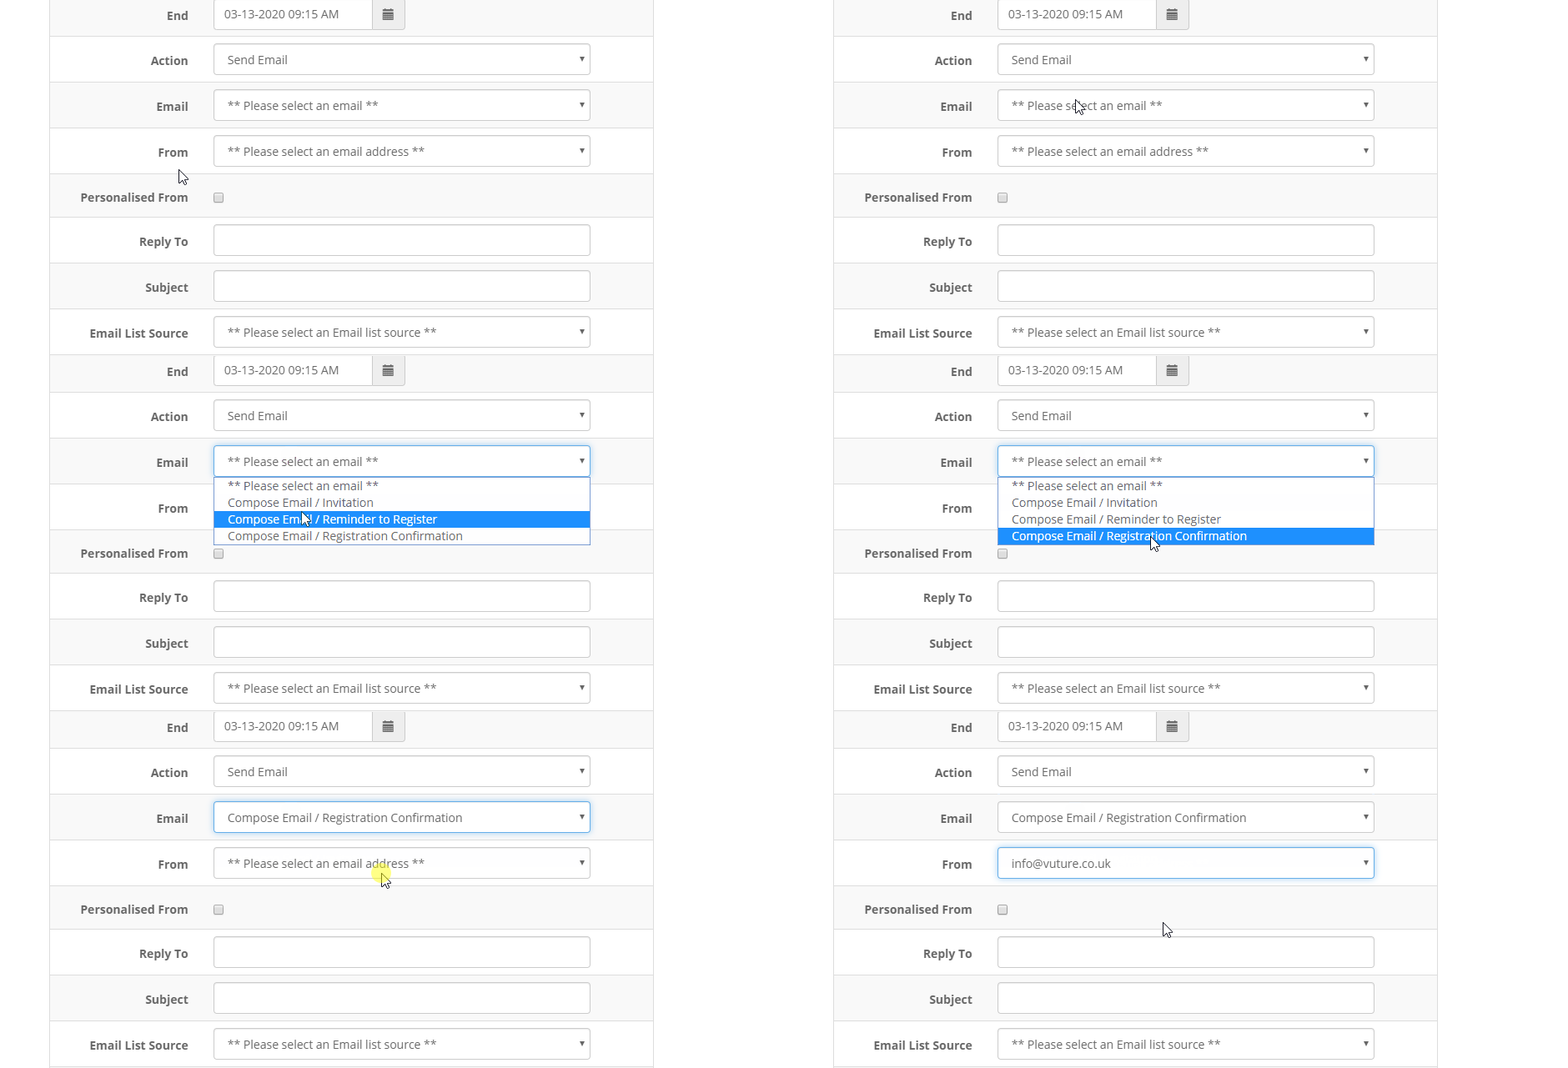
8. Then, select the 'Registration Confirmation' email you wish to send from the drop-down and choose your FROM Address.
9. (Optional) If you'd like to specify an email address for replies, please enter this email address into the 'Reply To' field.

10. Type in your Subject Line for this specific email send.

11. Choose InterAction as your List Source and select the Marketing List you wish to send this confirmation email to. Then select the 'Content Type' for this specific send. Please note: The list you select should be the same list you used to send out your invitation and where your RSVP Additional field is writing back to.
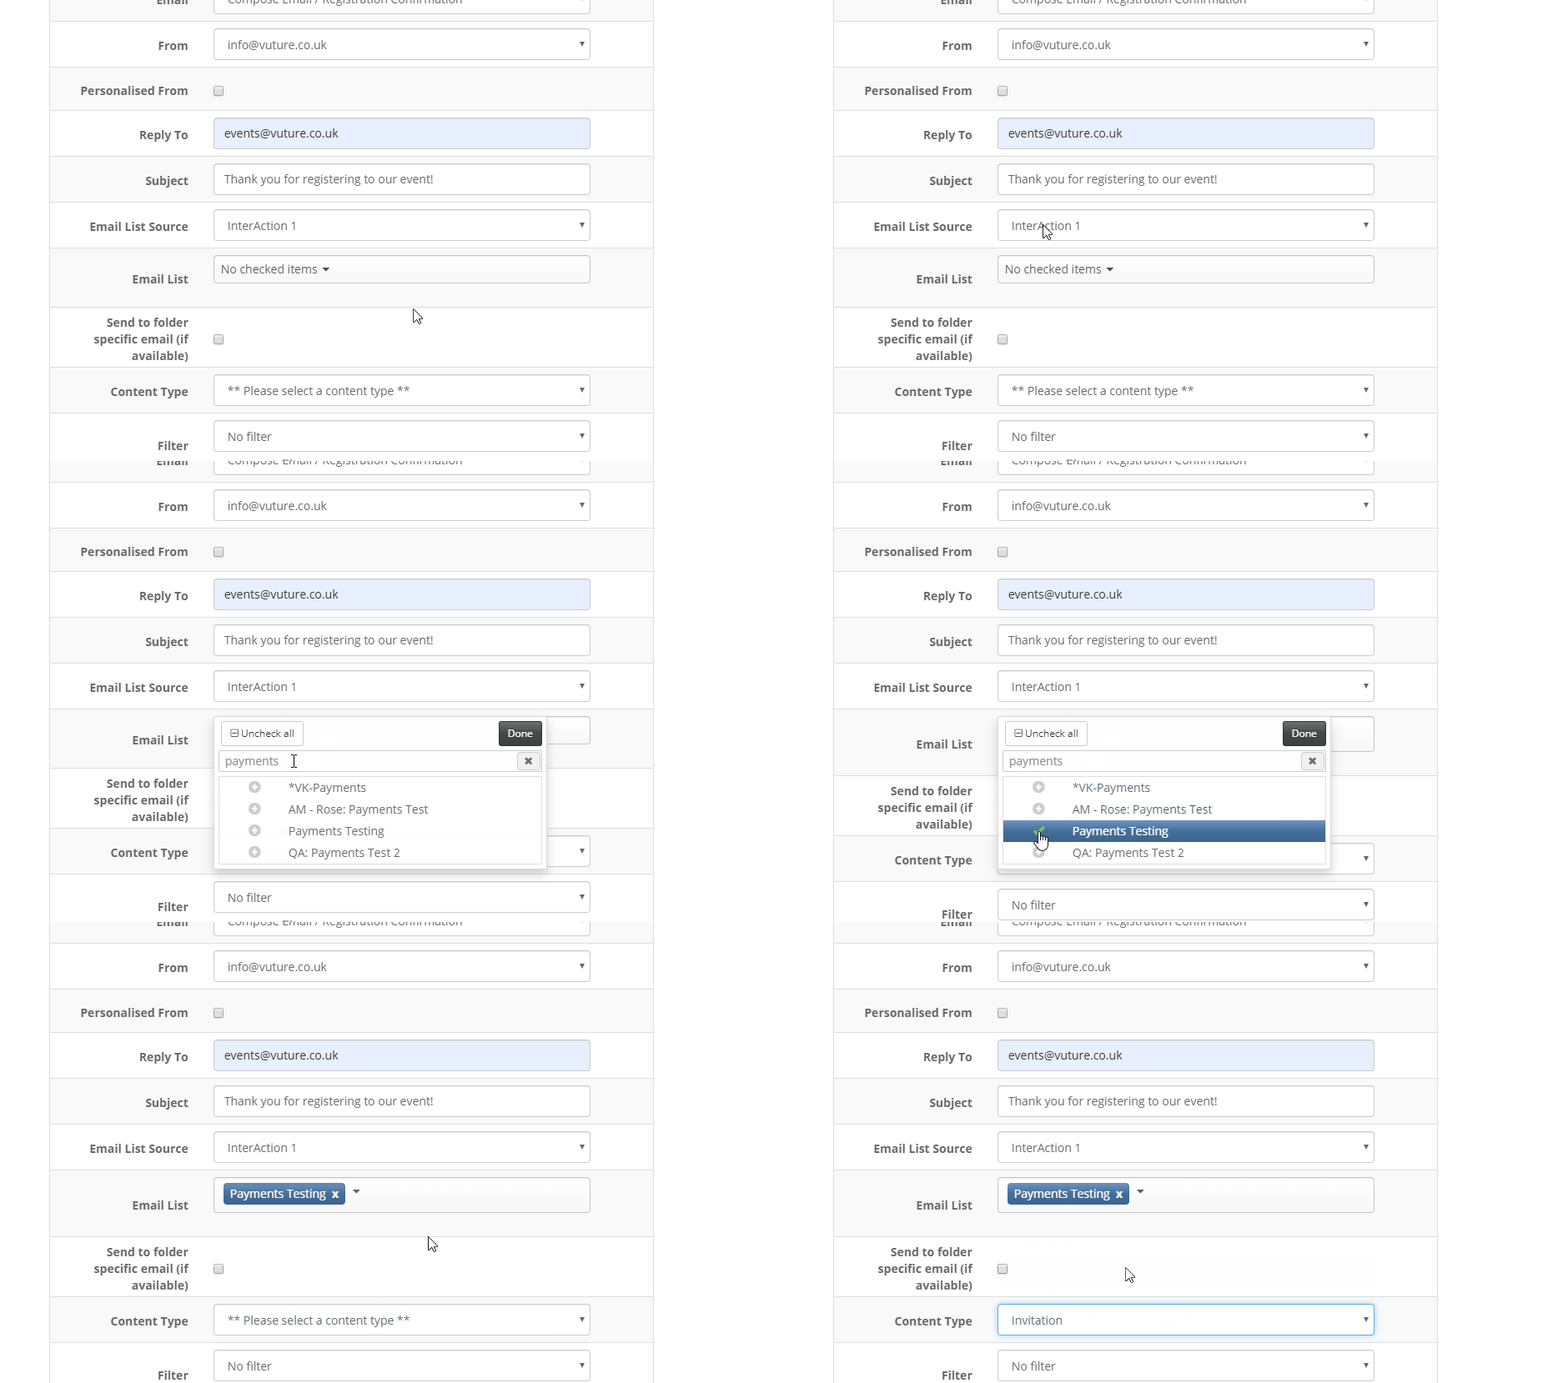
12. Create your filter to only send this email to those who have RSVP'd Yes. Make sure to give your filter a unique name with a description of what the filter will do (i.e. 'Event Name' - RSVP is Yes). This will make it easier to find to select this new filter for your Recurring trigger.
After you've named your trigger, scroll down to the Additional Fields section. Select the list you'll be sending this Registration Confirmation email to (this should be the same list you sent the invitation to and where RSVPs are being collected). Select your RSVP Additional Field. Then choose 'Yes' (or Accept) and click 'Add'. Then click 'Filter' at the very bottom of the Filter screen.
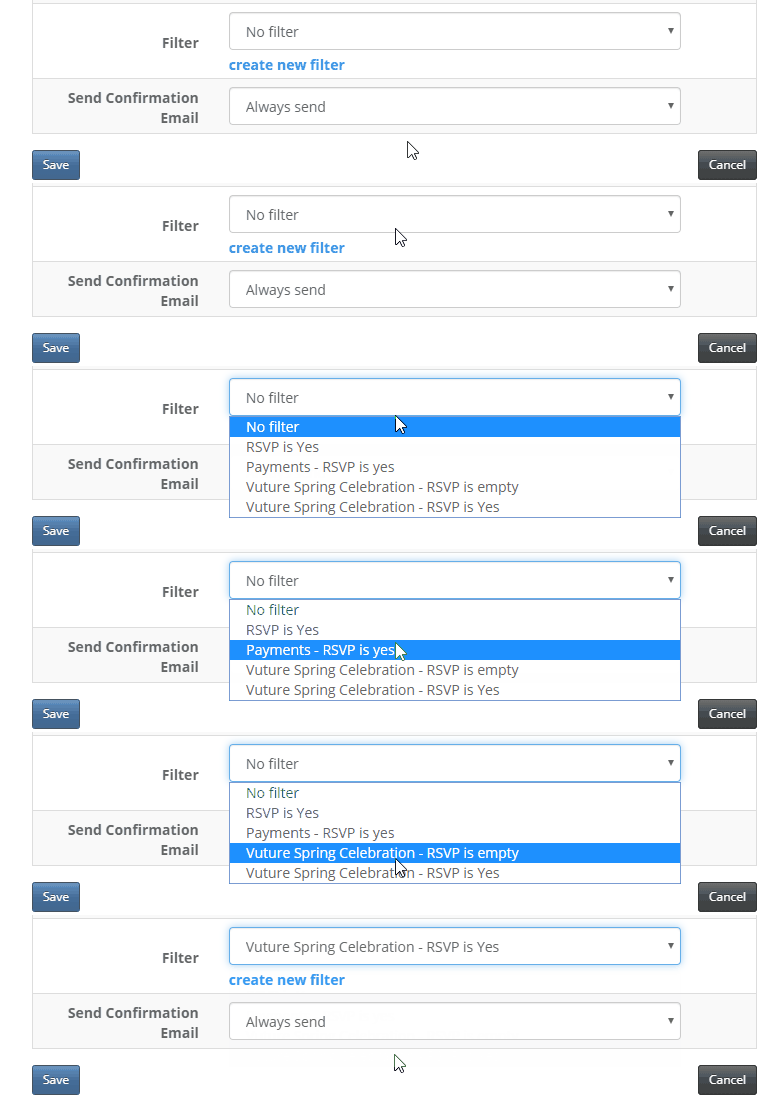
Important: Once your filter has been created, you'll need to select your new filter from the drop-down to set it for the Date trigger.
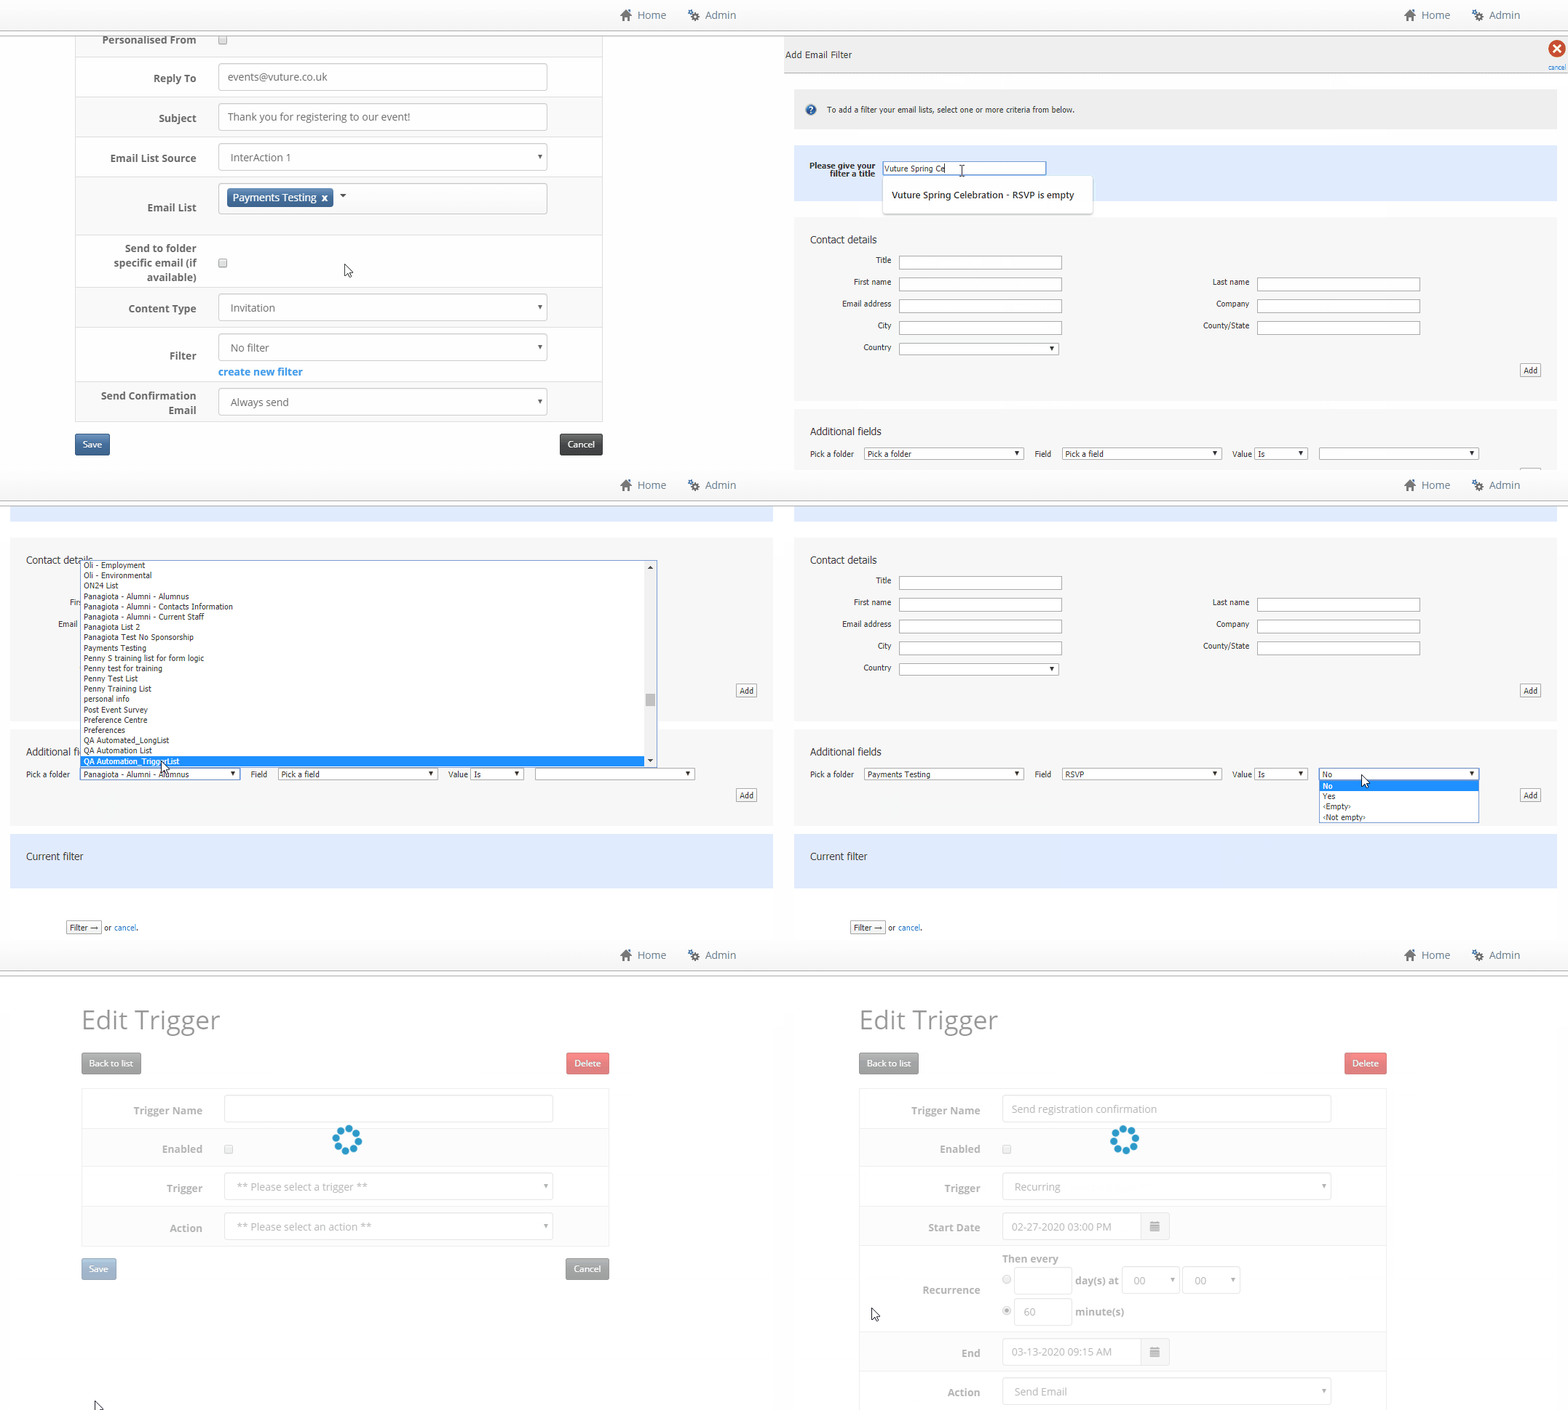
Creating the filter will save where you left off when creating this trigger.
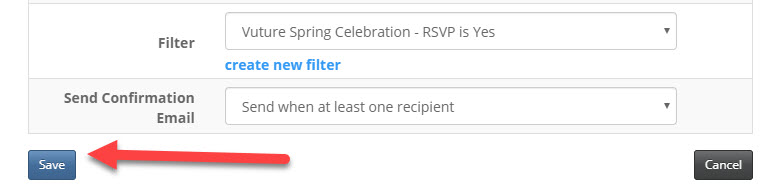
13. Set your filter by choosing it from the Filter drop-down.
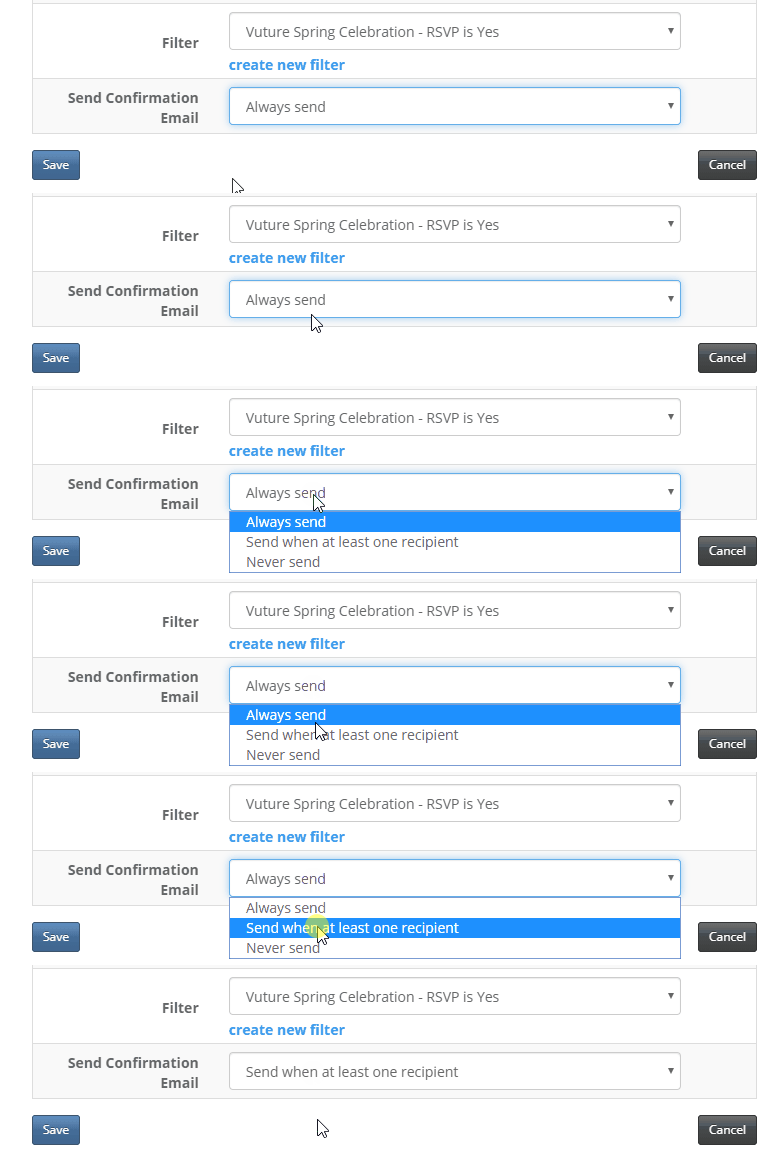
14. Decide how often you'd like to receive the 'Send Confirmation Email'. We recommend setting this to Send when at least one recipient.
15. With your filter set, click on the blue 'Save' button at the bottom left corner to save your Recurring Trigger.
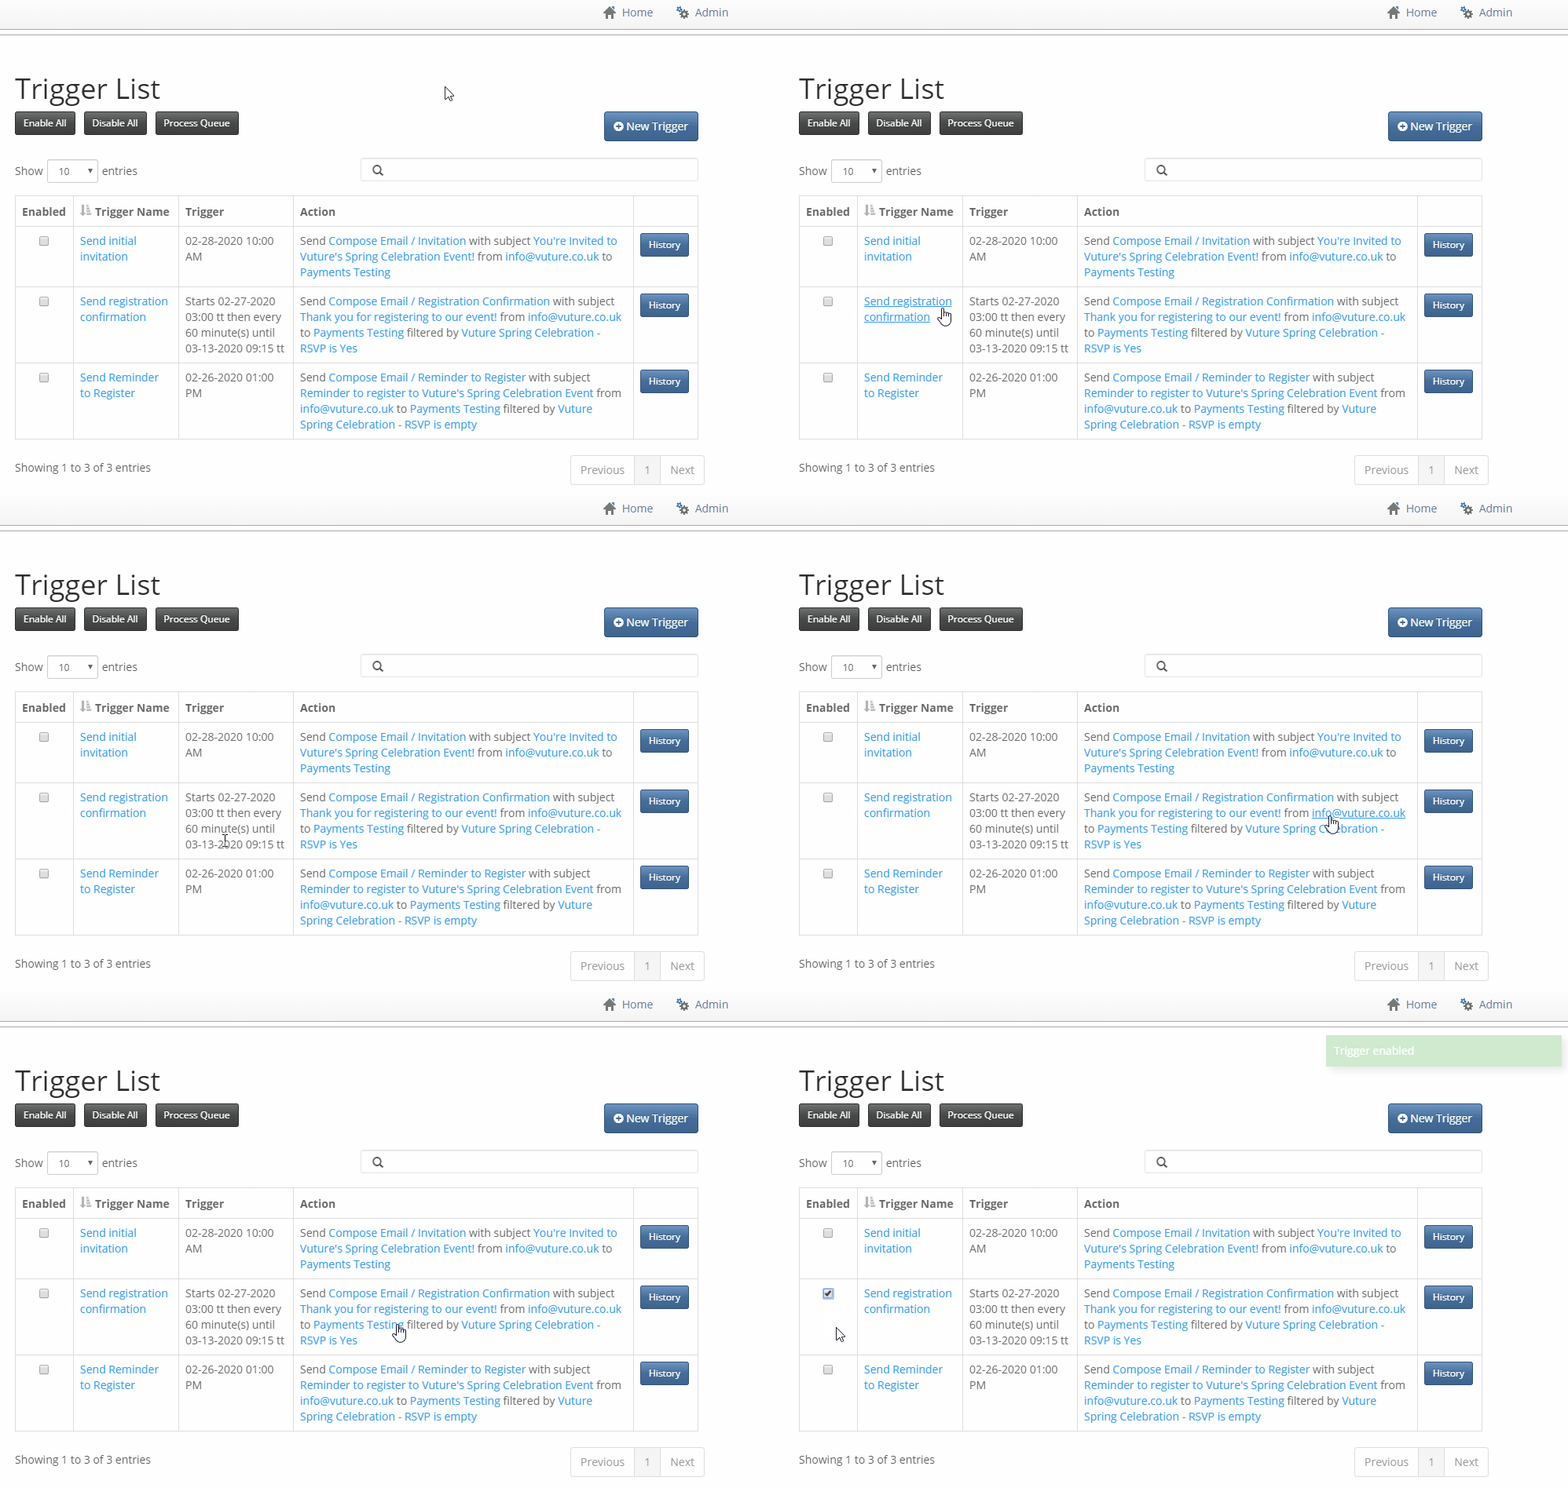
16. Double check that everything is correct (i.e. Date, Time, Email to send, Subject Line, etc.). Then when you're ready, from the Trigger List screen, check the box for 'Enabled' to enable your trigger. The trigger will begin to sweep the list at the date/time you specified and look for anyone who RSVP'd Yes at the recurrence you set (i.e. very 60 minutes) to send the registration confirmation email.