Vuture has a new interface codenamed SpaceLab. This article guides you through how to use the new interface and any changes in functionality between the old and the new versions.
How do I switch on the new interface?
If you have permission to change the roles (this is normally done by your Account Manager or Vuture Support), then the new interface can be switched on from the Admin section on the Roles page.
Additionally, your account manager must enable "Admin.system.memberships.Use Spacelab Login For All Users"
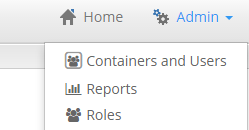
Select the Roles screen from the Admin option.
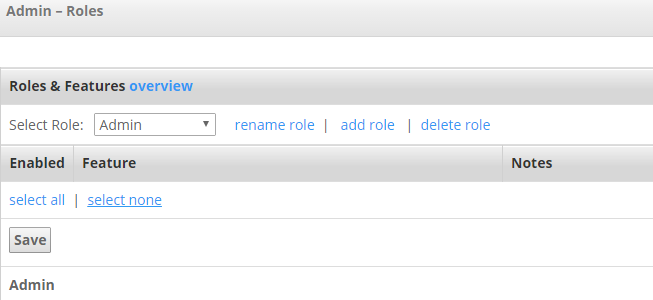
Find the Admin section on the Roles screen and finally select SpaceLab Home Page.

How do I access the Home Page?
The Home Page can be accessed by selecting Home from the menu bar.
How do I access different Modules on the Home Page?
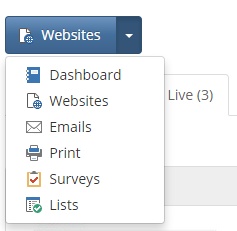
Simple select the Module type you require from the Module drop-down on the left hand side of the Home Page.
How do I find or change my Container?
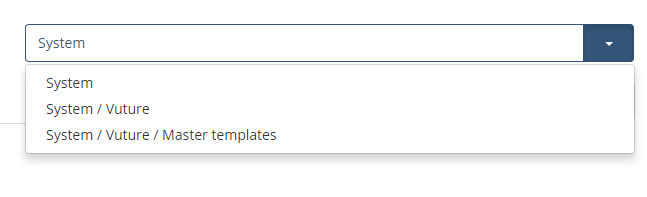
On the right hand side of the Home Page you will see a container drop-down list. Pressing the button with reveal the available Containers. For some customers this list can be extremely long and so this container drop-down list also has the “typeahead” ability which means that if you type directly in the box the system will automatically filter the list based on what you have have typed. Important Note : you must type at least 3 characters for the typeahead function to work. In the example below the letters “Vut” have been typed, revealing the available containers that contain these letters in the their name. Note the search is not case sensitive.

How do I create new items from the Home Page?
If you have permission to create new items in the current module then directly below the Typeahead Container drop-down described you will have a tab button available to do so, e.g. “Create Website” above.
I want to search the items in my container. How do I do this?
In the menu bar there is a search box that will automatically filter the returned items on the home page by the text that you type here. This searches the entire container for the currently selected status, even those items that do not appear on the current page.
How do I change between a thumbnail view and a list view?
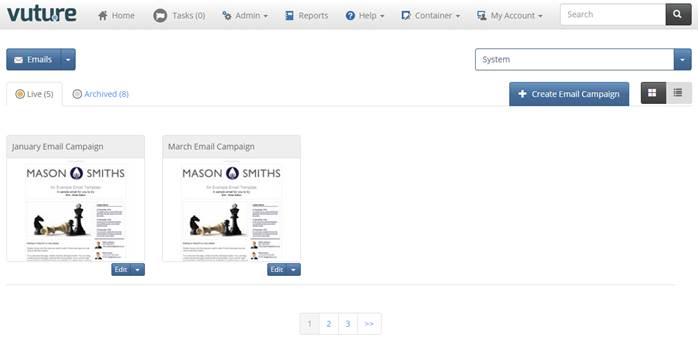
On the Home page tab bar on the far right hand side there are two buttons shown above which toggle either the thumbnail view or the list view. The thumbnail view is more like the legacy home page with thumbnails containing an image if appropriate. The list view shows a simple table of items.
What do the tabs show on the Home Page?

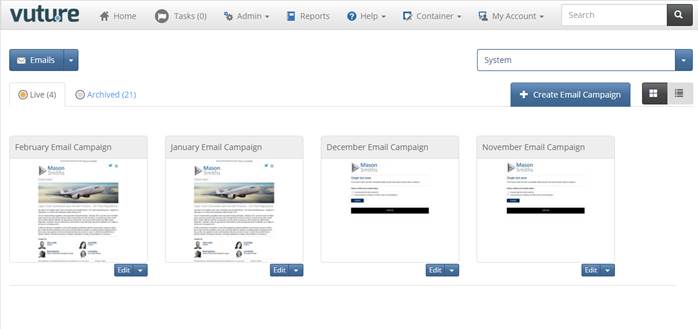
Depending on the module there are up to three different statuses that are shown on the Home Page for each module. Click a tab and it will filter the current module type by that status. E.g. All Email Campaigns that are Live. The number in each tab denotes how many of that Module Type are of each status.
Tell me more about the Thumbnails and what they show
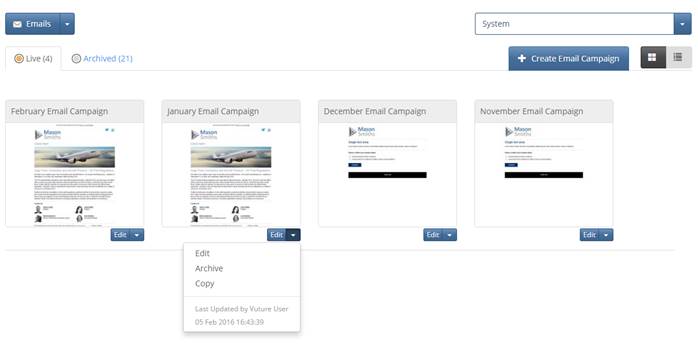
The above example shows 4 Live Email Campaign thumbnails and the available options available to the user. The options are identical to those found on the legacy home page. They are context sensitive which means that they can change based on the Module Type, Item status and who is looking at the page. For example to edit an Email Campaign above, simply click on the thumbnail itself or click the drop-down menu and select the option “Edit”.
Thumbnail Ordering
Spacelab by default displays the thumbnails by last updated date. This is a change from the old interface which ordered the thumbnails alphabetically. If you would like to display the thumbnails alphabetically please contact your Account Manager or Vuture Support who can change the sort order by unchecking the system configuration "Admin.System.Sites.Order Spacelab Site By Published Date".
Container Settings
Three Container Settings in the current legacy home page have also now been implemented in the new interface.
How do I access the Container Users, Email Address Settings & Container Activity report?
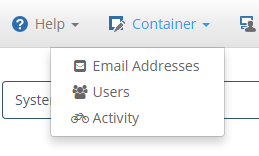
These are all accessible from the Container drop down menu. Note they are context sensitive, that is you can only access them if they are appropriate for the current module. E.g. email address Settings is available on the email module but not available for the web sites module.
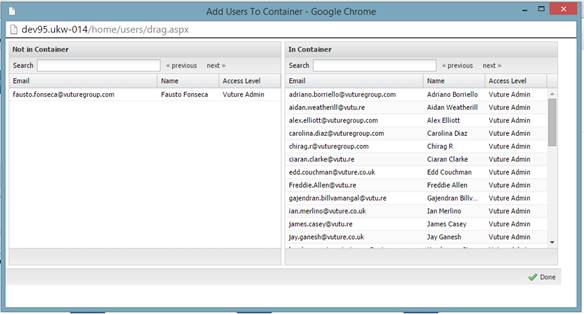
You can add a user to a container by select the option “Users” from the “Container” drop down.
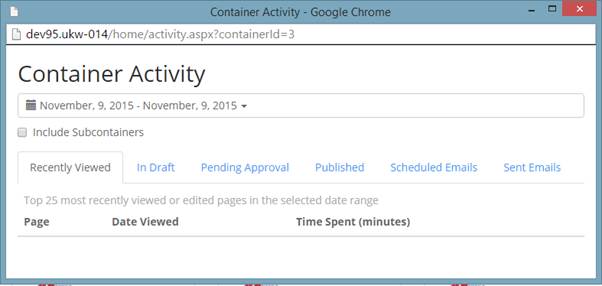
To display a report of activity for a particular container then select “Activity” from the “Container” drop down.
To add an email address for a specific container then select “Settings” from the “Container” drop down.
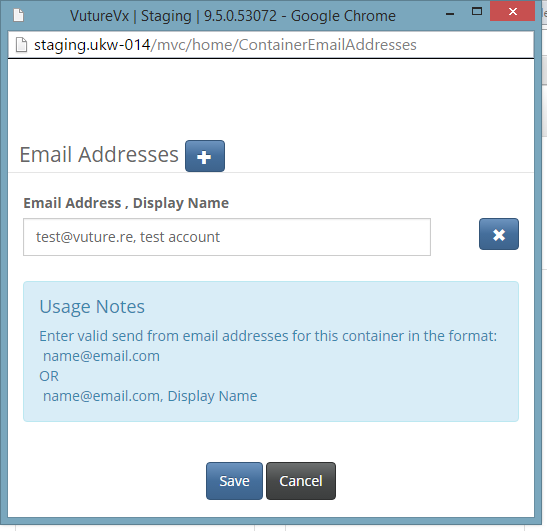
On this screen, you can add an email addresses or an email addresses with an addition display, as shown above. To add a new email address just click the [+] icon and to remove email addresses click the blue [x] button. Once you have are happy with your changes click the Save button or Cancel to revert back to the previously saved email addresses.
User Settings
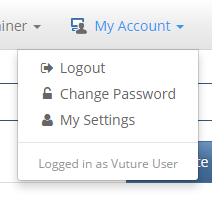
From the “My Account” Menu select “My Settings” to popup the user settings screen:
The User Settings page has the same options as the legacy home page version:
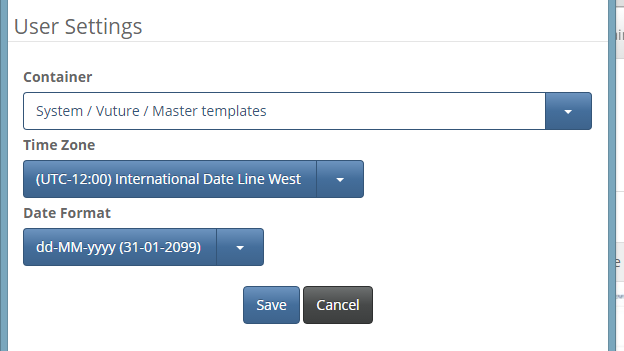
From this page you can set your default container (the container that will be displayed when you logged in), or set your current time zone and default date format which will affect the way dates are handed in different places throughout the system.
Theme Image Upload
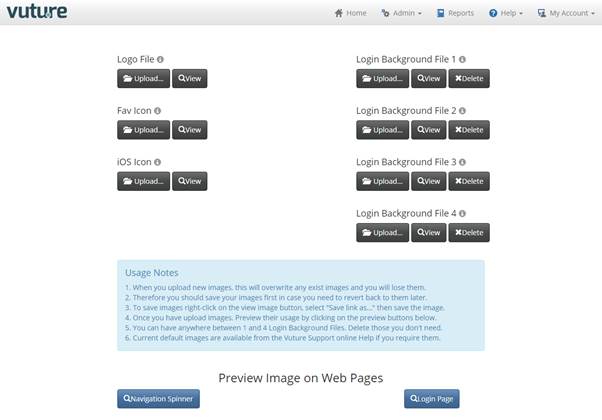
Theme Image Upload
To upload a new Image please contact your Account Manager to assist with this. Please provide us with a jpeg of the image. We can take care of the rest.
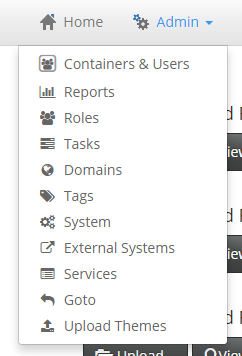
The Theme Image Upload screen can be accessed from the menu bar:
What are the Available Actions?
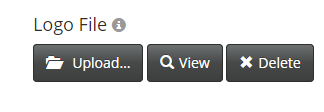
With each Theme Image there are up to three options available:
Upload : Upload the image file of your choice based on the file restrictions given below. This will overwrite any existing images, so save them first if you need to.
View : View your image in a separate browser tab.
Delete : Delete an image. Most useful for Login Background files when you don’t want to use all 4 possible images.
There are also buttons that allow an example preview of the images loaded.
Navigational Spinner : Preview your background and logo images on the Navigational spinner.
Login Page : Preview your background and logo images on the Login Page.
What images can I change?
You can upload 4 different types of files:
Logo File
Allows you to upload an image to use as the main Logo displayed used in the system including the login page and the menu bar (see above).
Restrictions: only valid PNG images. Images more than 420px wide will be reduced by ratio to 420px. Other images more than 210px in width will be reduced by ratio to 210px.
Fav Icon
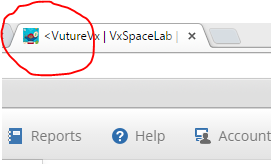
Allows you to change the FavIcon used throughout vx (see below)
Restrictions: only 32px square PNG images. Square images more than 32px wide will be reduced by ratio to 32px.
iOS Icon
Allows you to upload images that will be used as iOS Icons in the future.
Restrictions: only 196px square PNG images. Will create images of 196, 152, 144, 128, 120, 114, 76, 72, 57 and 32 pixels square by ratio to the uploaded image.
Login Background Files 1..4
These files allow you to upload jpg files that are used as the background on the login pages and on the navigation spinner displayed when you are creating new items such as web pages. These will be displayed in order. You don’t need to have all 4, the system will simply look for each of the files and display them if they exist.
Restrictions: should be a valid image, JPG format.
Further Usage Notes
1. When you upload new images, this will overwrite any exist images and you will lose them.
2. Therefore you should save your images first in case you need to revert back to them later.
3. To save images right-click on the view image button, select "Save link as..." then save the image.
4. Once you have upload images. Preview their usage by clicking on the preview buttons below.
5. You can have anywhere between 1 and 4 Login Background Files. Delete those you don't need.
Finally, note that the default stored location of the Theme Icons can be found in the System Configuration section “ThemeImages”.
Reports
How can I run reports?
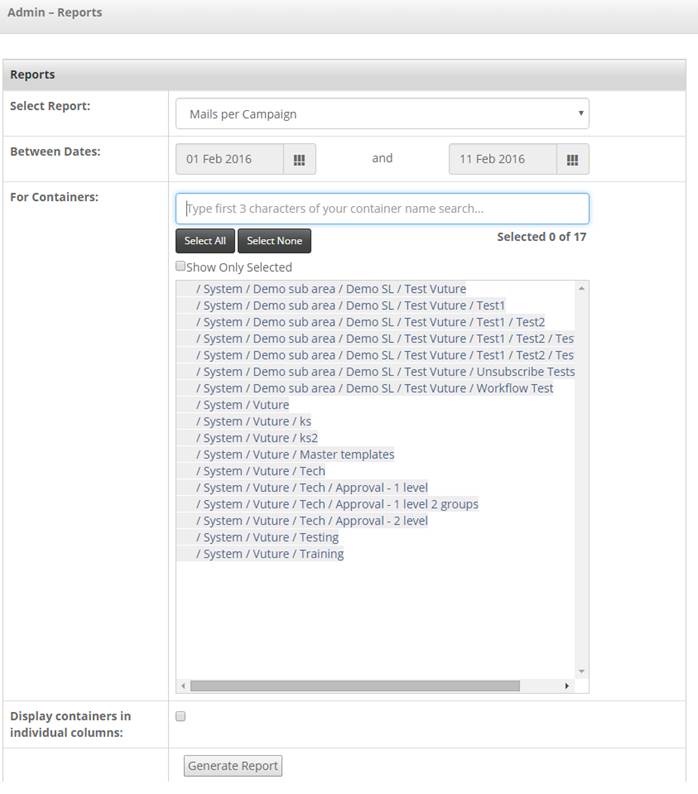
In the Admin section under the “Reports” screen you are able to run reports. You can specify the report from the “Select Report” field, the date(s) from the “Between Dates” section and the individual containers that the report is to run from under the “For Containers” field.
For some Reports such as “Mails per Campaign” you are also able to “Display containers in individual columns” in the report by checking the last section on the screen (see below):
If I have a lot of containers how can I find specific sets of my containers?
In the “For Containers” section of the Reports screen if you type in your search criteria the selection box underneath it will only show those which match these search criteria. In the example below “approval” was entered as the selection criteria and you can see that 2 containers have been selected to be reported on.
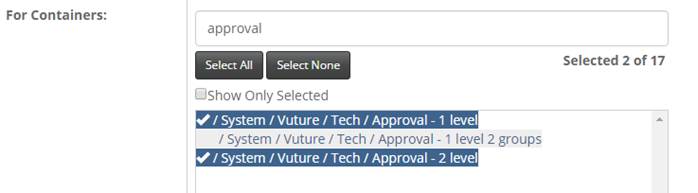
The message “Selected 2 of 17” confirms how many of the total available containers have been selected.
How can I select containers from more than one selection criteria?
Simply type in your second selection criteria, in this case “demo” and a new set of containers matching your criteria will appear. Select the ones you want now in addition from those in the previous selection criteria, “approval”.
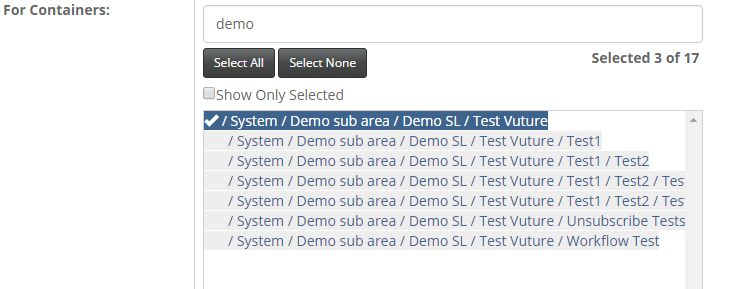
Now we have added one more container to the container list and the message “Selected 3 of 17” confirms this.
How can I see all of the containers I have selected from different searches?
Simply click on the “Show Only Selected” tick box.
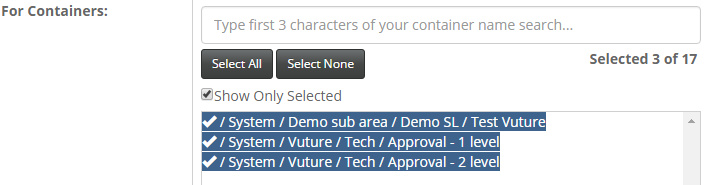
How do I select multiple groups of containers from the container selection box?
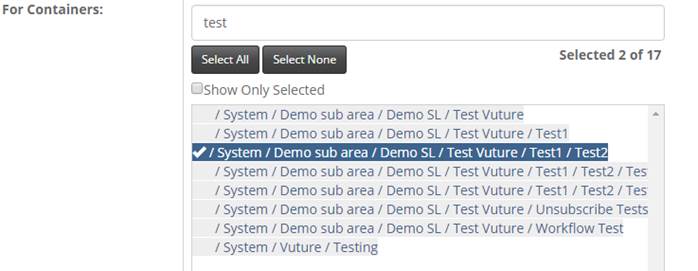
To select single items from the selection box, you simply select the container and a tick will appear alongside your selection. If you want another single selection, just select another from the list.
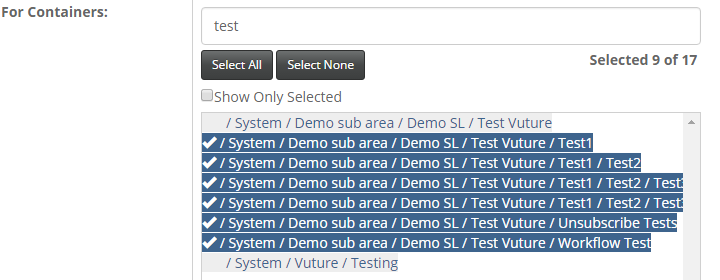
To select a group of items in one go, select the container which represents the beginning of your selection, then holding down the SHIFT key and select the end of your selection. Now all the of containers between your two selection points will be selected (see below).
What does content editing looking like?
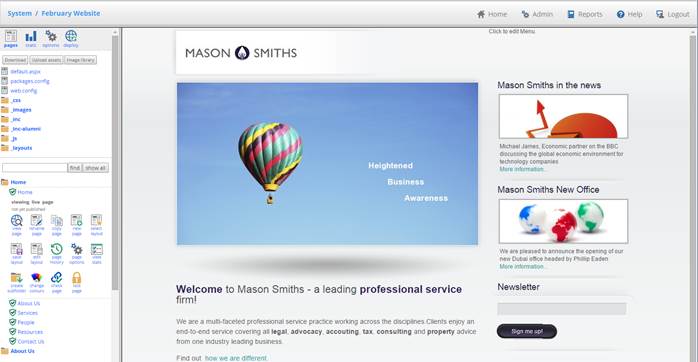
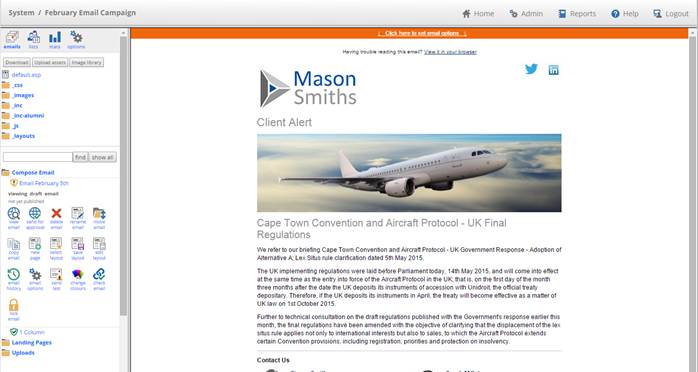
The look and feel of the system has been changed to reflect the new interface in a number of significant areas, such as content editing - see an example website and email campaign below:
System Configuration
How do specify the new login interface automatically for all system users?
Note: you will need your Account Manager or Vuture Support to enable this for you.
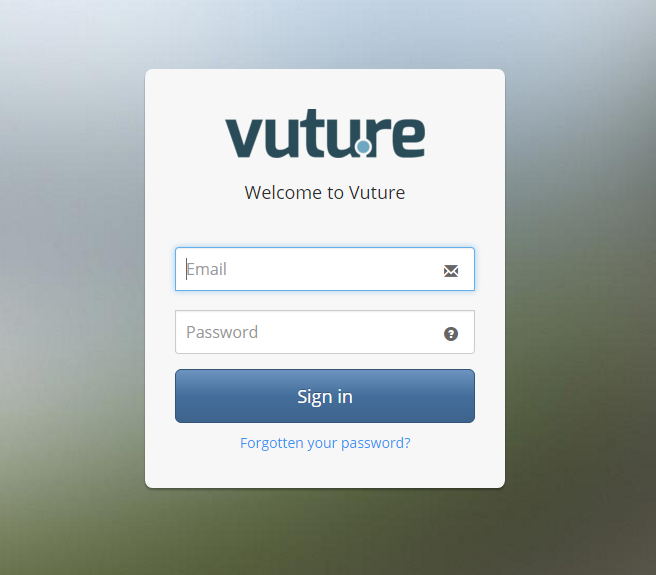
On the Admin “System” screen select the Membership section. On the section there is an option for setting the Spacelab login for all users. Tick this setting to switch on this option and display the new login (see below):

Can I change the number of sites displayed on each page on the Home page?
Yes you can. Go to the Admin “System” screen and select the Sites section. On that section choose the option for setting Spacelab Home Page Sites Per Page. Note that by default 10 Sites are displayed per page.

So given 4 sites per page the Home Page will look like this:
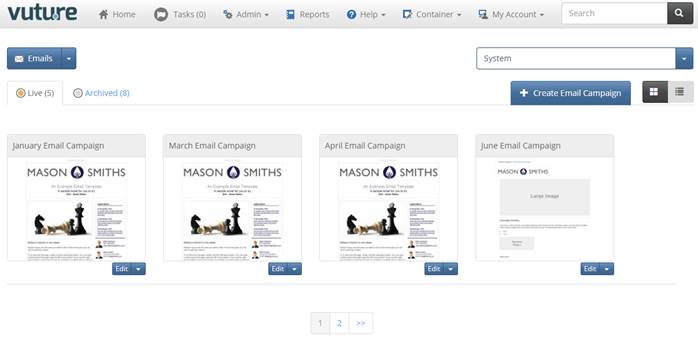
And by changing the number of Sites Per Page to 2 you would get the following on Page 1.
How can I find out the location of the Theme Image Icons?
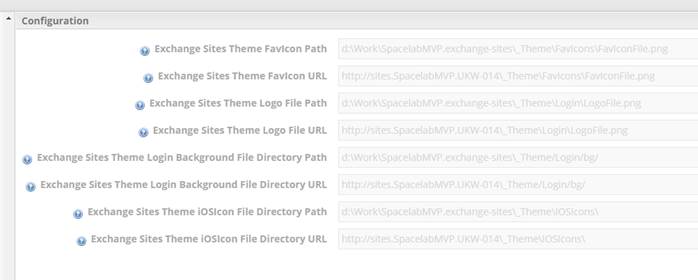
On the Admin “System” screen select the ThemeImages section. On that sections you can see the details of the Path and URL for each Image type.
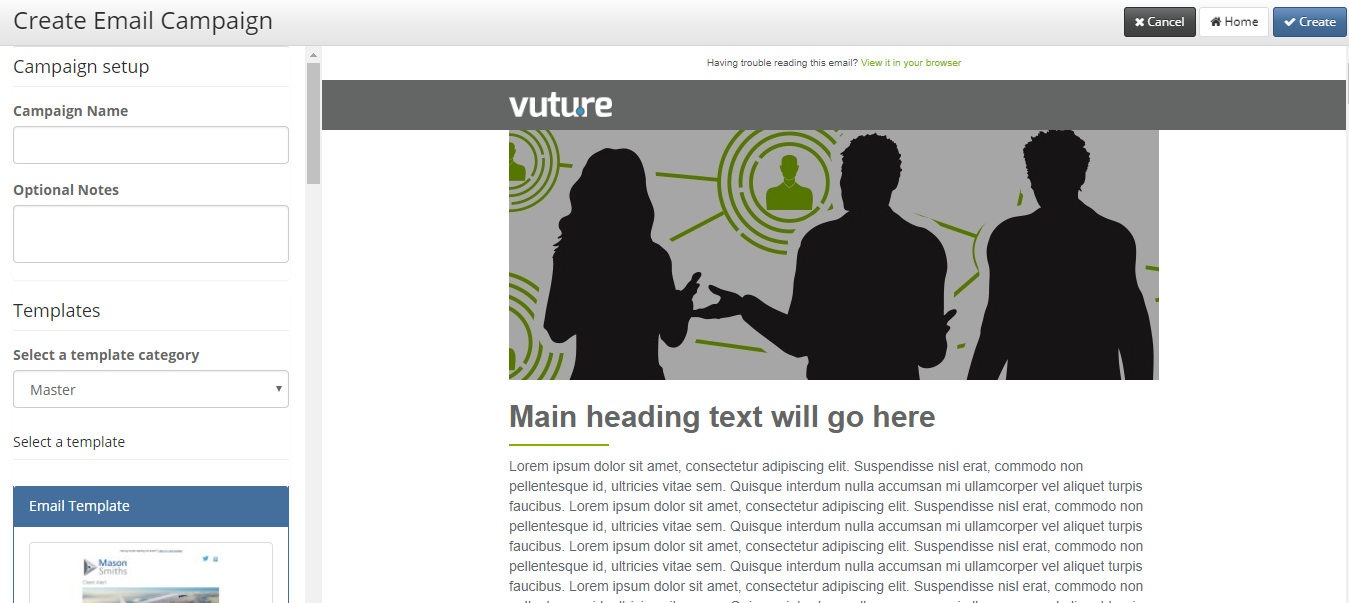
Creating a new campaign *New February 2019
The page used to create a new campaign has been upgraded to use the Spacelab interface. You will see the page has the following style when you click on "Create Campaign" in any of our Vuture Modules.