Please note: This is a premium feature. Please see your Account Manager for details.
Overview
This article provides you with background information and instructions on how to use Vuture forms with ON24.
Note that the integration supports only the following fields:
FirstName
LastName
Company
EmailAddress
State
City
JobTitle
Country
PostCode
Contents
Requirements
The ON24 functionality will need to be setup on your Vuture instance.
Please contact your Account Manager for assistance with this.
- The contact clicks through to the form as normal from a Vuture email.
- They complete or confirm their details which must include an email address and Last Name field as a minimum.
- When the form is submitted the contact's data is sent in the background to ON24, which registers them automatically for the corresponding event.
- The whole process happens with a single click of the submit or register button on the Vuture form.
Blank registration forms that are not linked to a CRM can be used to automatically register contacts for an ON24 webinar.
Tracking Attendance: It is only possible for Vuture to track (and write back activities for) attendees who register via a Vuture Form. Any users that register for the webinar directly through the webinar provider using a generic audience link, will not have an attendance activity written back to the crm. Their attendance will be recorded in the webinar provider's reports.
What Vuture fields match up with ON24?
Important: To connect a Vuture form to ON24 it must contain at least an email and Last Name field (highlighted in green below).
You can include any other fields on the form and the following fields will be written back with each ON24 registration. Any fields not on this list will not be sent to ON24 but will be recorded in the Vx List or Contacts Module:
| Vuture Field Name | ON24 Field |
| FirstName | firstname |
| LastName | lastname |
| Company | company |
| Email | email |
| JobTitle | job_title |
| Address1 | address_street1 |
| City | city |
| State | state |
| PostCode | zip |
| Country | country |
| Telephone | work_phone |
| Telephone_Home | home_phone |
Please note: For the above fields to write back to ON24, make sure you have these fields checked off in ON24 under 'Registration' > 'Registration Fields' for your webcast. They should also be included on your Vuture registration form(s).
How do I setup my Vuture form(s) with ON24?
Important: The ON24 registration is triggered by simply submitting a Vuture form that references the ON24 Audience URL. Because of this, your RSVP Form(s) should only have the option to RSVP 'Yes'. If you'd like to give your contacts the option to decline the invitation, you will need to create an additional RSVP 'No' form (Prefilled & Blank), that does not reference the ON24 Audience URL.
Please follow the below 'How To' with best practice advice for setting up your Vuture form(s) with ON24:
1. Create your RSVP Prefilled and RSVP Blank forms.
Make sure the below is done for both the RSVP Prefilled Form and the RSVP Blank Form.
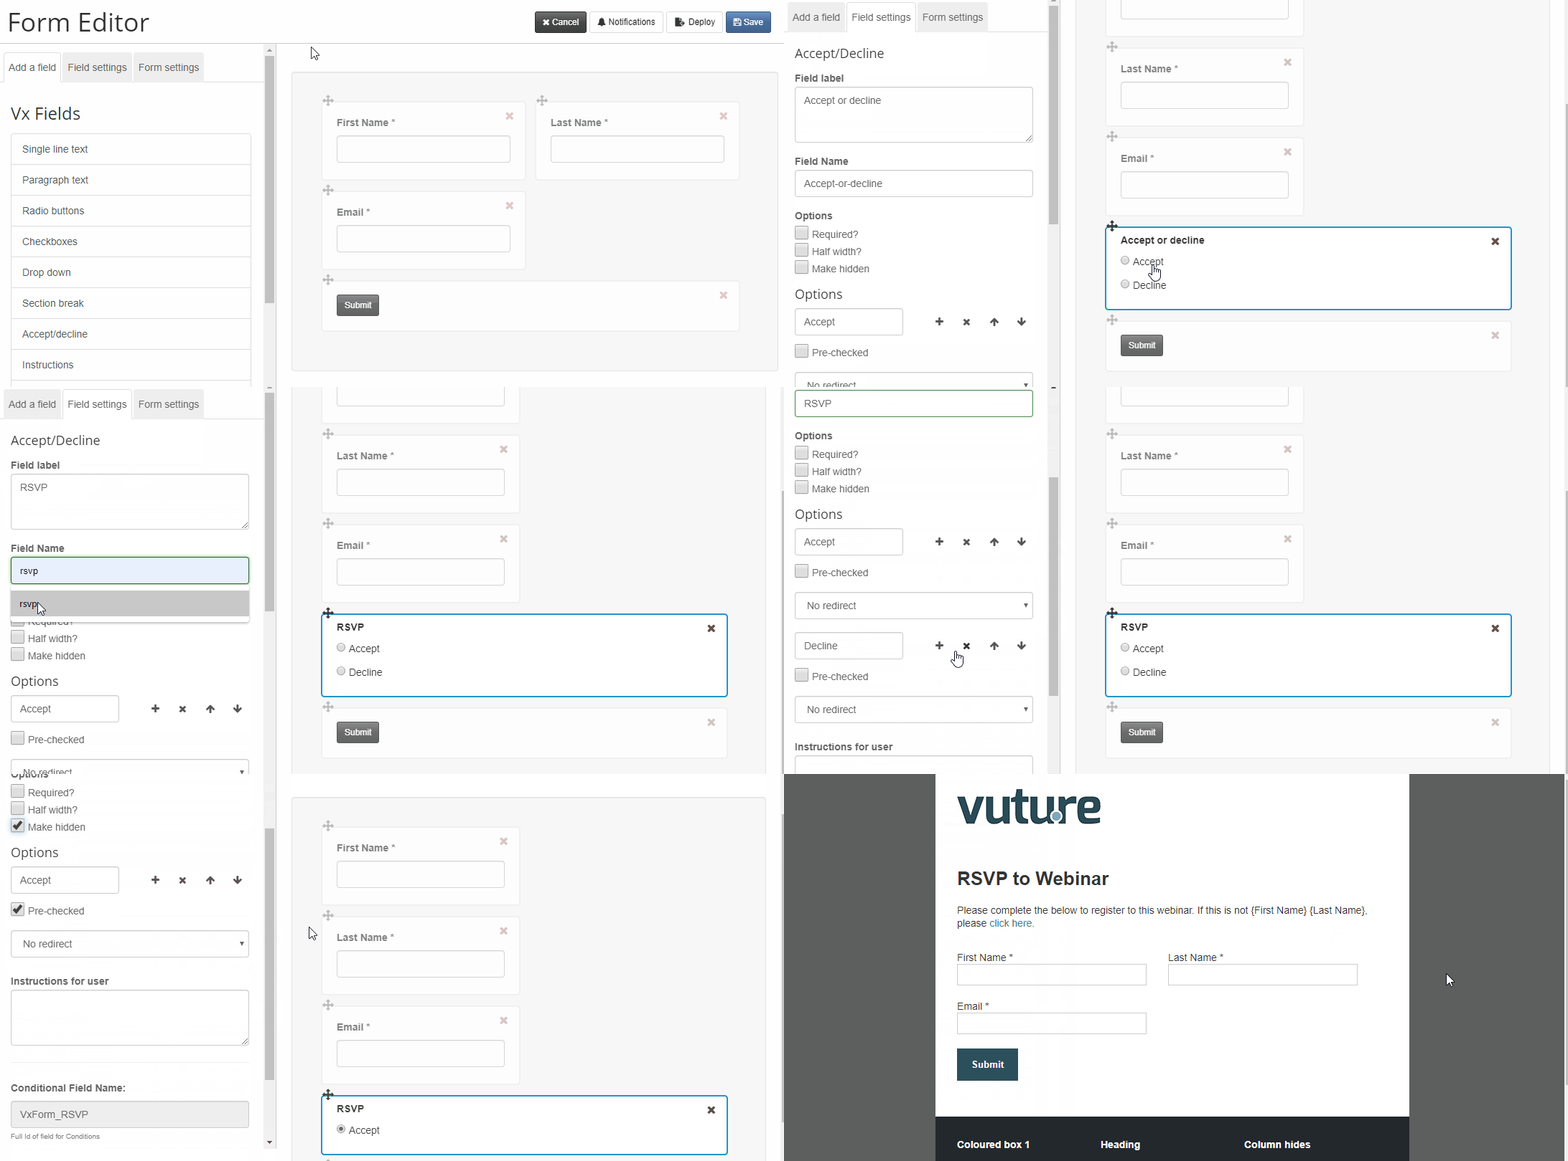
- Only provide the option to RSVP 'Yes'. There should be no option to RSVP 'No' as the ON24 registration is based on this form being submitted.
- As a bare minimum, please include the First Name, Last Name, Email Address, and RSVP field on the form.
- Your RSVP Field could pre-check the 'Yes' option and you could make this field hidden.
- Consider changing your 'Submit' button to read 'Register' or 'Accept' to make clear that by submitting this form, the contact is registering to your Webinar.
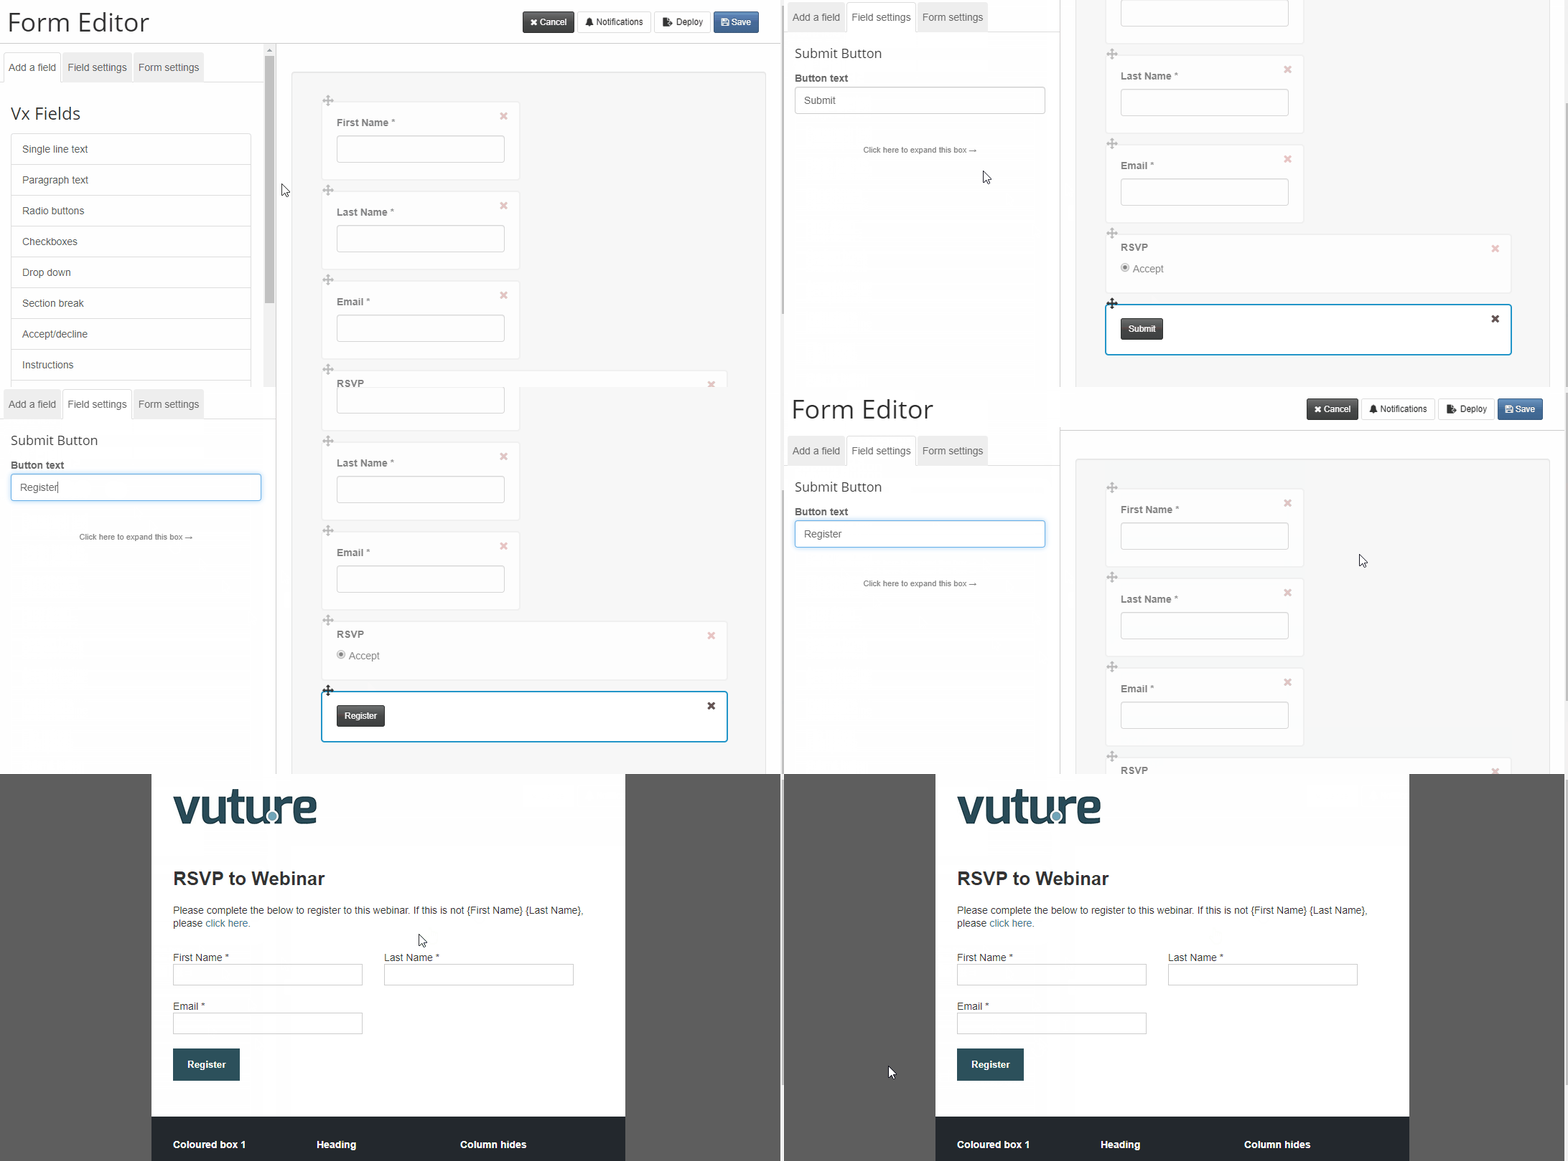
Best Practice Tip: If you have a Webinar Sub-Template, update your template by renaming the 'RSVP Prefilled' and 'RSVP Blank' forms as 'RSVP Prefilled - Yes' and 'RSVP Blank - Yes'. You may also wish to change your 'Submit' button to 'Register' or 'Accept' for each of the forms. Then, save out your updated Sub-Template. This can help to remind you and your team of best practice and eliminate having to do these additional steps each time.
2. Set-up your Form Settings for your RSVP Prefilled and RSVP Blank forms.
Make sure the below is done for both your RSVP Prefilled and RSVP Blank forms within Form Settings.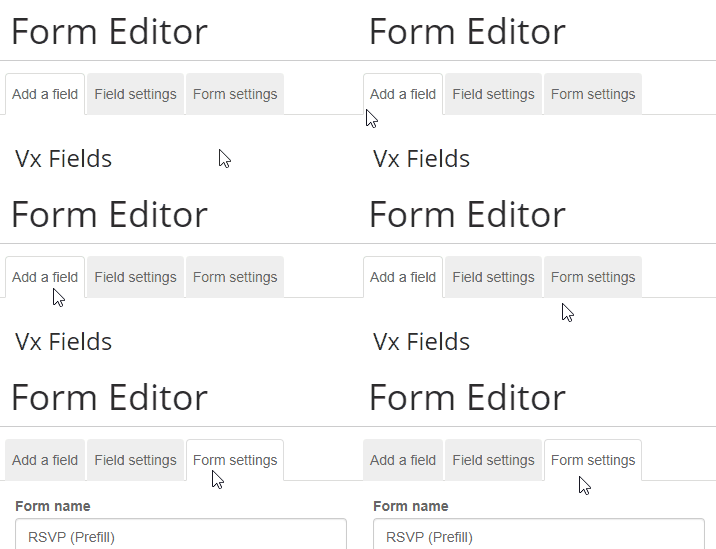
As with all of your RSVP Forms, you'll want to at the very least, make sure you have the following completed:
- Thank You page set, and the Form data options set correctly (i.e. 'Pre-fill contact details' for a Prefilled form and 'Blank form, disconnect from contact' for a Blank Form).
- The Form data options should be automatically set for you from the template you used, but it is always good to double check.
- (Blank Form only) - For the 'Add contacts to folder' drop-down, select the list that you're tracking RSVPs for. This should be the same list that you plan on using to send the invite. This ensures that any contact who submits this Blank Form will be added to the list and you'll be able to track their RSVP response.
- Check the box for 'Update Vx Lists?' - This should always be checked for Prefilled and Blank forms to write back to the Contacts Module or Vx List.
Now, for the ON24 Integration, you'll need to scroll down in Form Settings until you see 'ON24 Integration Audience URL'.
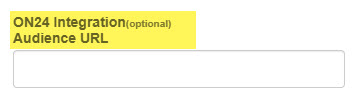
Within the ON24 Integration Audience URL field, paste in your ON24 Audience URL for your ON24 Event. This will be in the following format.
http://event.on24.com/wcc/r/948318/EEC134D94C25333CACFE8AD3242CE09F
or
http://w.on24.com/r.htm?e=948318&s=1&k=EEC134D94C25333CACFE8AD3242CE09F
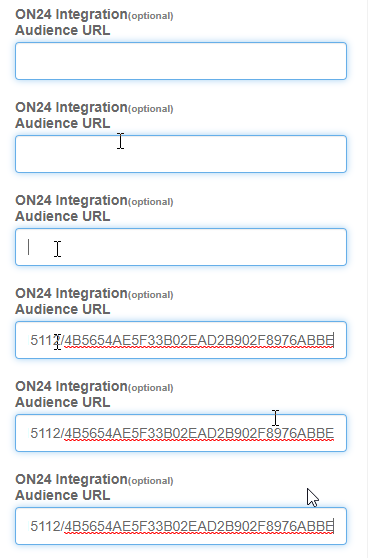
Lastly, save and publish the form. Friendly reminder to make sure that this is done for both your Prefilled and Blank forms.
Your form is now integrated with ON24