Overview
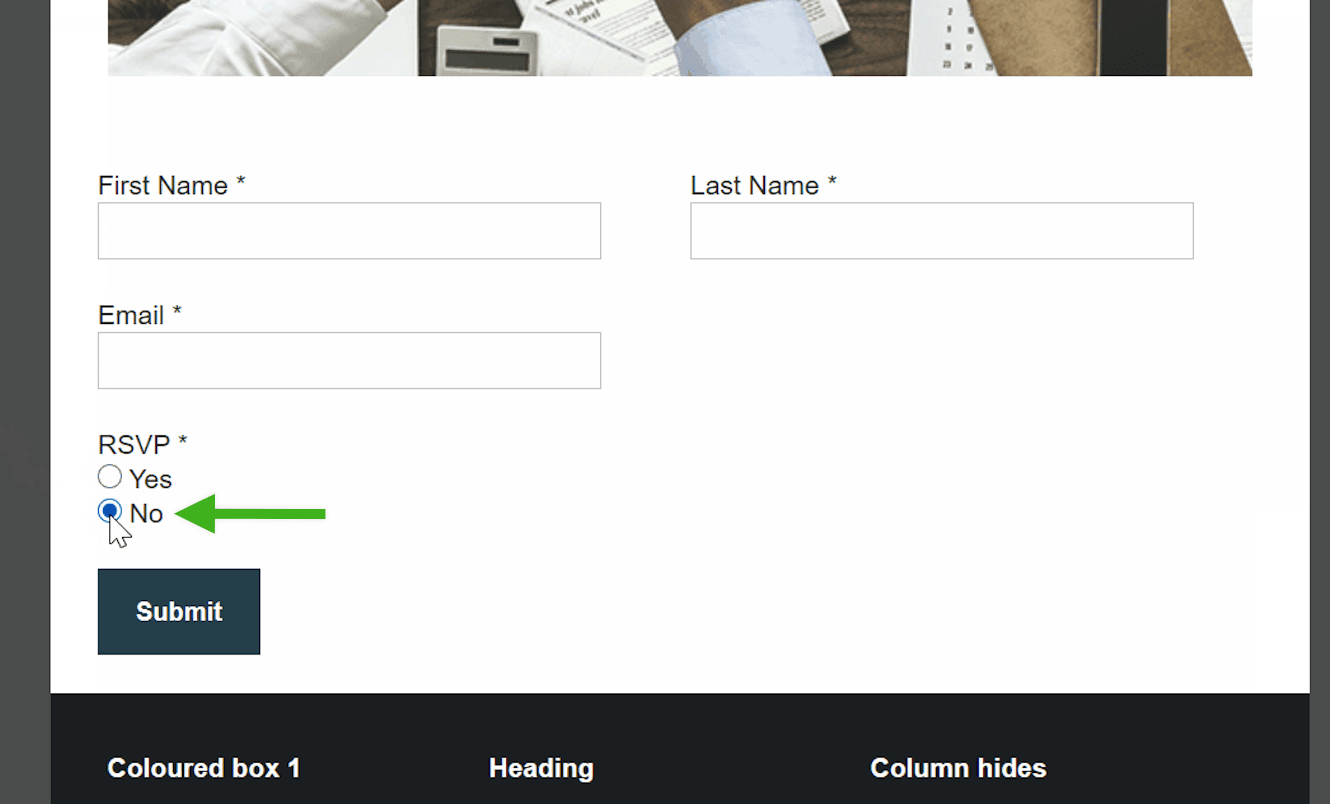
This article will walk you through how to use Form Logic to show/hide a field, depending on whether someone RSVPs yes to an event.
For example, if someone RSVPs yes to an event, you may wish to display additional fields on the form (i.e. Dietary Requirements, sessions, etc.). But, if someone declines the RSVP, you may wish to keep any additional fields hidden and simply allow the contact to submit the form.
Contents
Step by Step Setup Guide
Step 1 - Create a new InterAction Marketing List for your event with a RSVP additional field and any other additional fields you wish to include (i.e. dietary requirements, CLE credit, etc.).
Please note, if you plan to cap this event with Form Logic's Count Formula, we recommend using an enumeration field for your RSVP. For more information, please refer to this Help Desk Article.
Step 2 - Create your RSVP Prefilled and RSVP Blank forms as you normally would, following all best practice recommendations. Be sure to include your additional field and any other additional fields on these forms.
Step 3 - Open up a new plain text document on your computer (i.e. Notepad), to create the Form Logic to show/hide a field based on someone selecting Yes or Accept on the RSVP field.
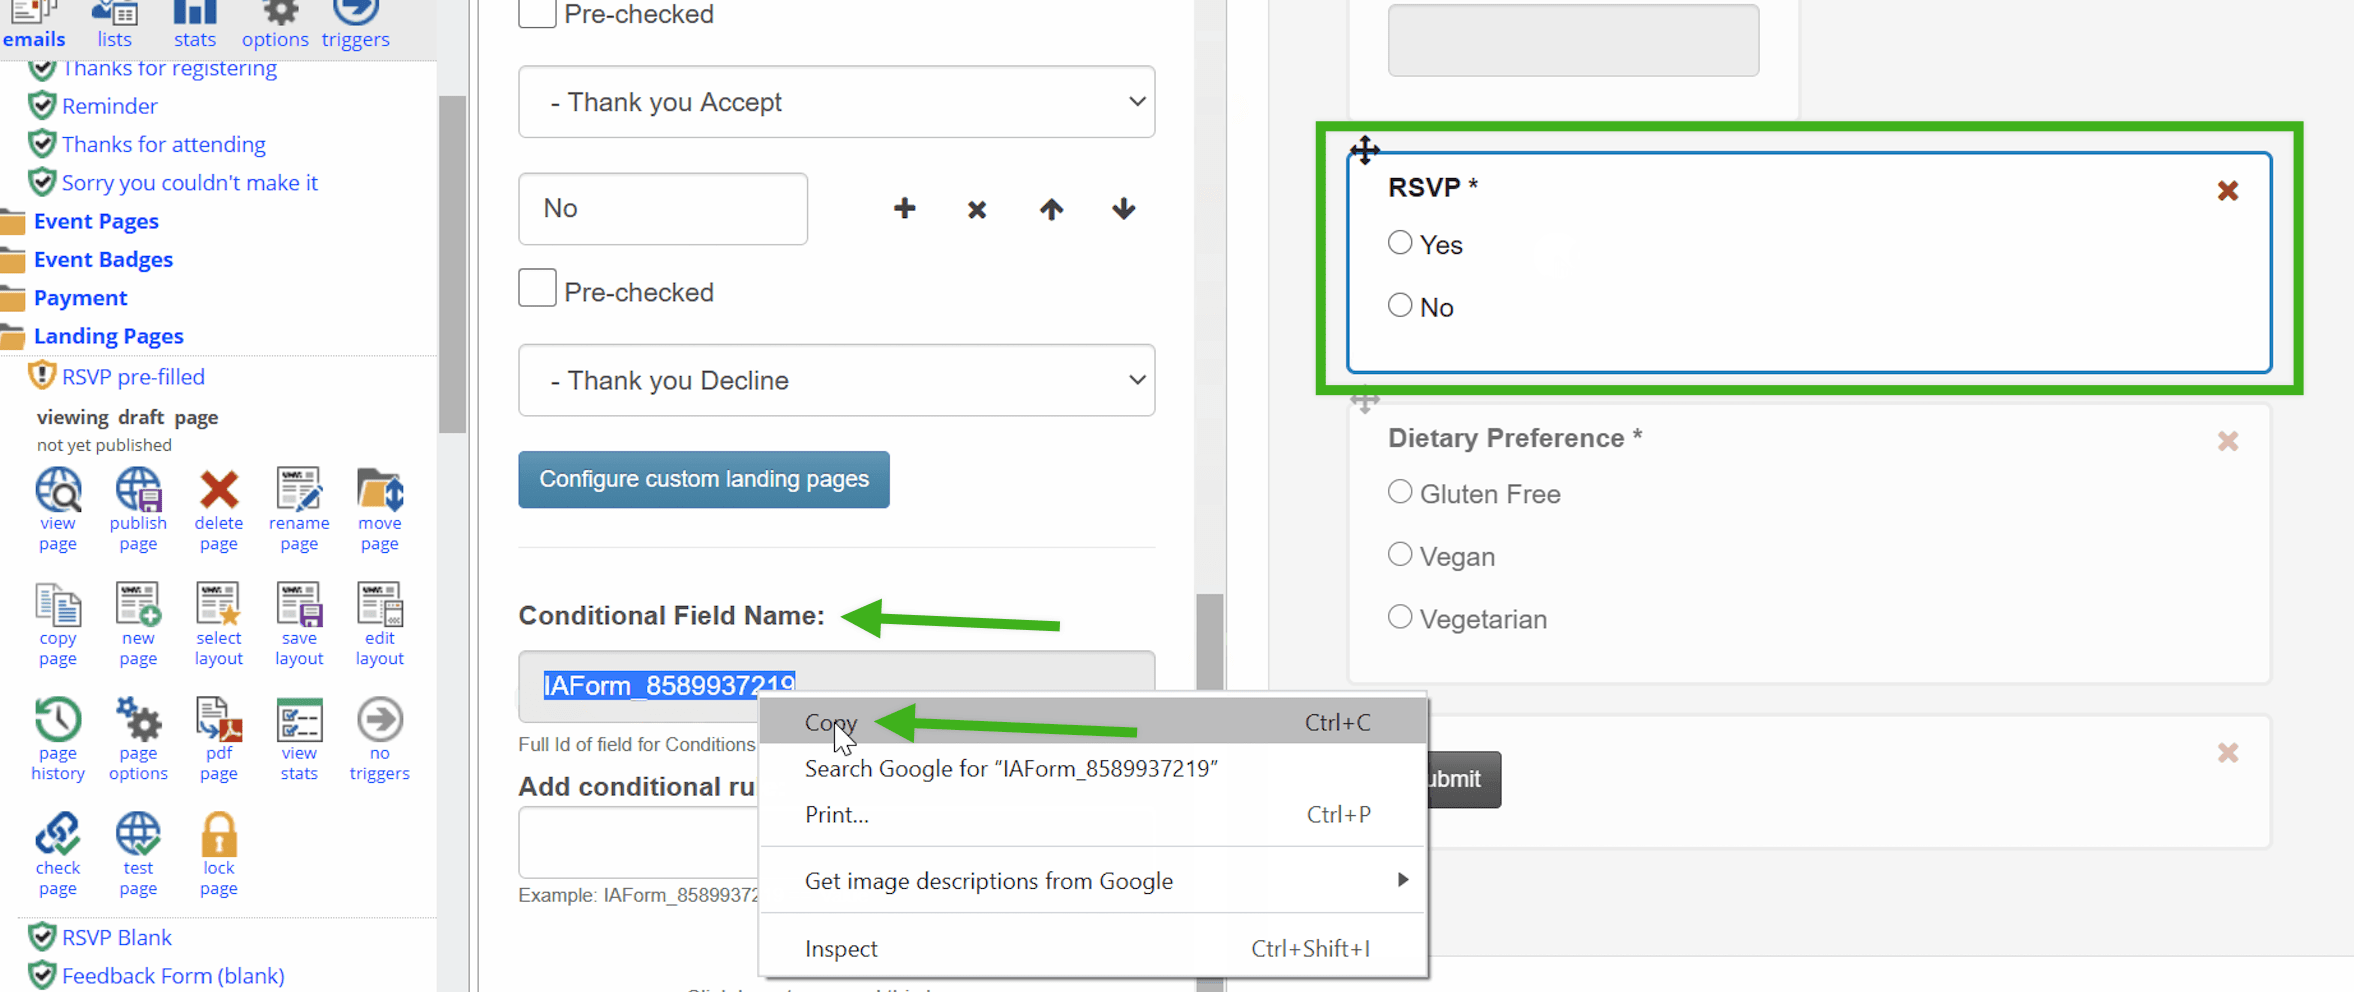
Step 4 - Click onto the RSVP Field in the Form Editor and scroll down until you see the Conditional Field Name field. Copy exactly what is in this field and paste it into your plain text document.
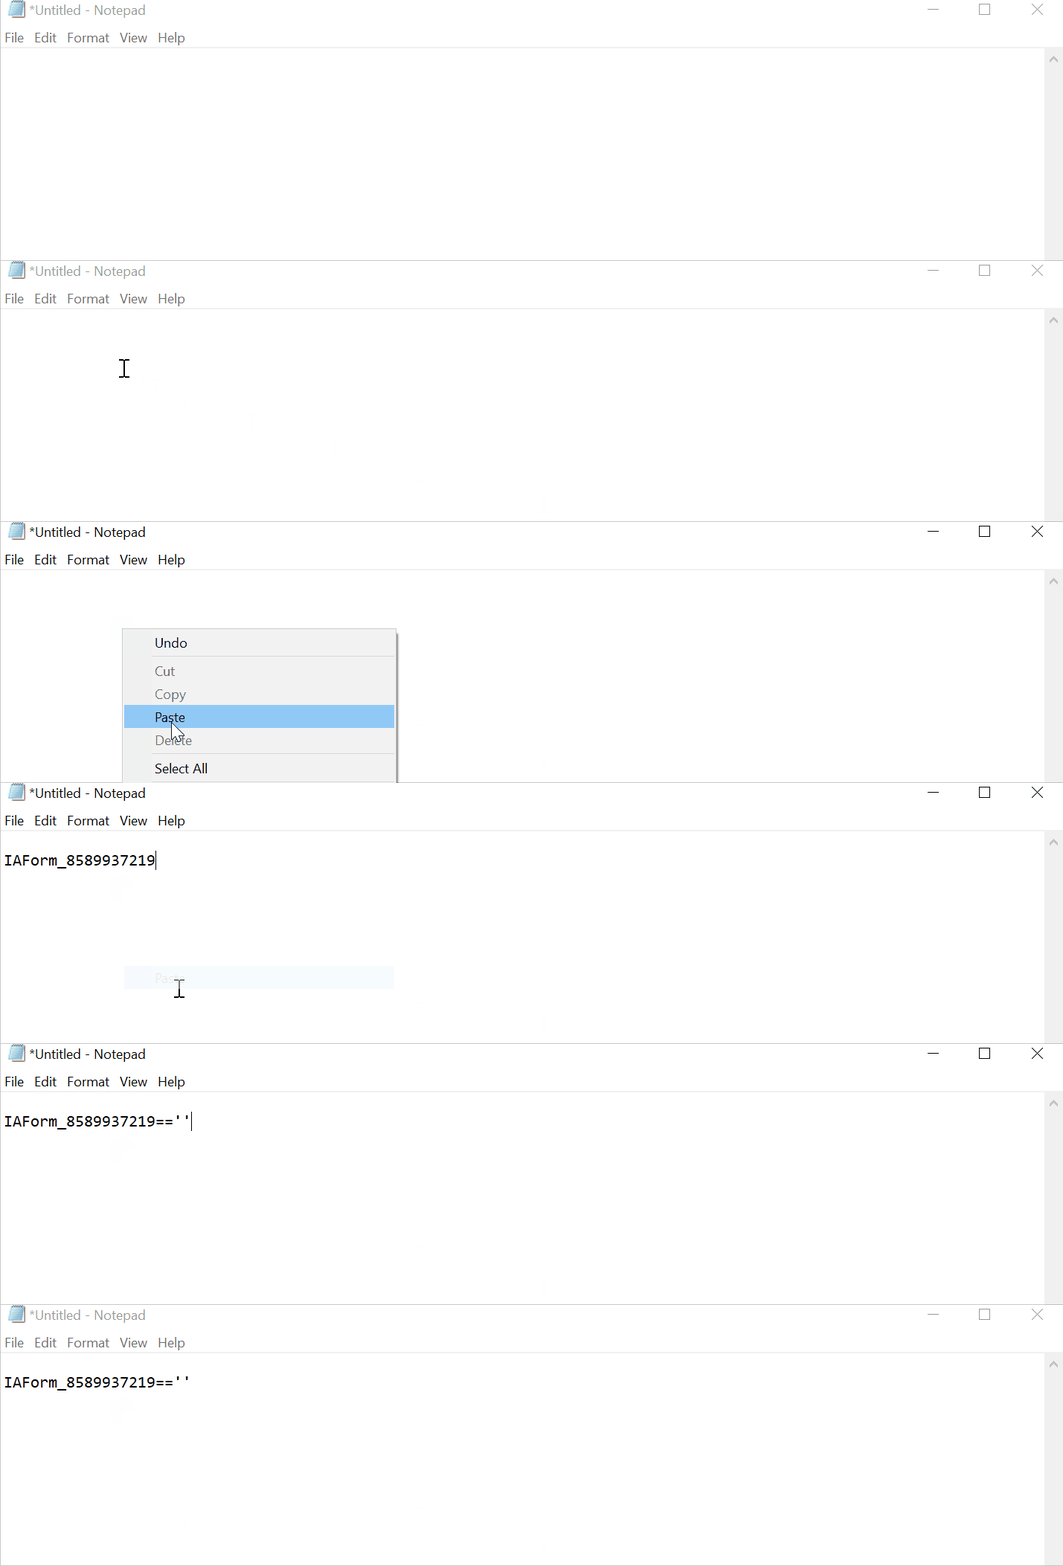
Step 5 - After you've pasted the Conditional Field Name into your plain text document, follow it by typing two == and open single quotes. Please see animated GIF below.
Step 6 - We now need to find the value ID of "Yes" or "Accept" for the RSVP field. There are some instructions below for using "inspect" to find the Value of the Yes field. You can follow the instructions below on how to find this, depending on the type of field you used for your RSVP.
Alternatively, we have developed a new method to find the Yes value:
New Method: To Find the Yes Value Using Copy and Paste instead of Inspect
We wanted to make it easier for users to create Form Logic statements or Conditional Rules. Now, instead of using "Inspect" to study the underlying html of the form, there is an option to Copy and Paste the value of fields into the Conditional Rule statement.
When you use the Copy option, Vuture will find and copy the hidden Value of the field to the clipboard. From there, you can Paste it into your Conditional Rule.
The Copy option is under the 2 pages icon, next to each field choice:
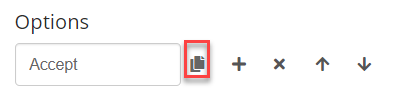
Please note, it is the "hidden value" that the feature is copying. This is not necessarily the same as the words that the client will see.
Alternatively you can continue to use Inspect, if you find that easier. The instructions for that method follow:
If using an Enumeration field:
- Navigate back to your Form Editor with the RSVP field selected.
- Then, right click directly on the "Yes" value of the RSVP and click on "Inspect" in the tool-tip drop-down.
- Look for the words value="", which should be right above where you clicked on your "Yes" value.
- Now, your value="" will be followed by a number ID (i.e. value="8589940014"). Copy whatever is in the open parenthesis after the value. This is your positive RSVP Field Value ID.
See animated GIF below showing steps 1-4.
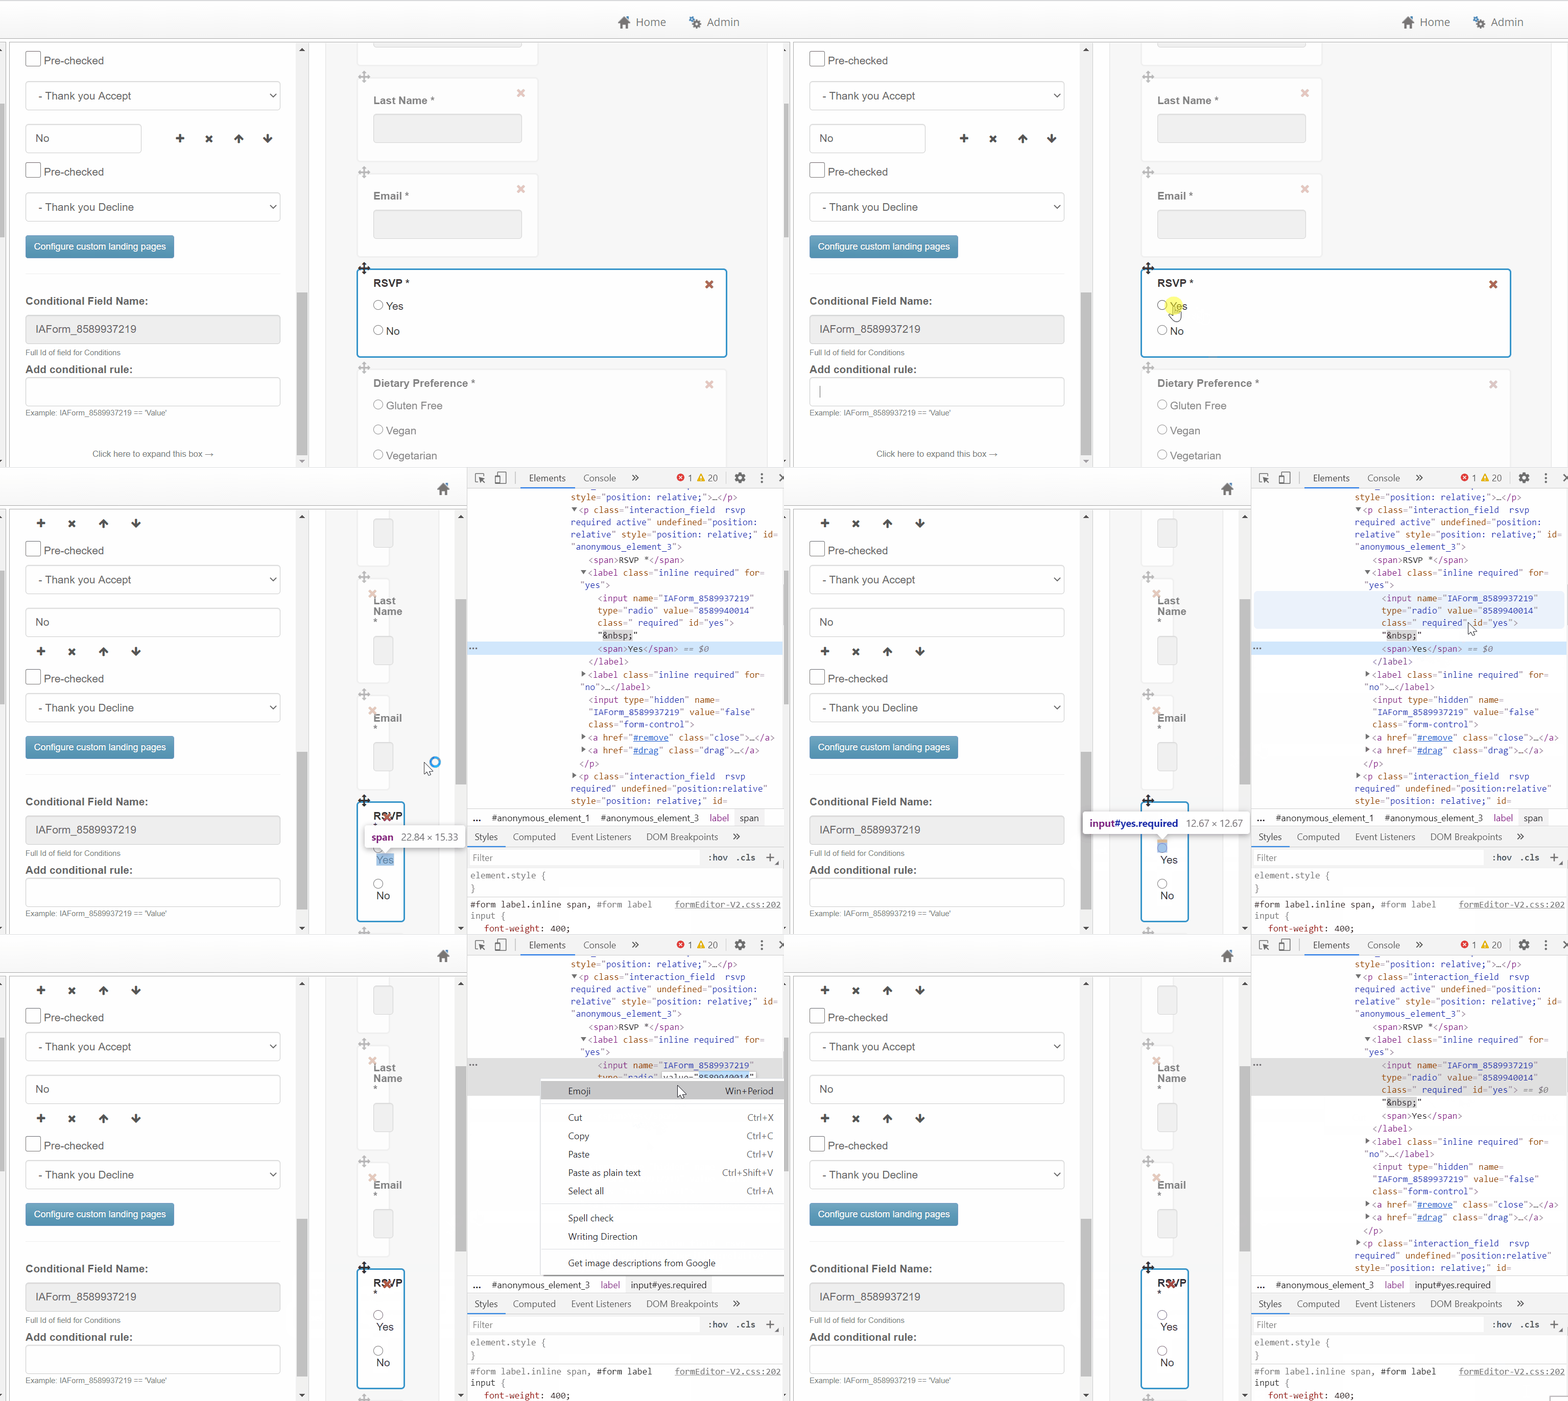
If using a Boolean field:
- Navigate back to your Form Editor with the RSVP field selected.
- Then, right click directly on the "Yes" value of the RSVP and click on "Inspect" in the tool-tip drop-down.
- Look for the words value="", which should be right above where you clicked on your "Yes" value.
- Now, your value="" will be followed by a word (i.e. value="Yes"). Copy whatever is in the open parenthesis after the value. This is your positive RSVP Field Value ID.
See animated GIF to show steps 1-4.
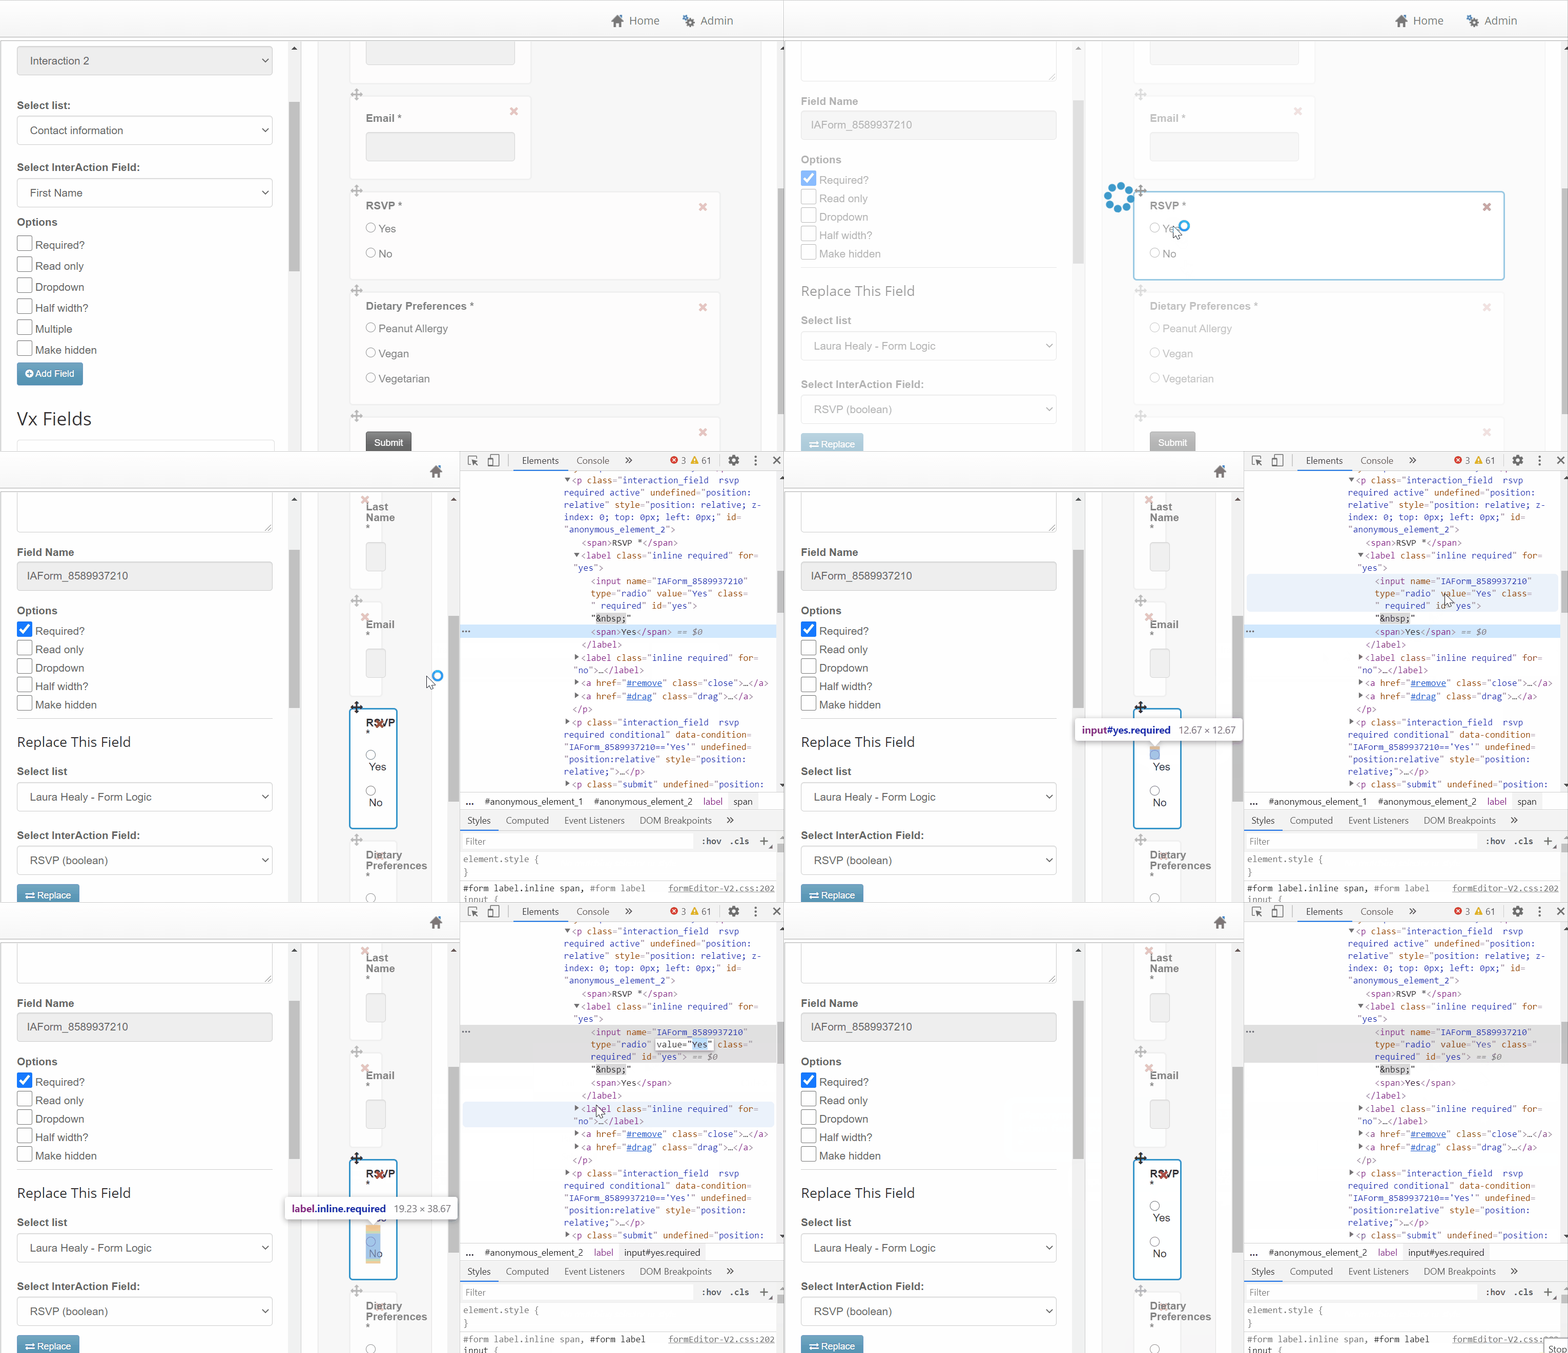
Step 7 - Navigate back to your plain text document and paste in your Value ID between the single quotes:
Example for Enumeration: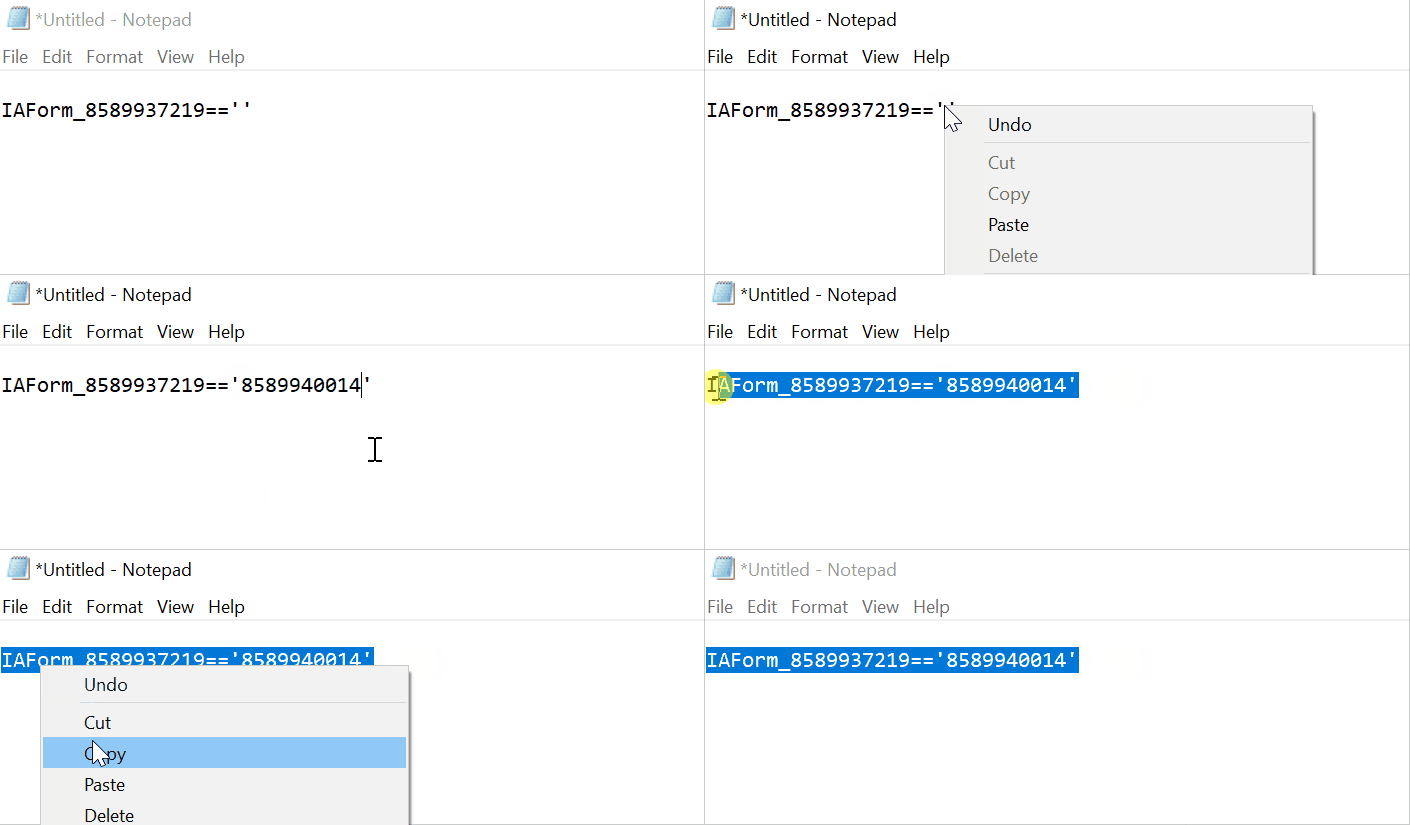
Example for Boolean:
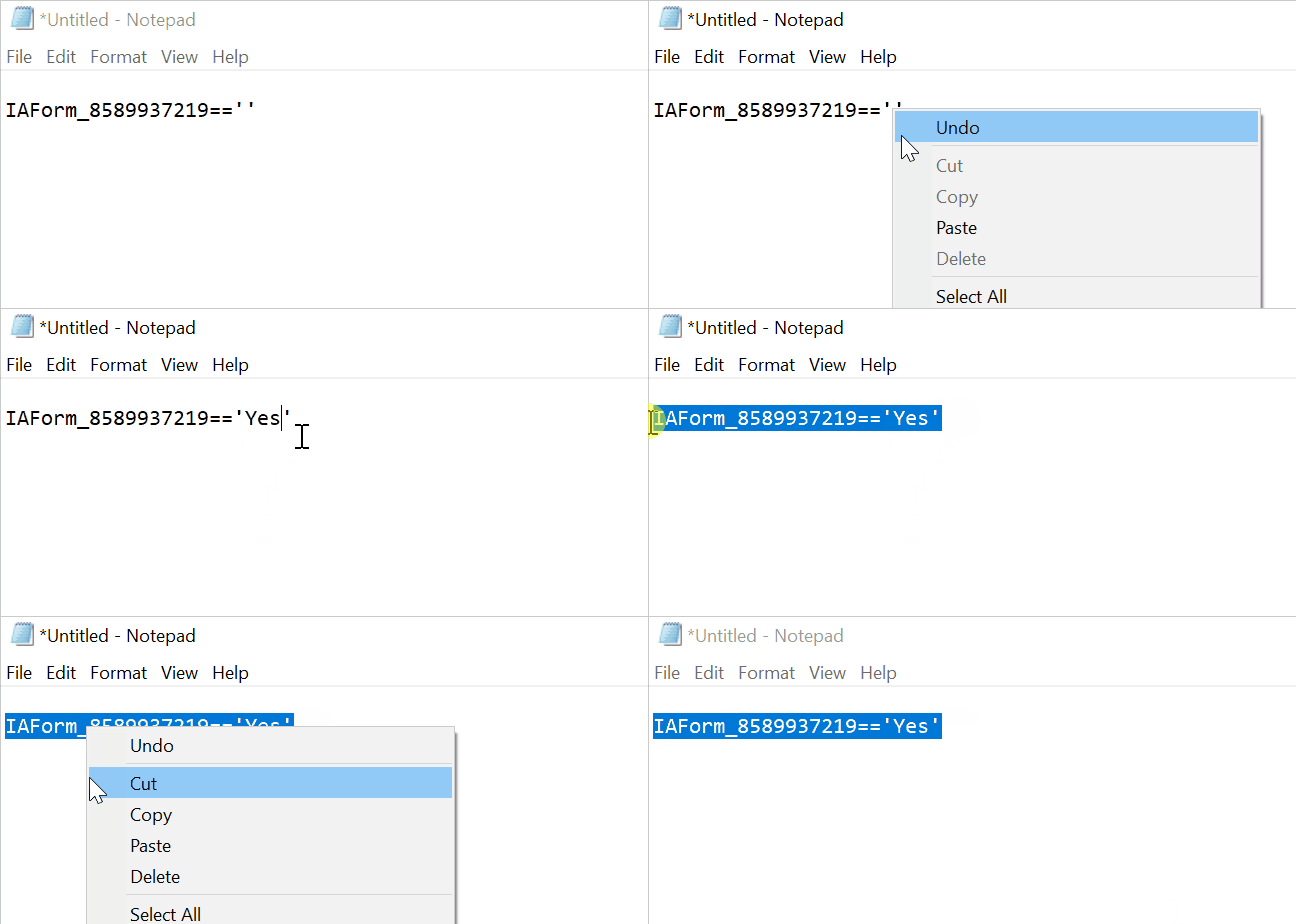
Step 8 - Copy your Form Logic from your plain text document and paste it into the Add conditional rule field for each additional field you wish to display when someone RSVPs yes. Then save your form and publish > publish now.
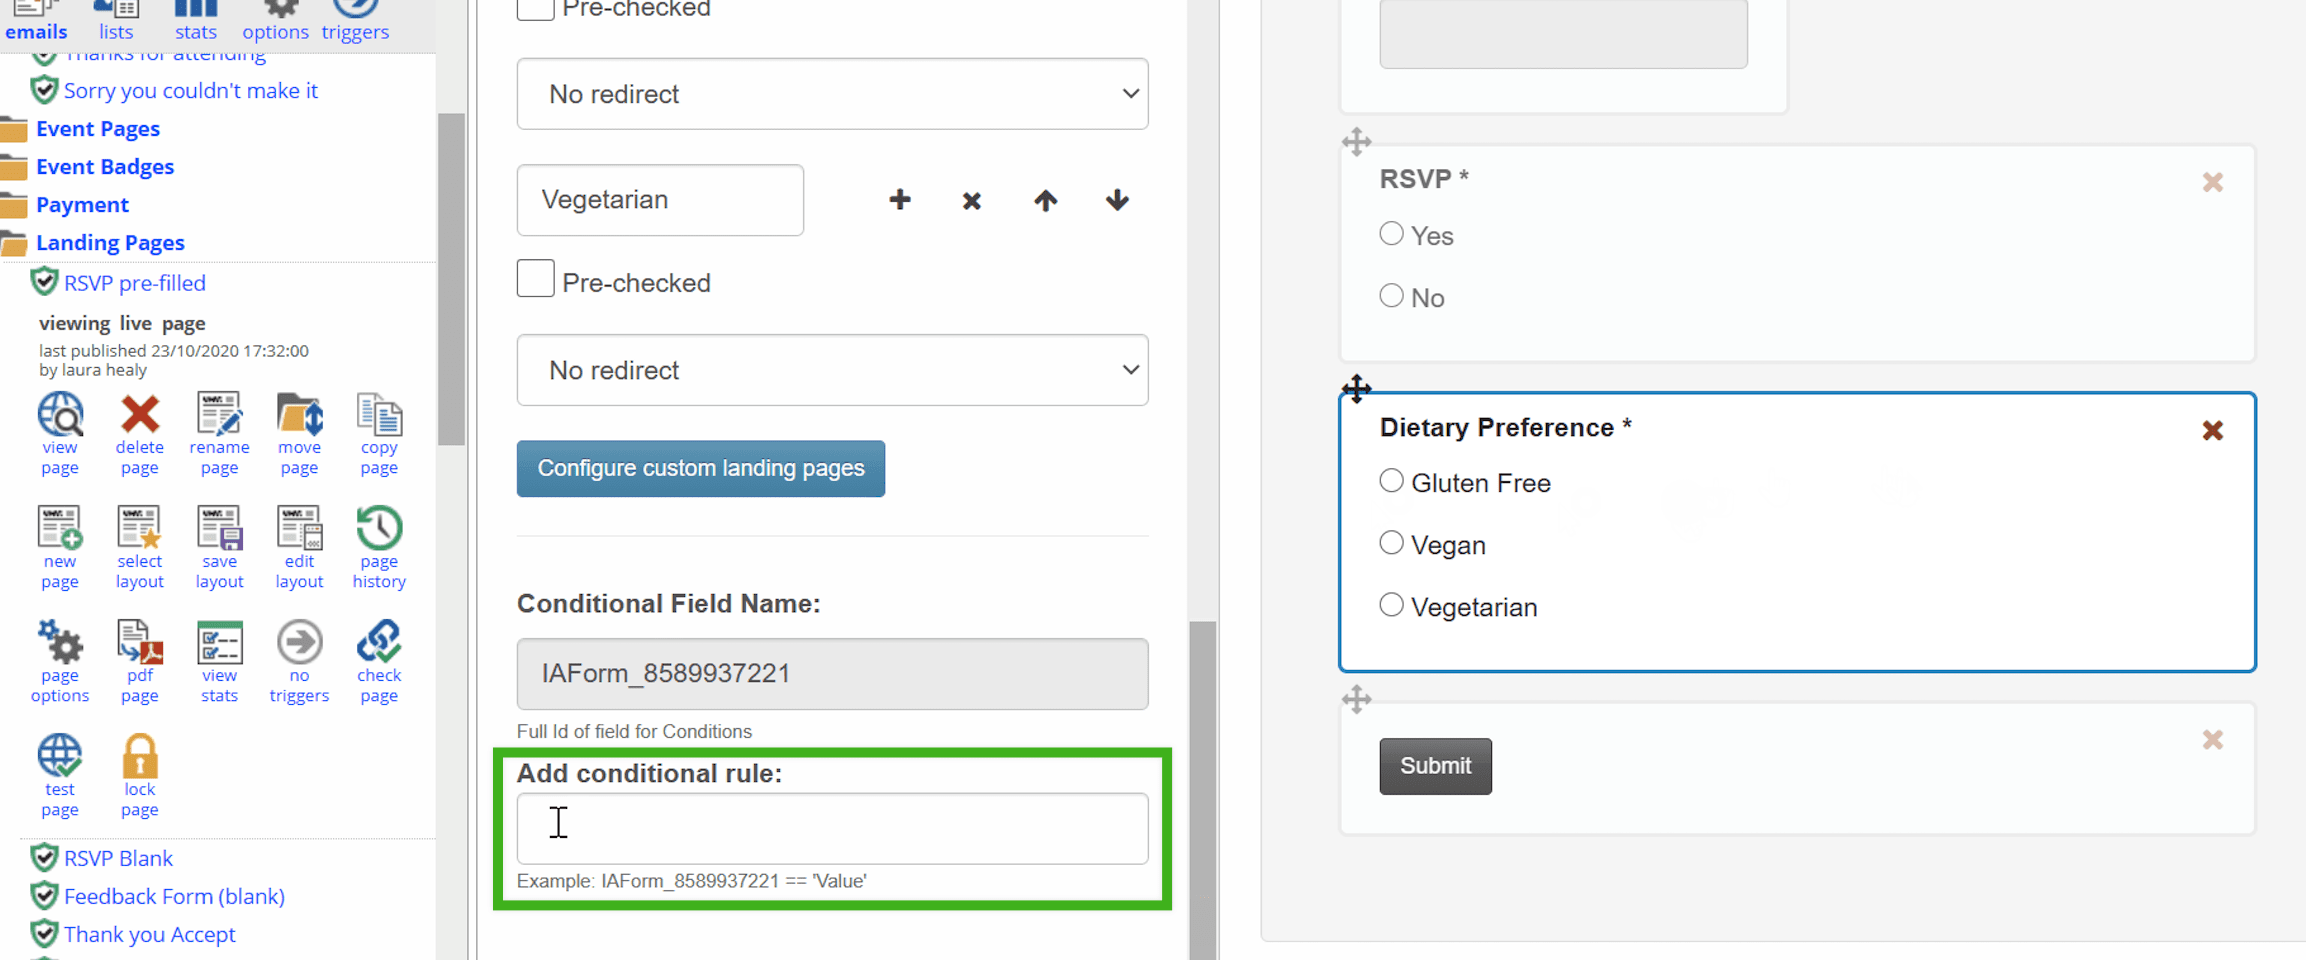
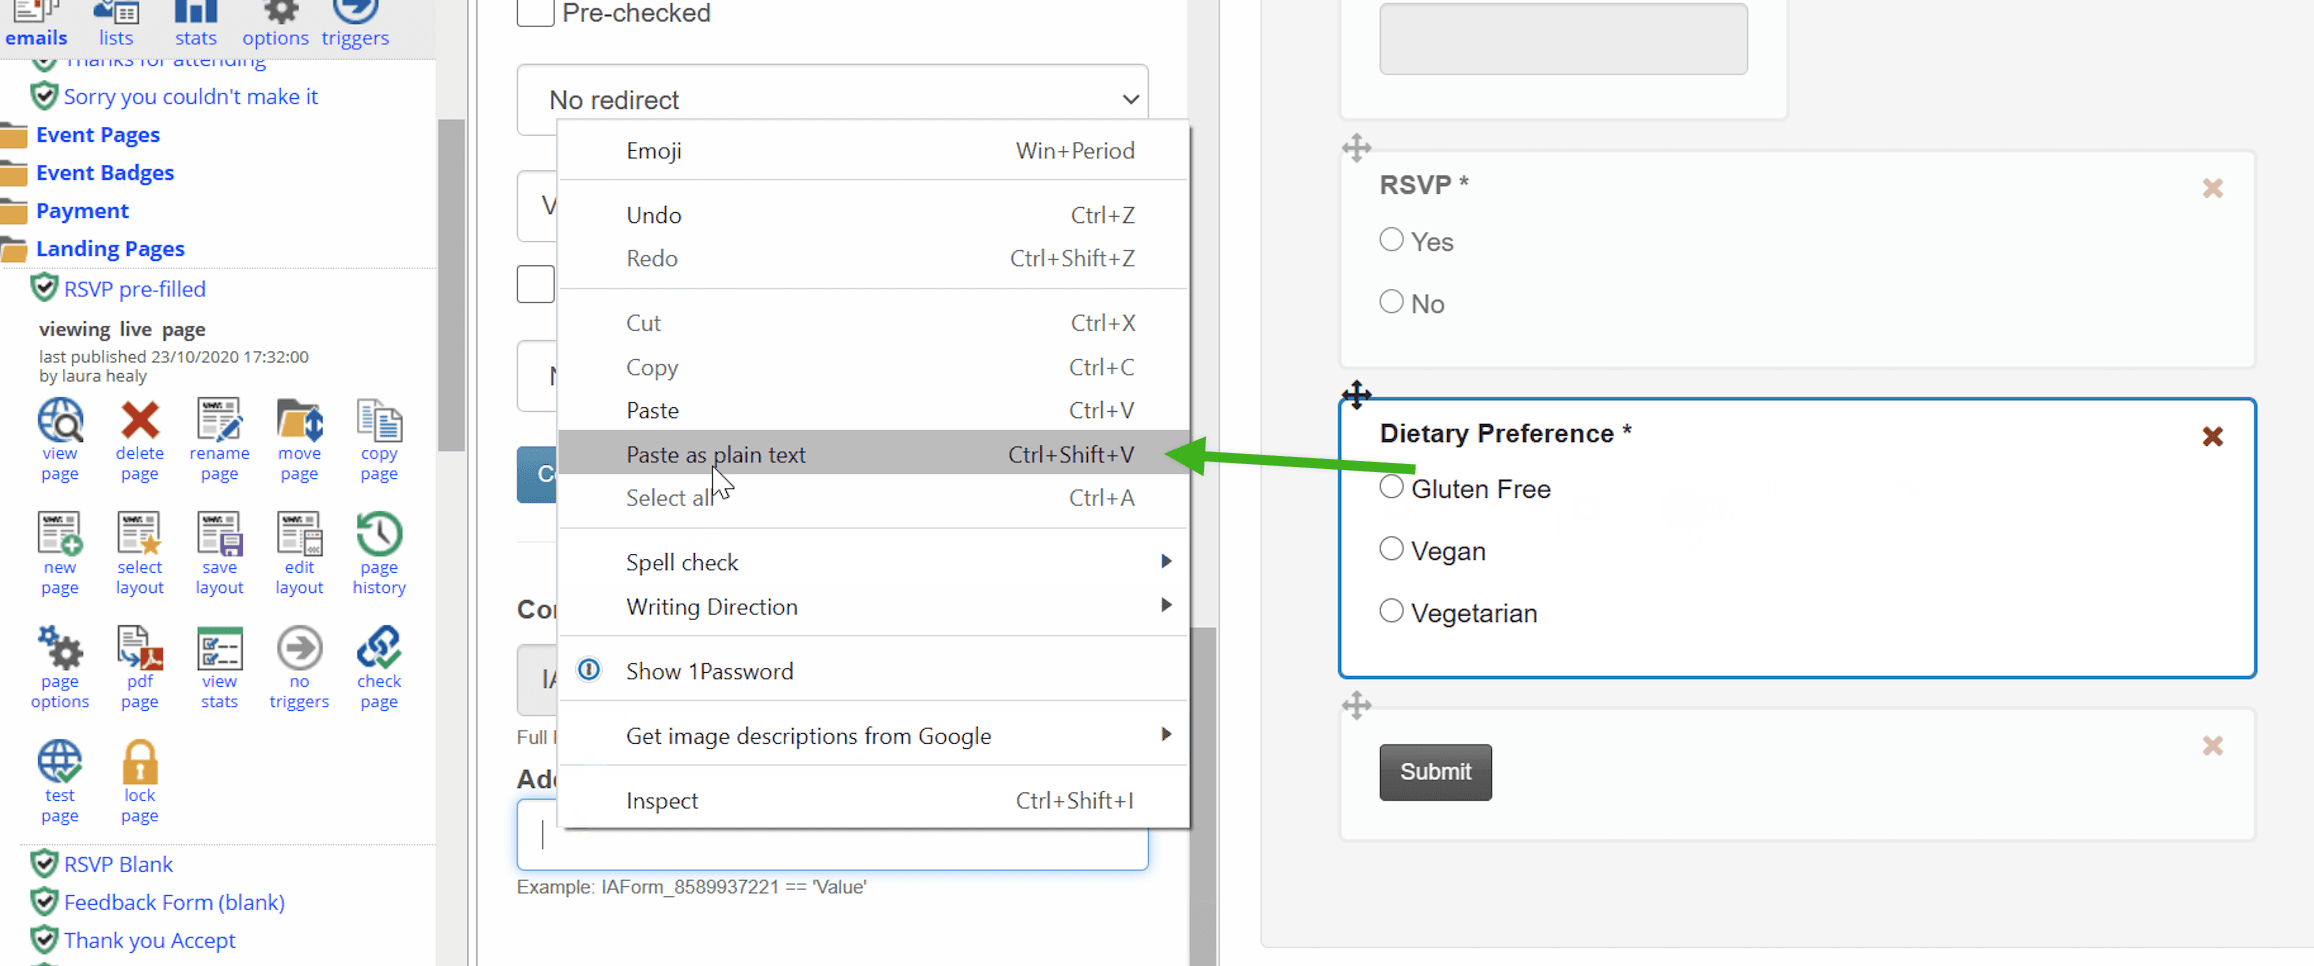
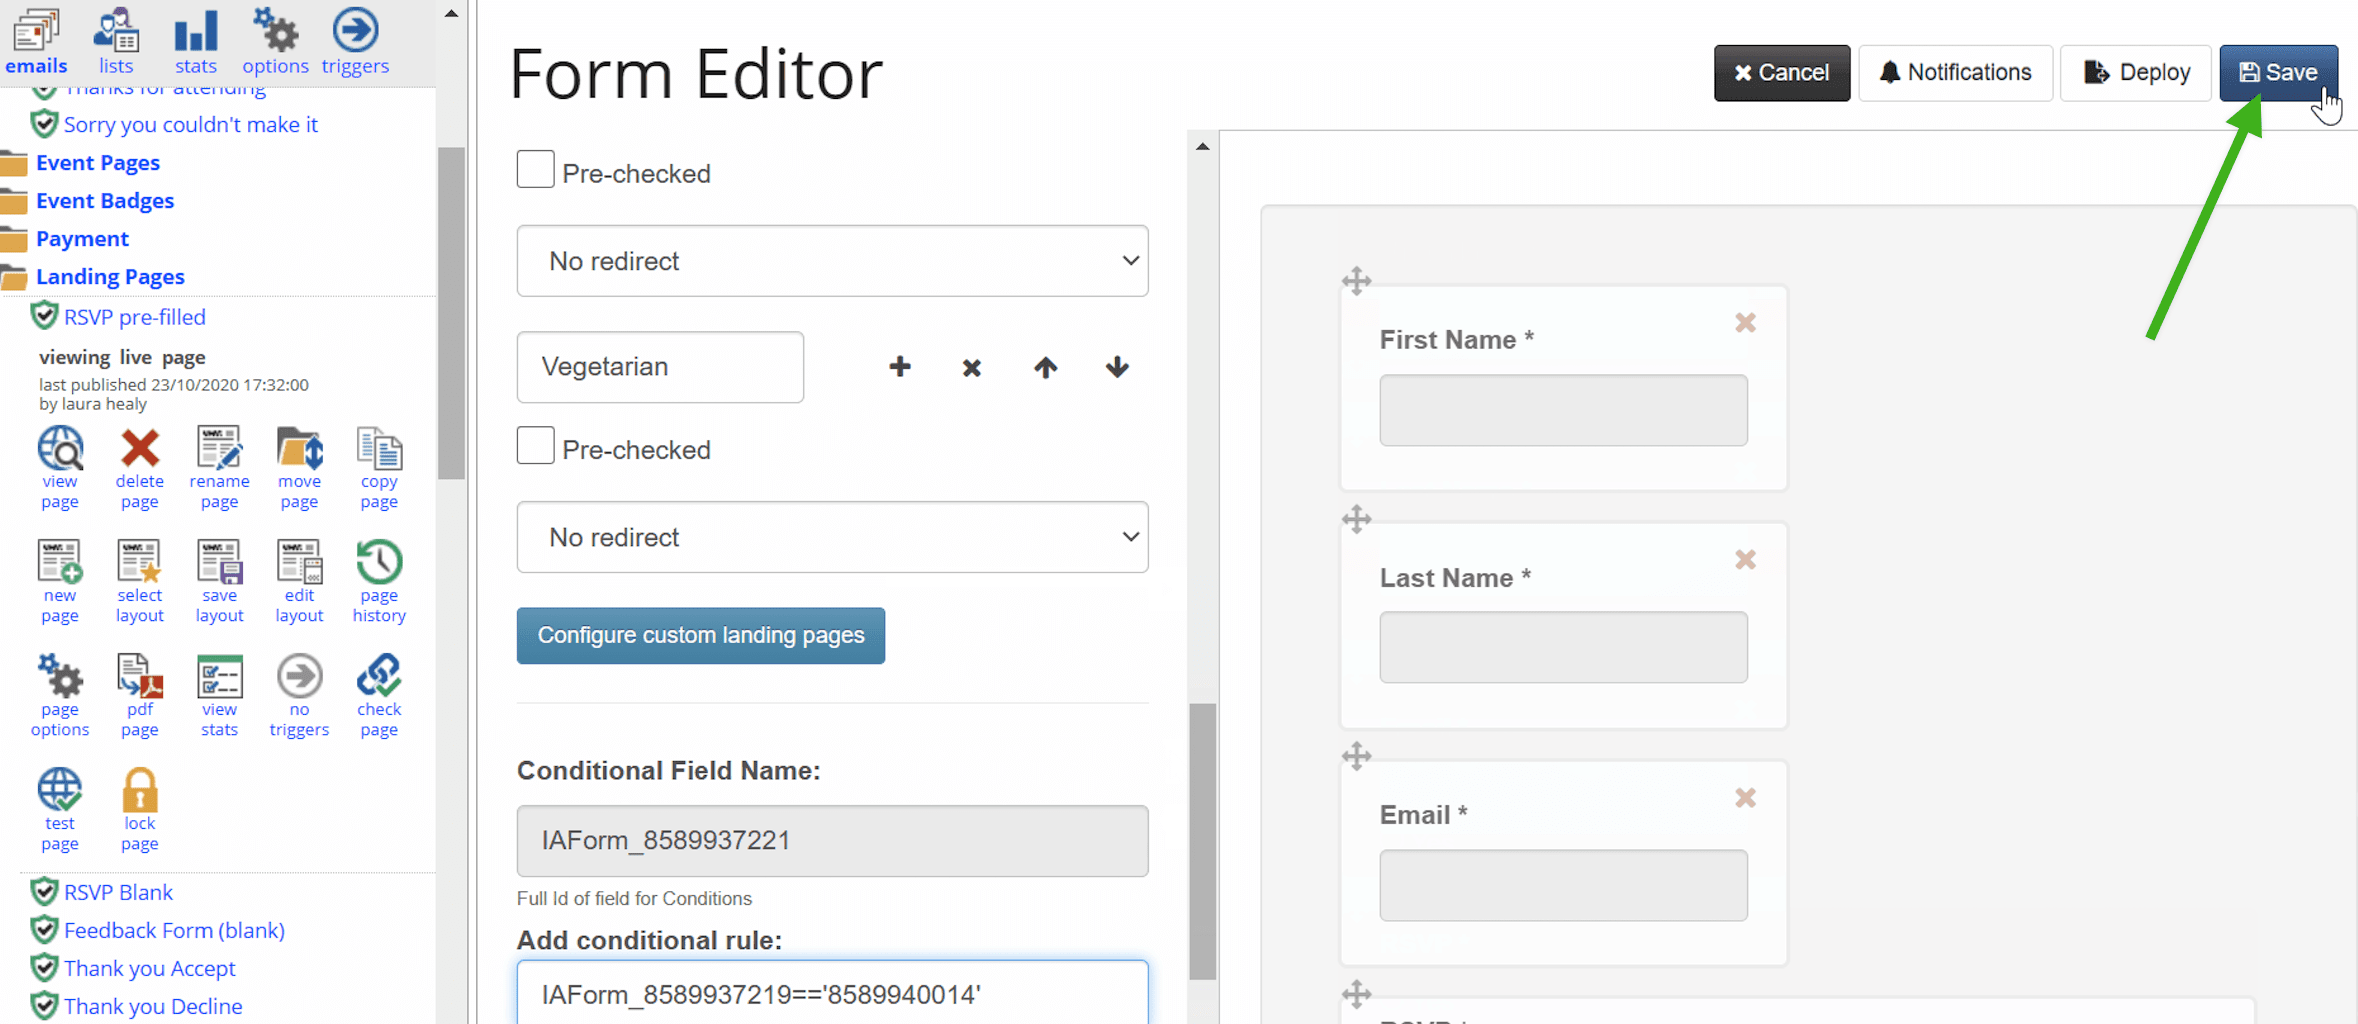
Friendly Reminder - Be sure to apply your form logic to both your RSVP Prefilled and RSVP Blank forms.
Testing
To test your form logic and make sure it hides your additional fields and only displays them if someone RSVPs yes, click on View page. Then refresh your cache (CTRL F5).
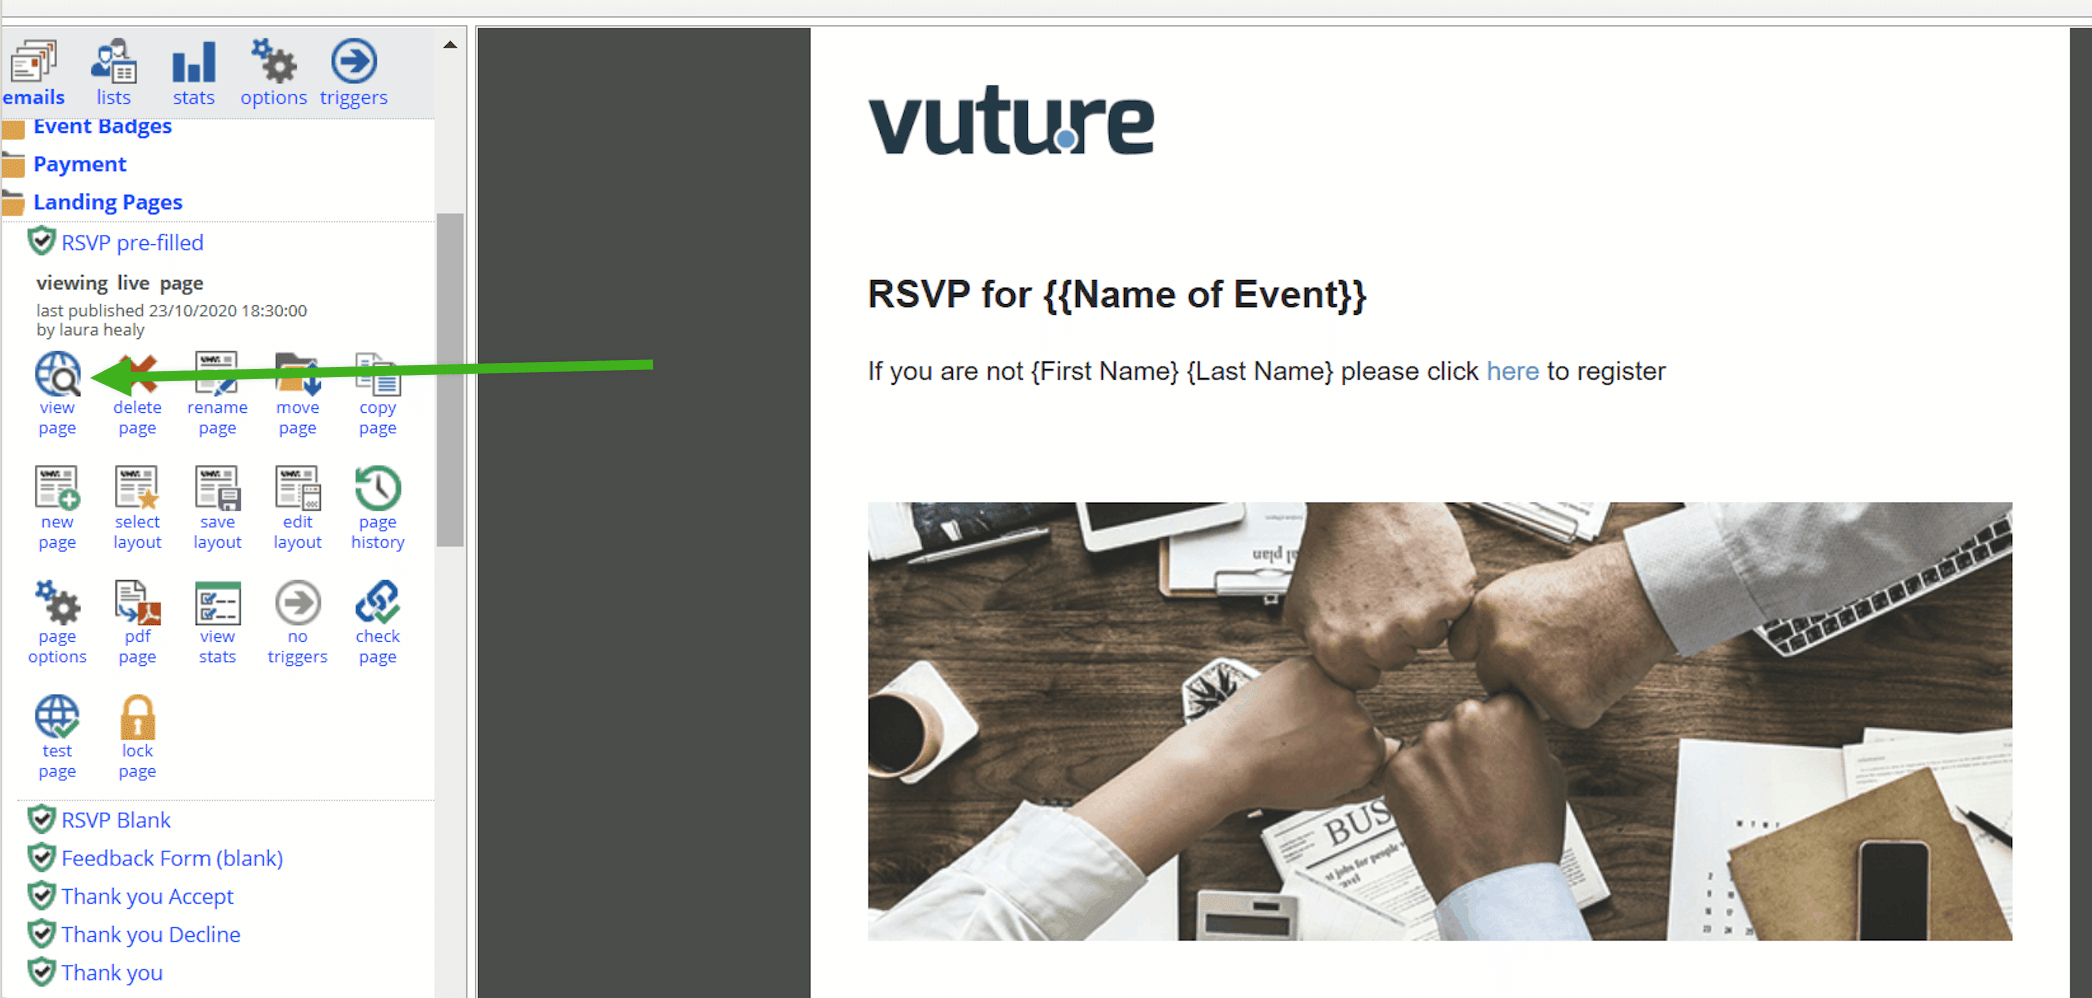
Click 'Yes' for your RSVP field and see if your additional fields display.
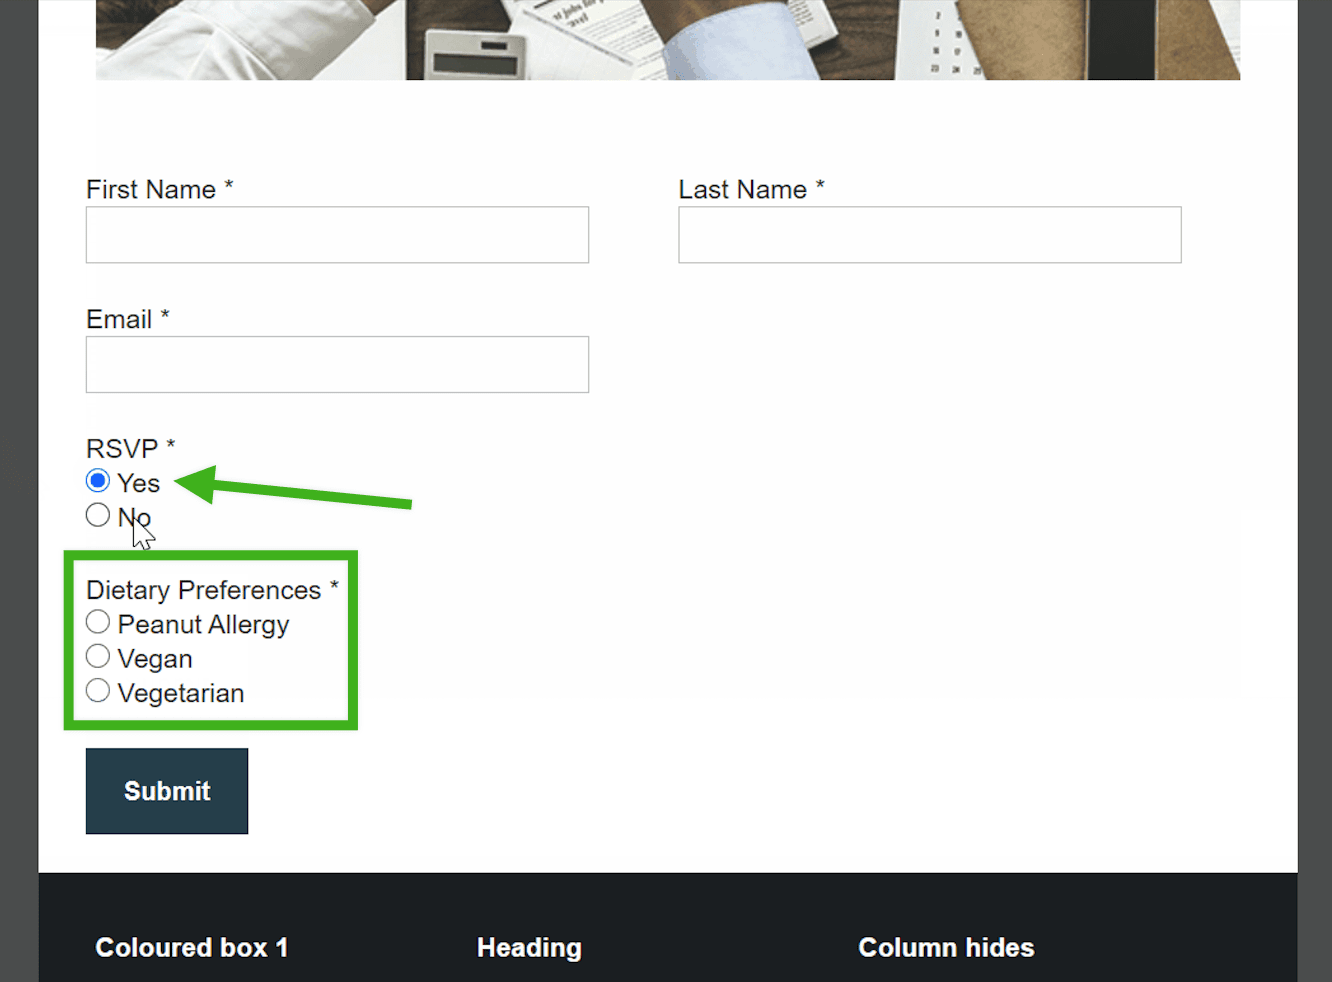
Then click 'No' to make sure your additional fields are hidden again.