Overview
This article will walk you through how to use Tables within the updated Text Editor of your email or landing page.
Contents
Please also see this article on best practice when using tables in emails and web pages.
Working with Tables
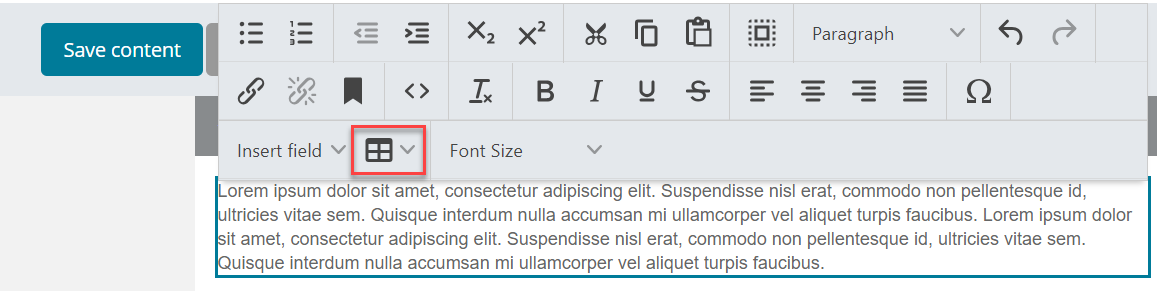
The following menu provides the functionality to create and manage tables. To access this menu, click on the table icon (outlined in red below).
Inserting a Table
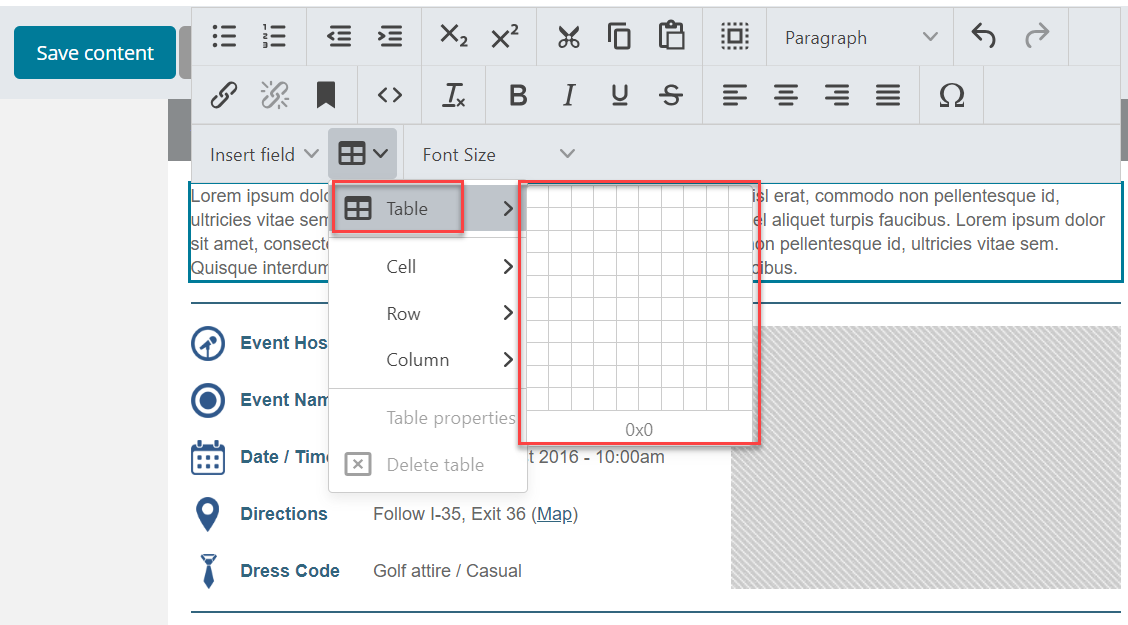
To insert a table, select the “Table” option from the drop-down menu and choose how many cells across and down you want to include, by dragging across the chosen number with your mouse and clicking once at the furthest point.
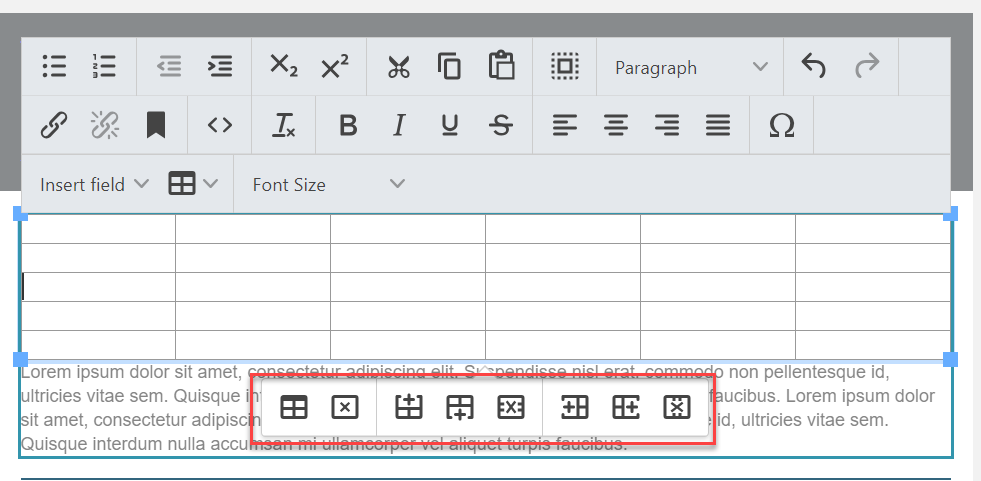
Clicking into the resulting table brings a selection of icons which allow you to delete the table again, or insert or delete rows and columns.
Clicking the Table drop down menu again gives choices for editing individual cells, rows and columns:
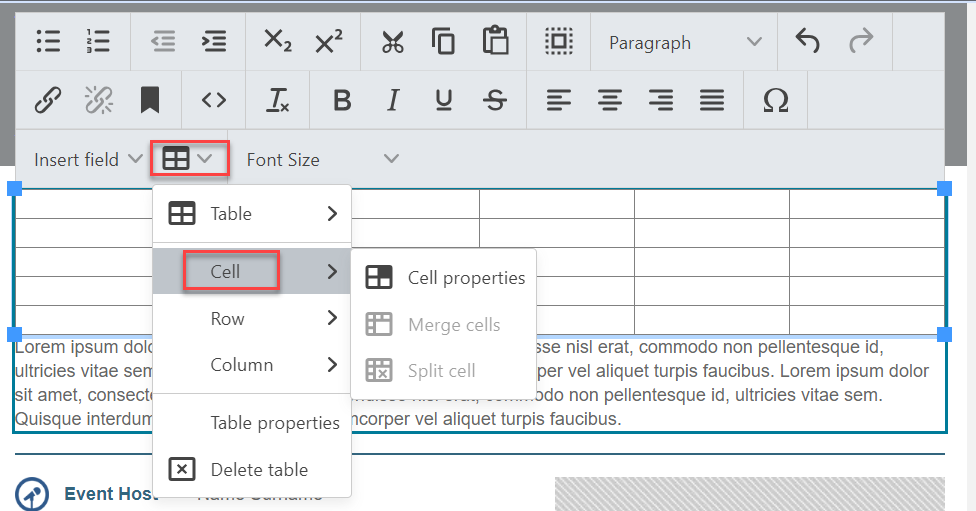
Table Width & Height:
Here you can specify the width and height of your table.
If left blank, by default the table will take up as much room as it needs. However you may wish to restrict this to either:
- A certain size in pixels, in which case enter the size followed by px (e.g. 200px)
- A size relative to the size of your page, in which case enter the percentage followed by % (e.g. 50%)
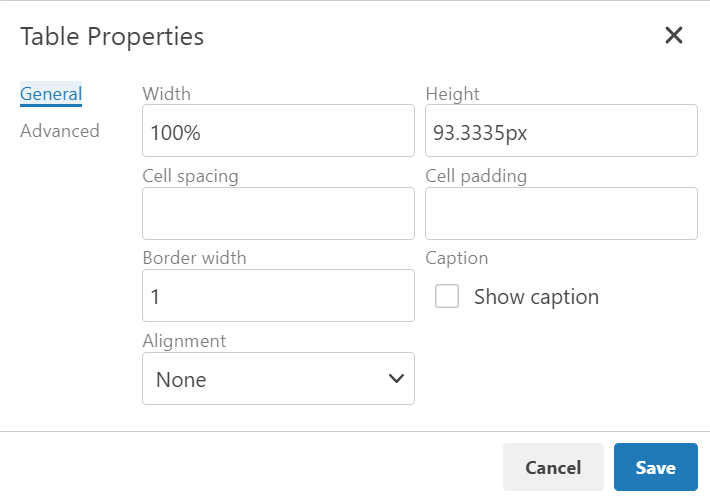
Once you have selected your options, click the Save button.
Table Row Properties
To edit the current row’s properties, select the “Table Row Properties” option.
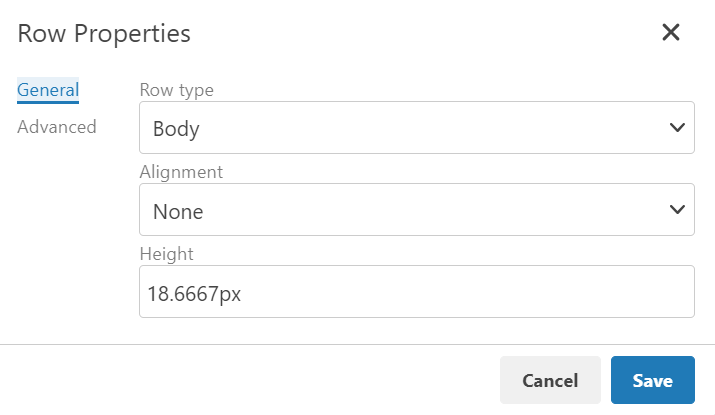
The following options are available for your table's rows:
Row Type:
There are three options available in this drop-down:
- Header: Makes this row the header row of your table.
- Body: Used for the main content rows in your table.
- Footer: Specifies this row as the table footer.
Alignment:
Specifies the horizontal alignment of your text on this row.
Vertical alignment:
Specifies the vertical alignment of your text within this row.
Height:
Here you can specify the height of the table row.
If left blank, by default the row will take up as much room as it needs. However you may wish to restrict this to either:
- A certain size in pixels, in which case enter the size followed by px (e.g. 25px)
- A size relative to the size of your page, in which case enter the percentage followed by % (e.g. 50%)
Table Cell Properties
To edit the current table cell properties, select the “Table Cell Properties” option.
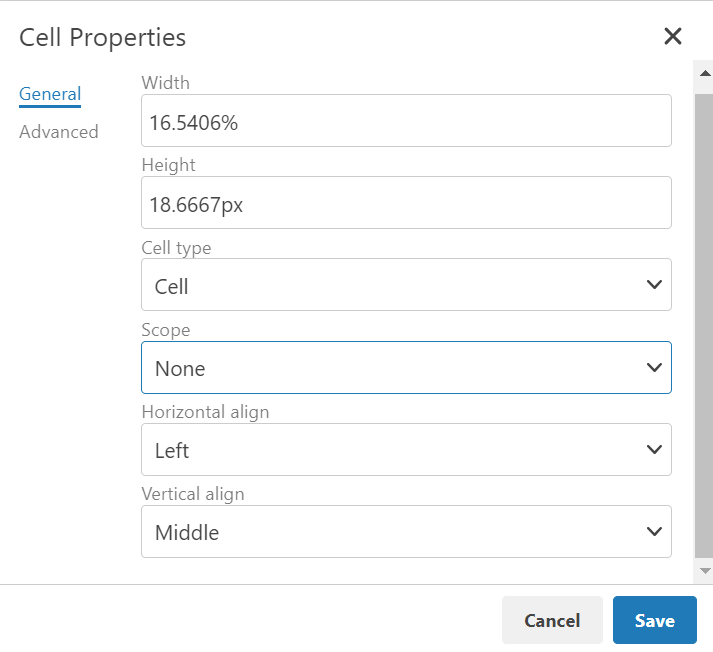
The following options are available for your Table's cells:
Width / Height:
Here you can specify the width and height of this cell.
If left blank, by default the table cell will take up as much room as it needs. However you may wish to restrict this to either:
- A certain size in pixels, in which case enter the size followed by px (e.g. 200px)
- A size relative to the size of your page, in which case enter the percentage followed by % (e.g. 50%)
Alignment:
Specifies the horizontal alignment of your text within this cell.
Vertical alignment:
Specifies the vertical alignment of your text within this cell.
Cell Type:
There are two options available in this drop-down:
- Head: Makes this cell part of the header of your table.
- Data: Used for the main content cells in your table.
Scope
The scope attribute specifies whether a header cell is a header for a column, row, or group of columns or rows.
The scope attribute has no visual effect in ordinary web browsers, but can be used by screen readers.
To apply your new cell options, click the Save button.
Other Articles You May Be Interested In
