Overview
This article contains a description of how to upload an animated GIF for use in Vuture emails and landing pages.
Important: Not all email clients will reproduce the animation in a GIF so you must ensure that the first image is acceptable and contains any vital information. That way all contacts will get all key information, no matter which email client they use to view your email. GIFs can be huge files, which could impact the sending speed of your email or lead the email to be treated as spam. Finally, it can be a delicate process linking up your GIFs in the HTML on the page.
Contents
What are animated GIFs?
GIF stands for Graphics Interchange Format – an image file which can add life to your email or landing page.
- GIFs can be animated. They display a series of images so rapidly that they give the illusion of movement.
- Animated GIFs are widely supported across browsers and email clients (but not all – see the list of email clients which do not support animated GIFs below).
- They can be used as an illustration, or as a moving “how to” demonstration.
Prerequisites
Vuture clients wishing to use animated GIFs in the Email module will need to ensure that they understand sufficient HTML to be able to edit the HTML of an email or landing page. (See Warnings below).
Ensure that the list of allowed image formats for your Vuture instance contains GIFs. Your Account Manager will check this for you in Admin.System.ImageLibrary

You will need your Role to have access to the HTML on the page. Ask your Account Manager to enable:
Admin.Roles.Emails.Options
Admin.Roles.Emails.Edit HTML
Admin.Roles.Landing Pages.Edit HTML
Warnings
Before you start creating and using animated GIFs, be aware that they can bring some issues:1. To insert an animated GIF you will need to access the HTML on the page and recreate the link to the image. The ability to access HTML is normally restricted to only those Vuture clients who have attended HTML training. This is because it is relatively easy to “break” the page/email and make it unusable if you damage the HTML. If this happens, and Vuture needs to fix the pages for you, we will have to charge you for the service. An alternative is to ask Vuture Support to upload the GIF for you. This is free of charge. However, some clients have requested the ability to upload GIFs for themselves, hence this article.
2. Not every email client supports animated GIFs. Those that do not, will display only the first frame. You will need to ensure that the first frame:
- Contains the illustrative image you wish your clients to see
- Contains any call to action or headline you need your clients to see
3. Be aware that animated GIFs can be extremely large files. This could affect your email loading time, sending speed and possibly the spam score if the email becomes too large. Optimize your image for email by cropping it as far as possible, reducing the number of colours saved and only animating part of the picture if possible.
Many webmail, desktop and mobile email clients will animate GIFs. However, the following email clients will not animate a GIF and will display only the first frame:
Microsoft Outlook 2007
Microsoft Outlook 2010
Microsoft Outlook 2013
Microsoft Outlook 2019
Email Clients which support animated GIFs
For an updated list please see the table towards the bottom of this Litmus article.
Uploading a GIF
Once you have arranged access to the HTML in the Vuture instance and prepared your GIF, you are ready to upload it in to your campaign.
In your campaign, click on the Uploads folder. If you do not have an Uploads folder you can easily create one:
- Click on the Landing pages folder in your campaign. Then click the "New Folder" icon. Rename to be Uploads.
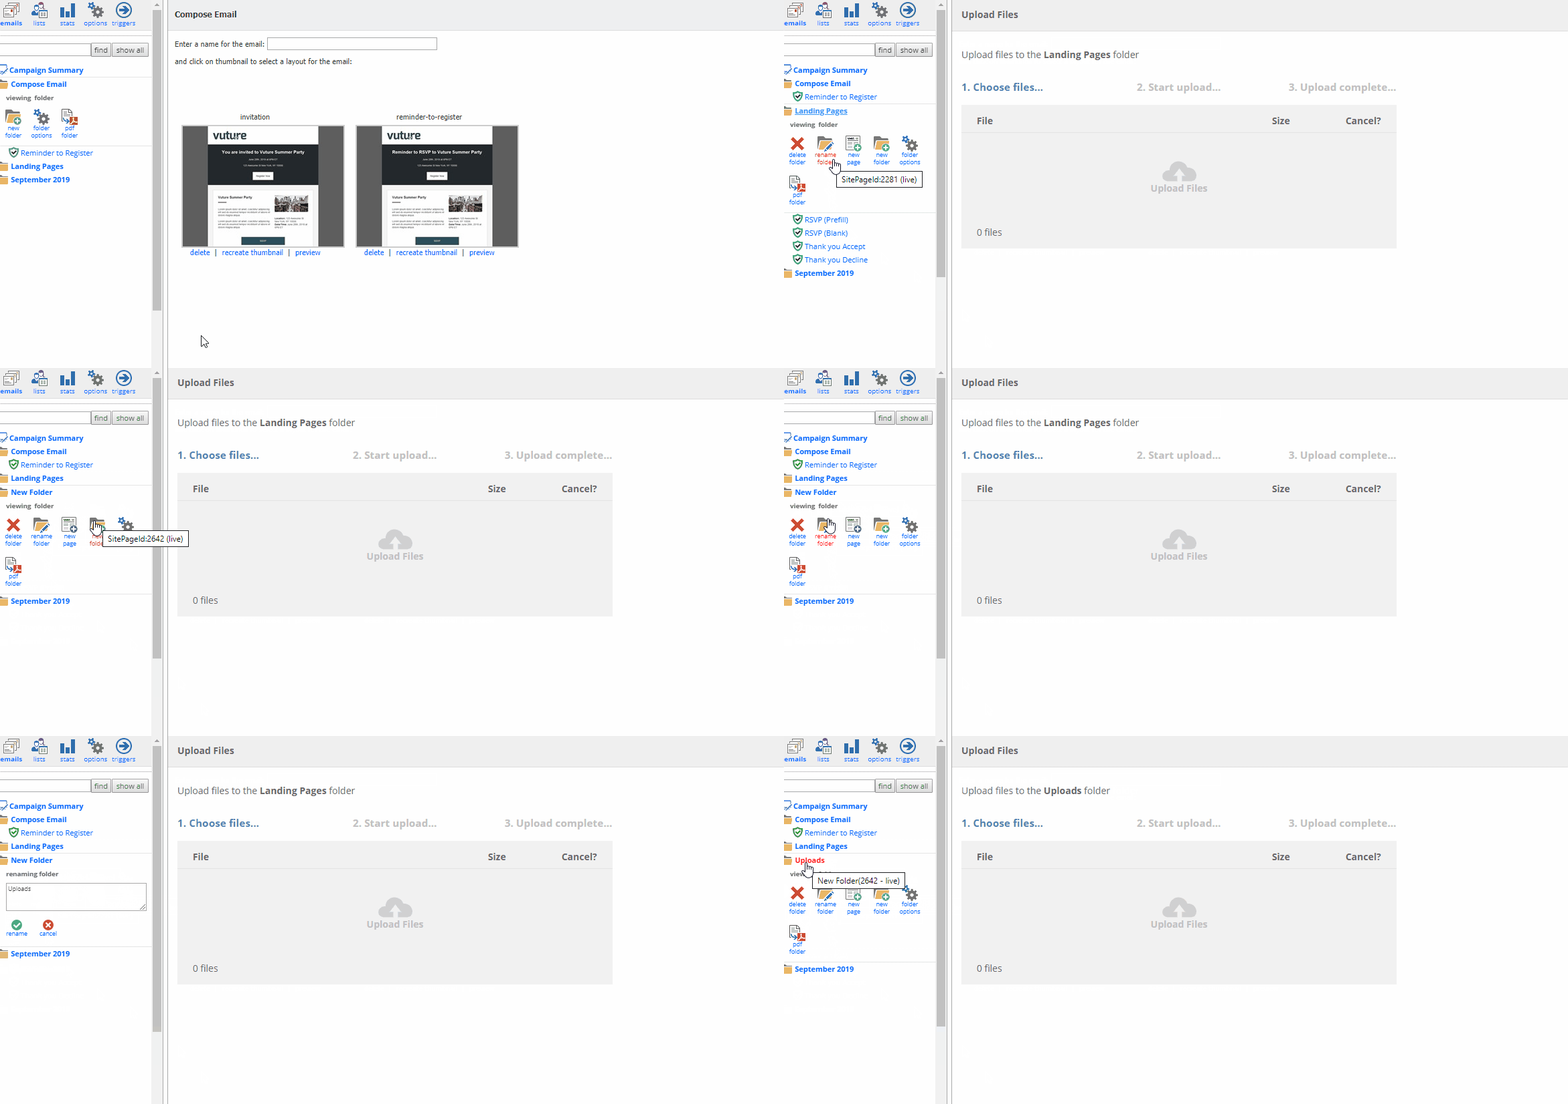
Next, upload your GIF into your Uploads folder.


Once uploaded, you can click on the file to see the file size and view the GIF.
Note: If the upload process appears to have failed, it will be worth trying this fix: First delete and then recreate the Uploads folder and then upload the image again.
Once you have successfully uploaded your GIF, click the "view gif" icon.
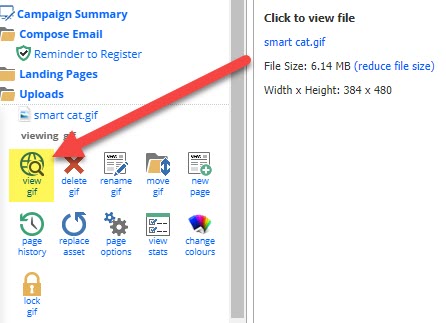
Then copy the URL.

On some occasions, GIFs can be uploaded through Image Library and still retain their animations (during this process, the GIF will convert to PNG). However, this method is not fully guaranteed to display the animation correctly. We encourage clients to test images and GIFs throughout campaign creation, and if Image Library upload does not work, then please use the upload process detailed above to add GIF files.
Inserting a GIF on a page or email
First, add a placeholder image to your email or landing page, for where you'd like the GIF to appear. Name this something unique and make note of the name of your placeholder image (i.e. NYC).
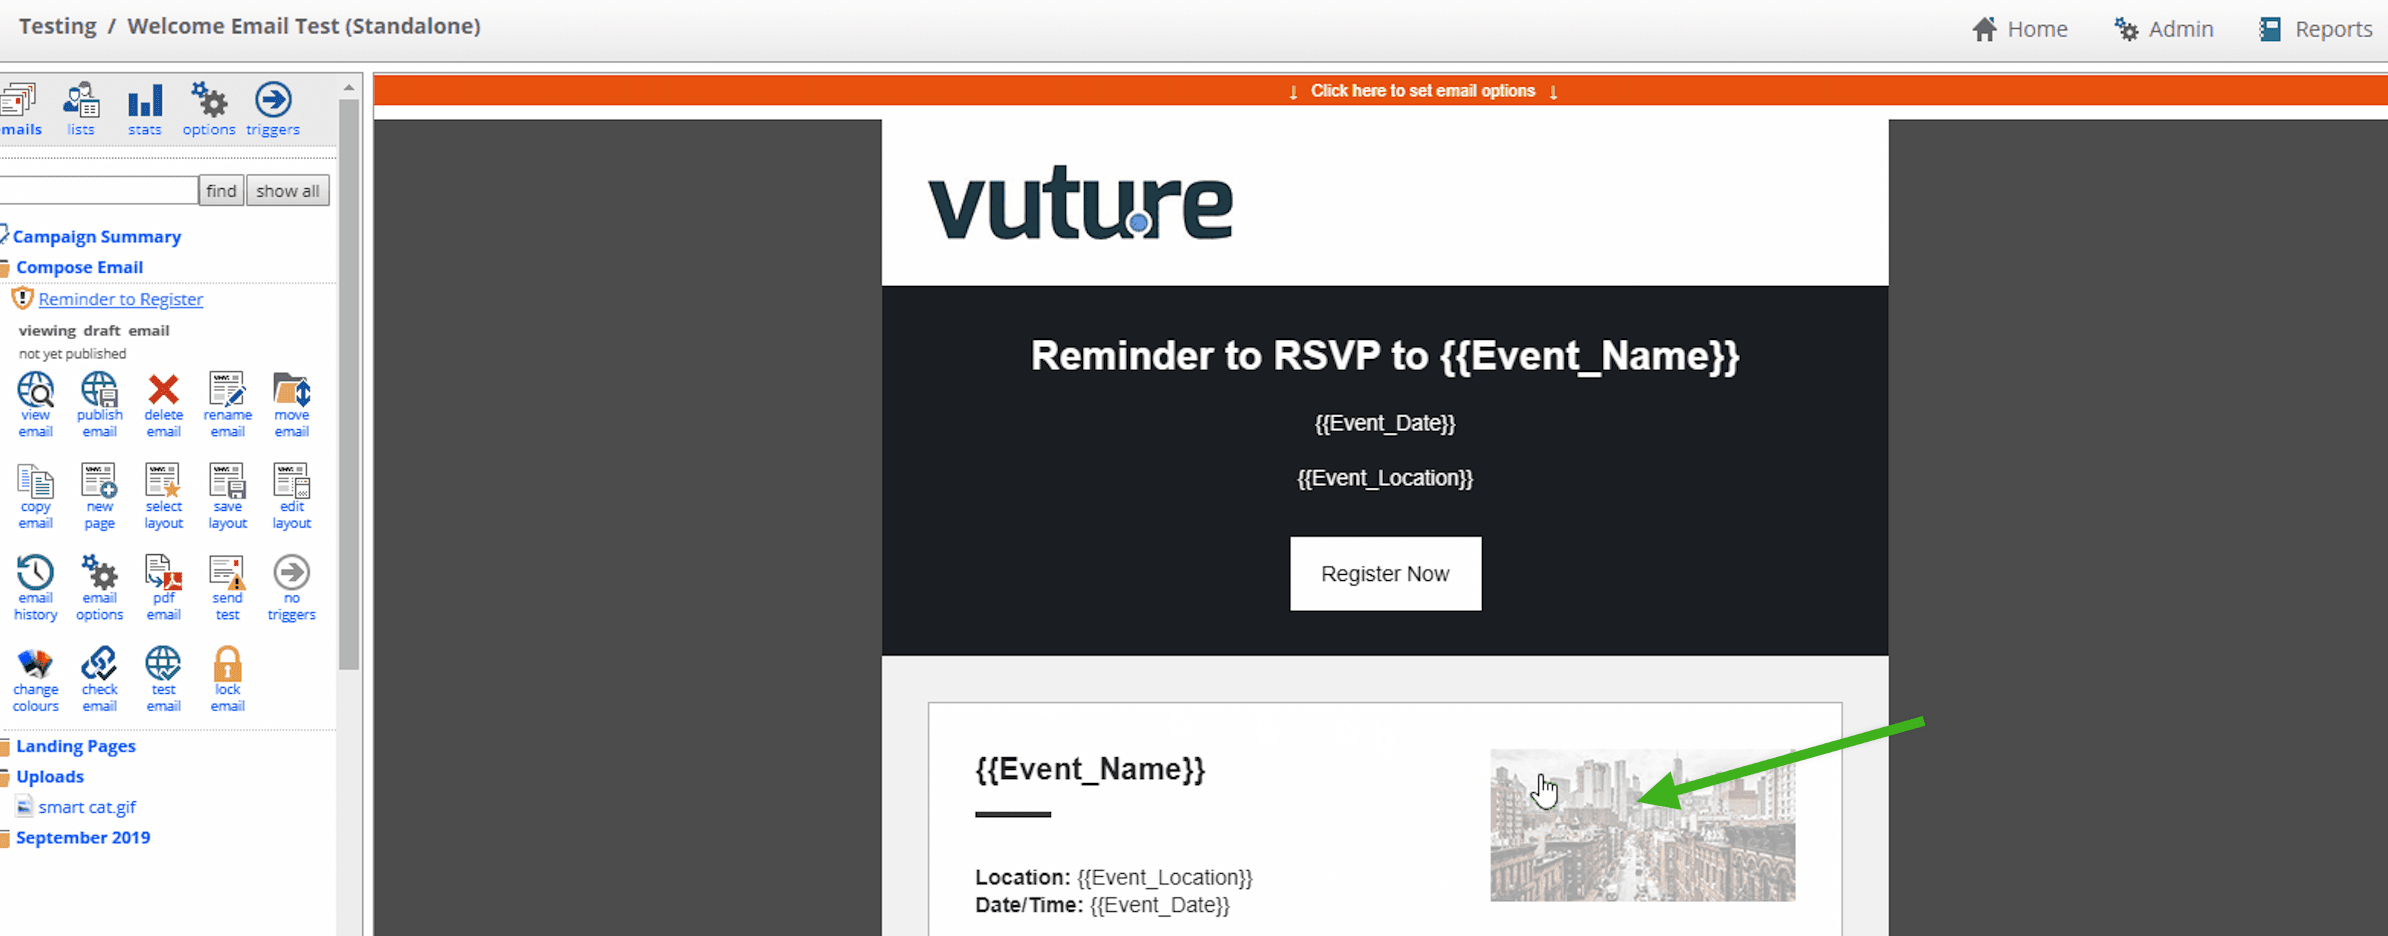
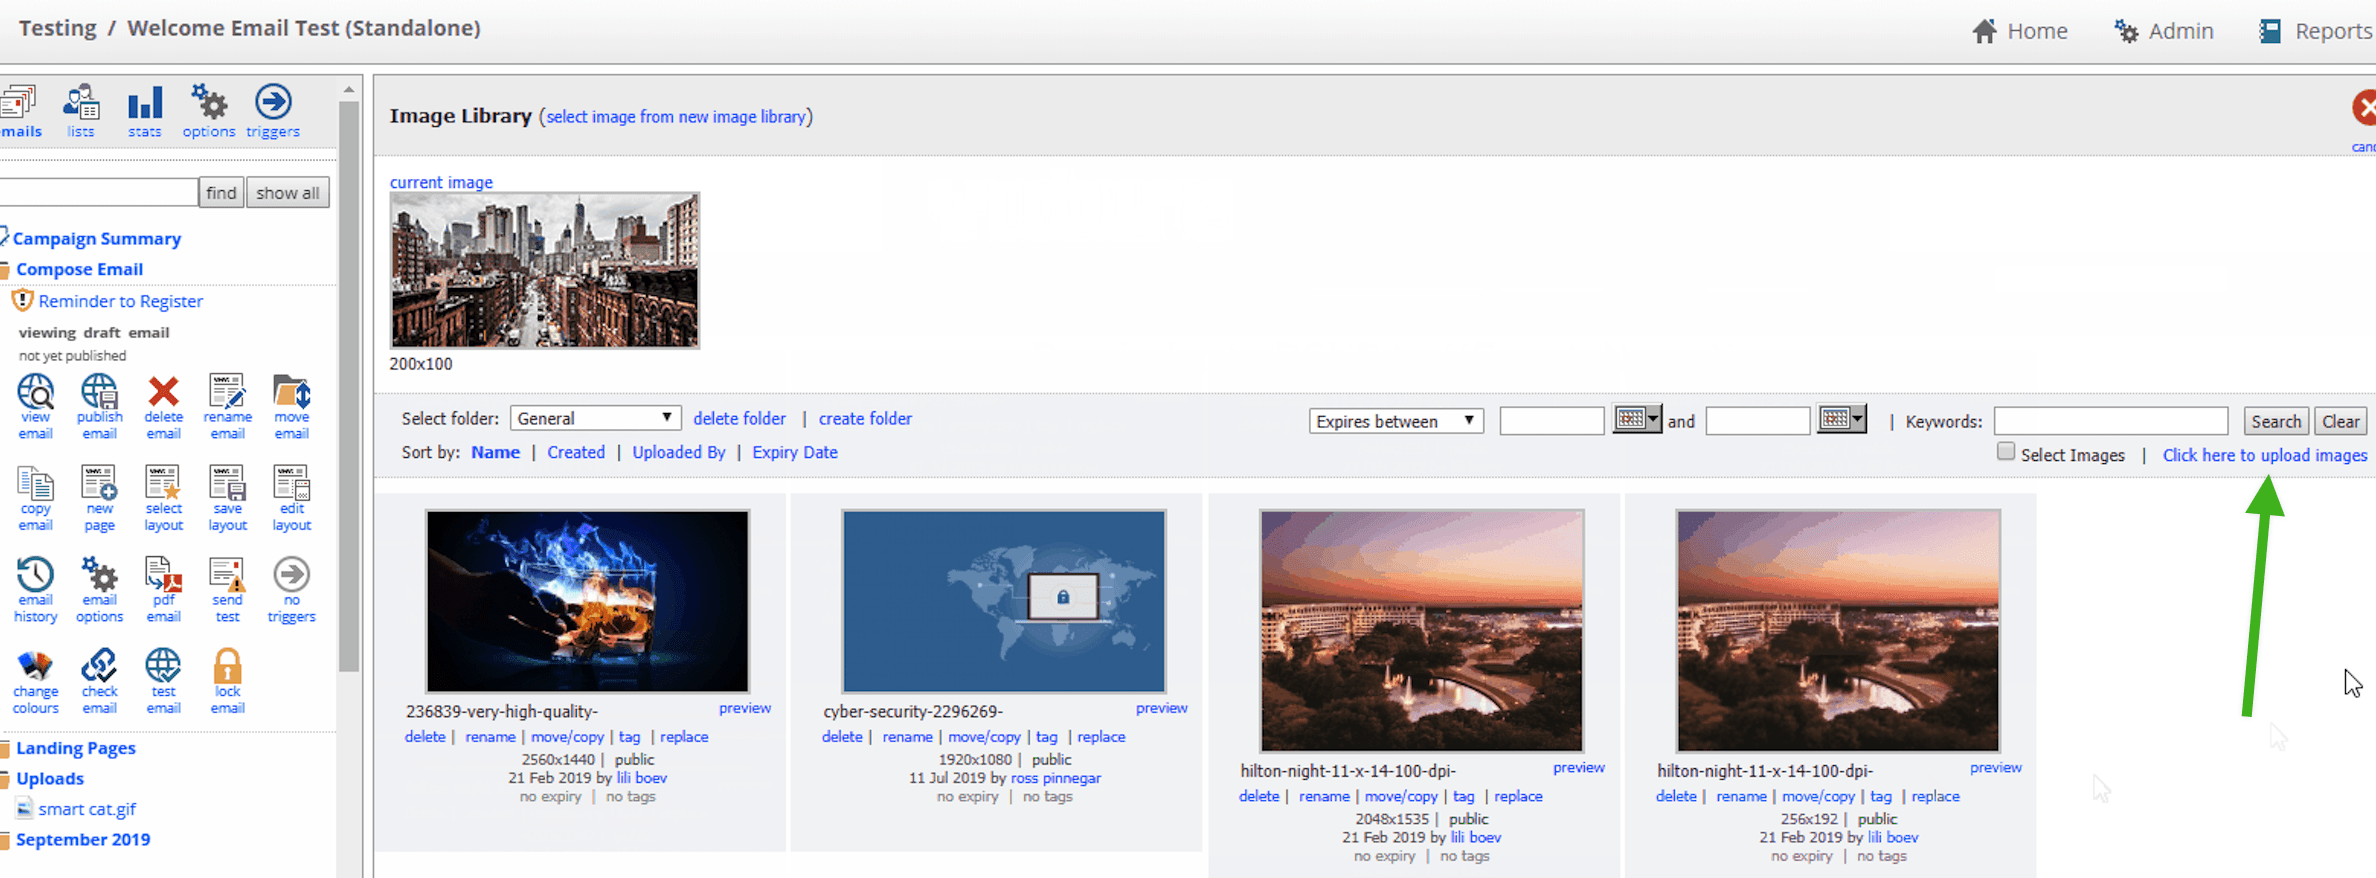
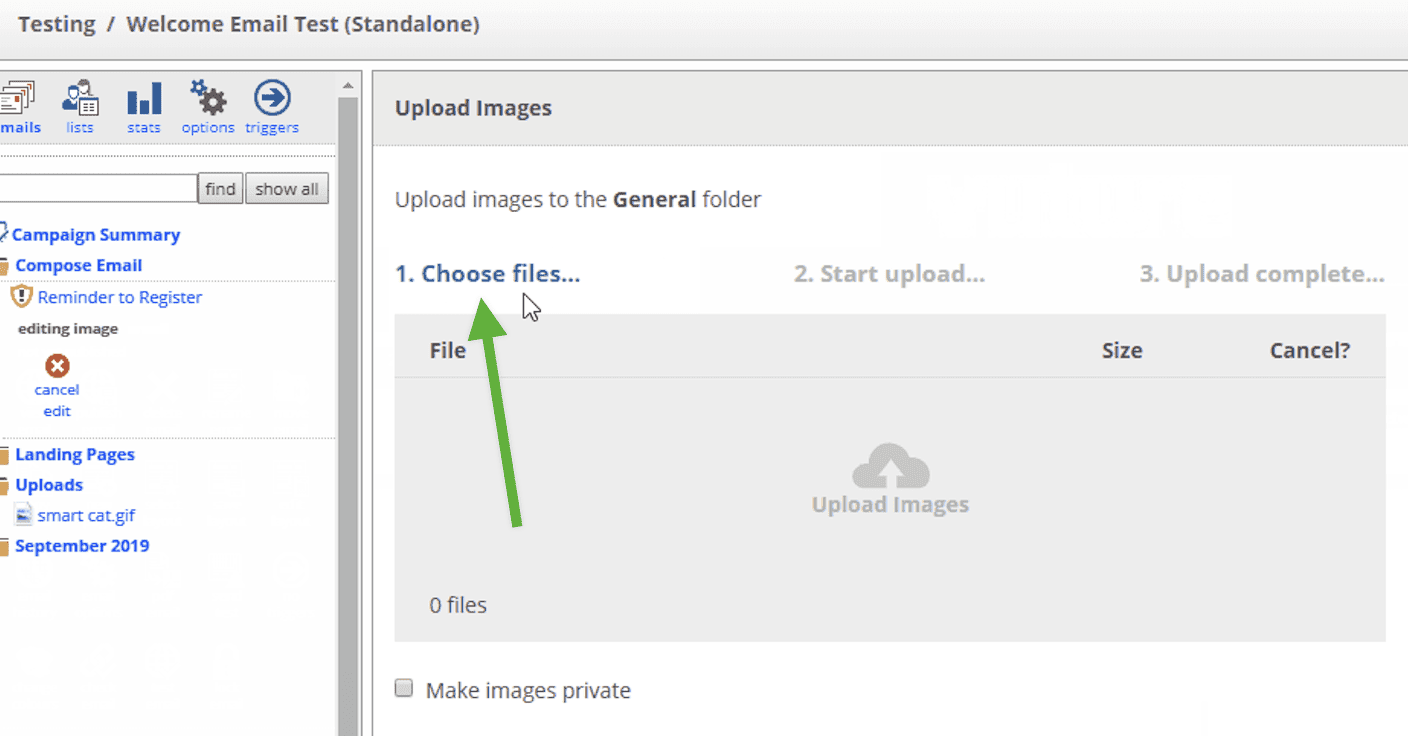
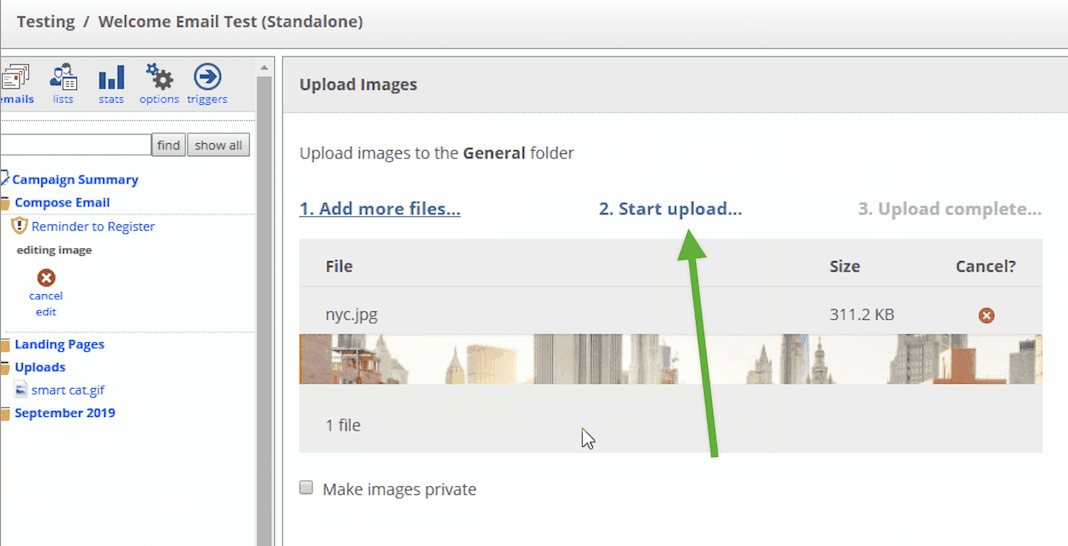
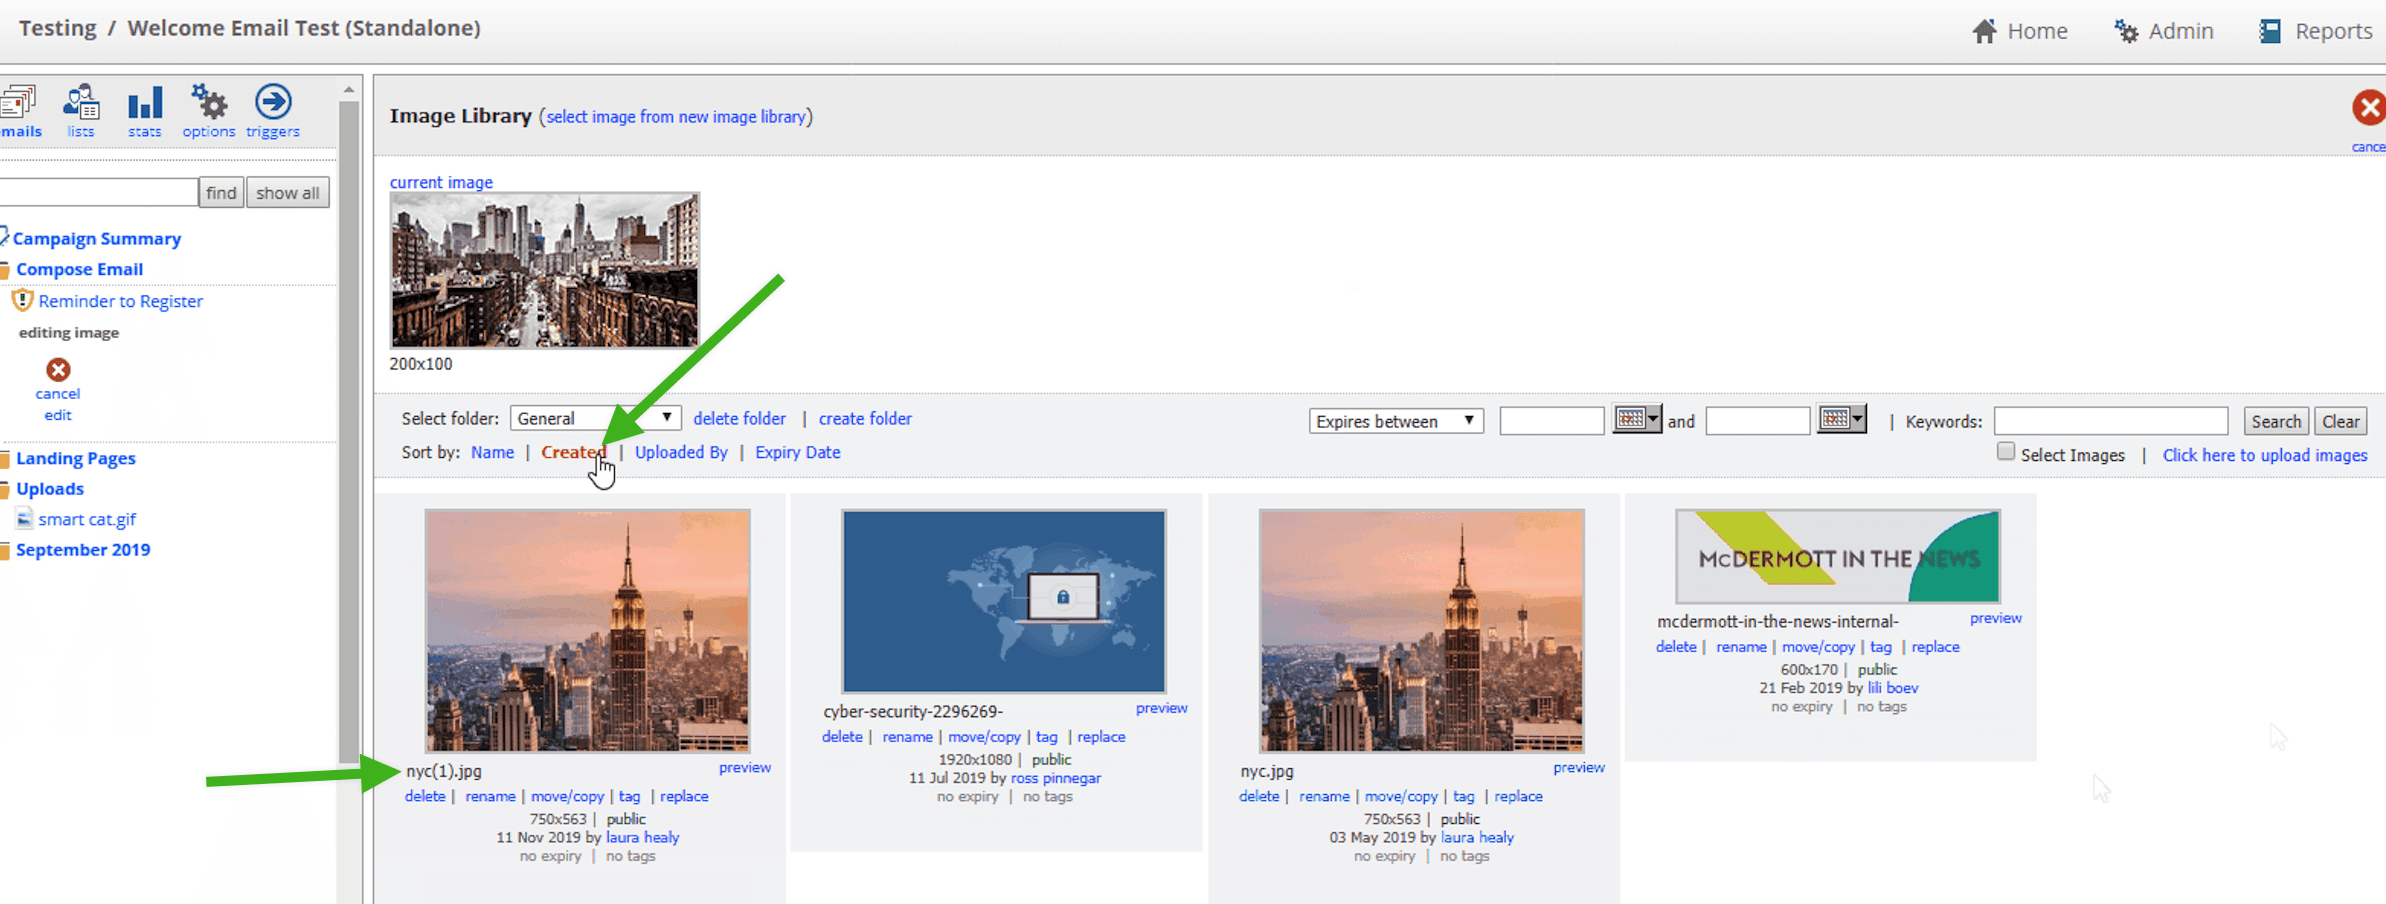
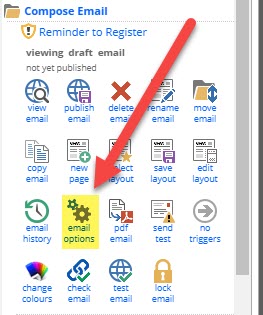
Next, click on the email or landing page and then access the page HTML by clicking on email options.
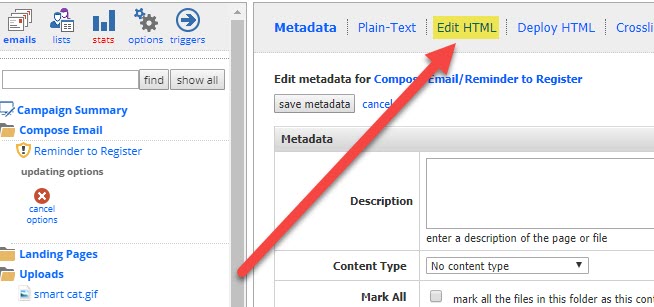
Then click on "Edit HTML".
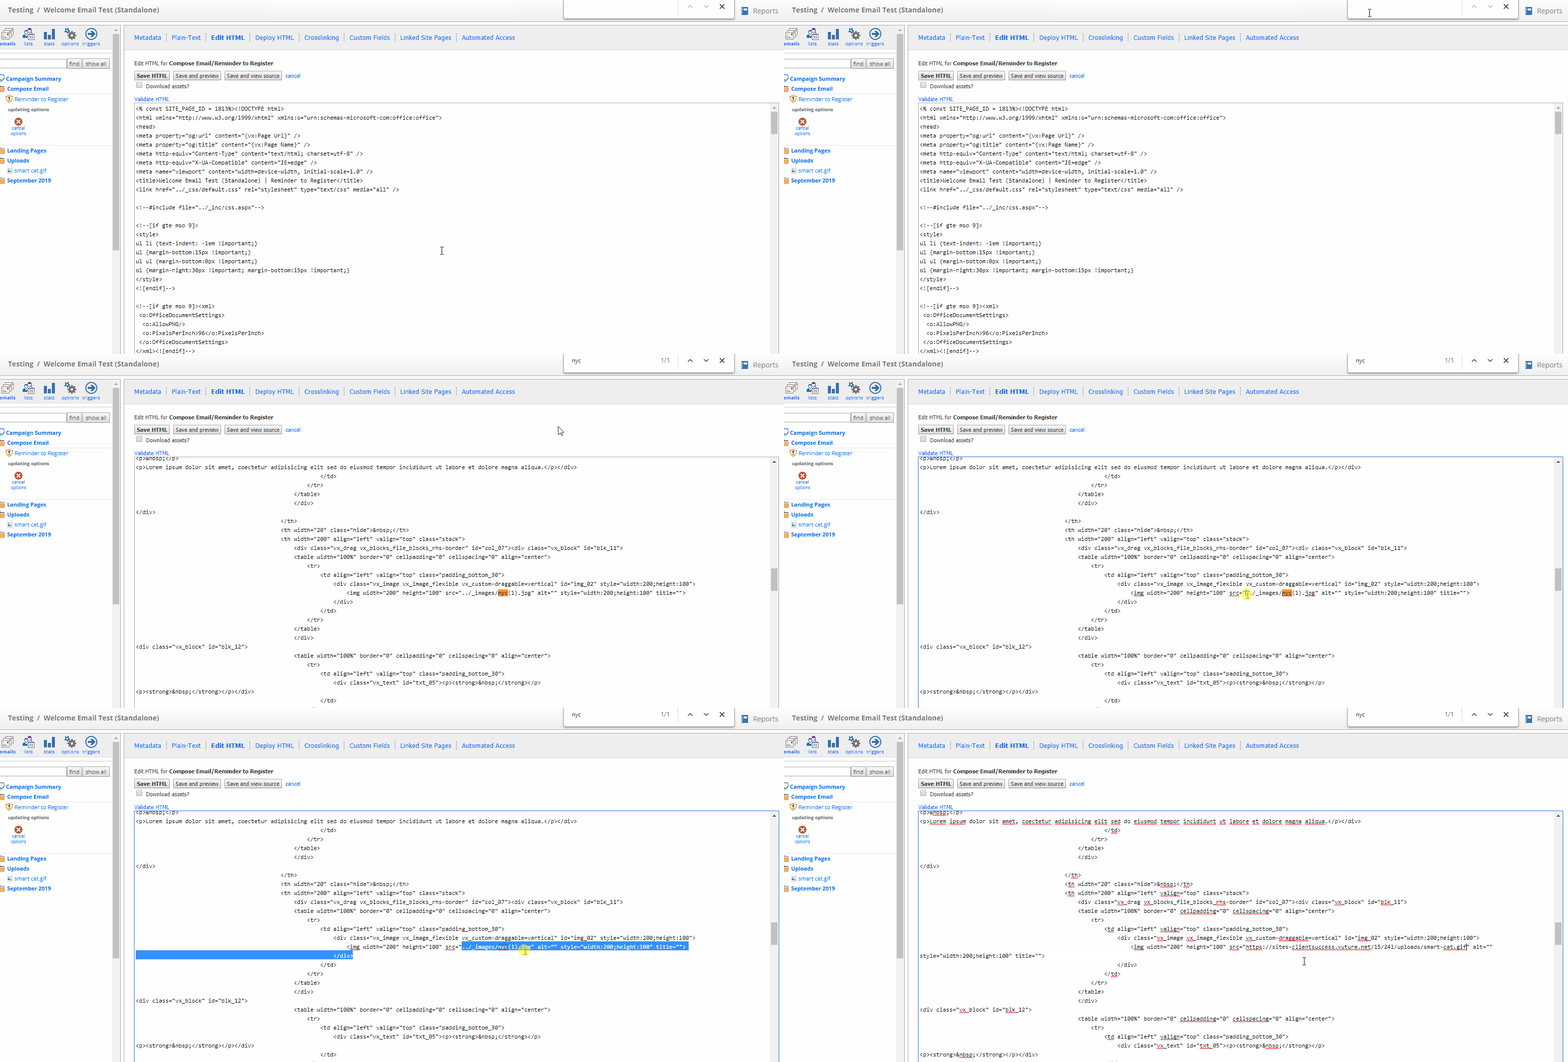
Now, here comes the tricky part. Search for the name of your placeholder image (i.e. NYC) with Control F. This will jump down to that section of the code in the email or landing page.
Then replace everything in the src="" with the copied URL of your GIF.
Then remove references to height in the HTML (see GIF below) and click on "Save HTML" at the top.
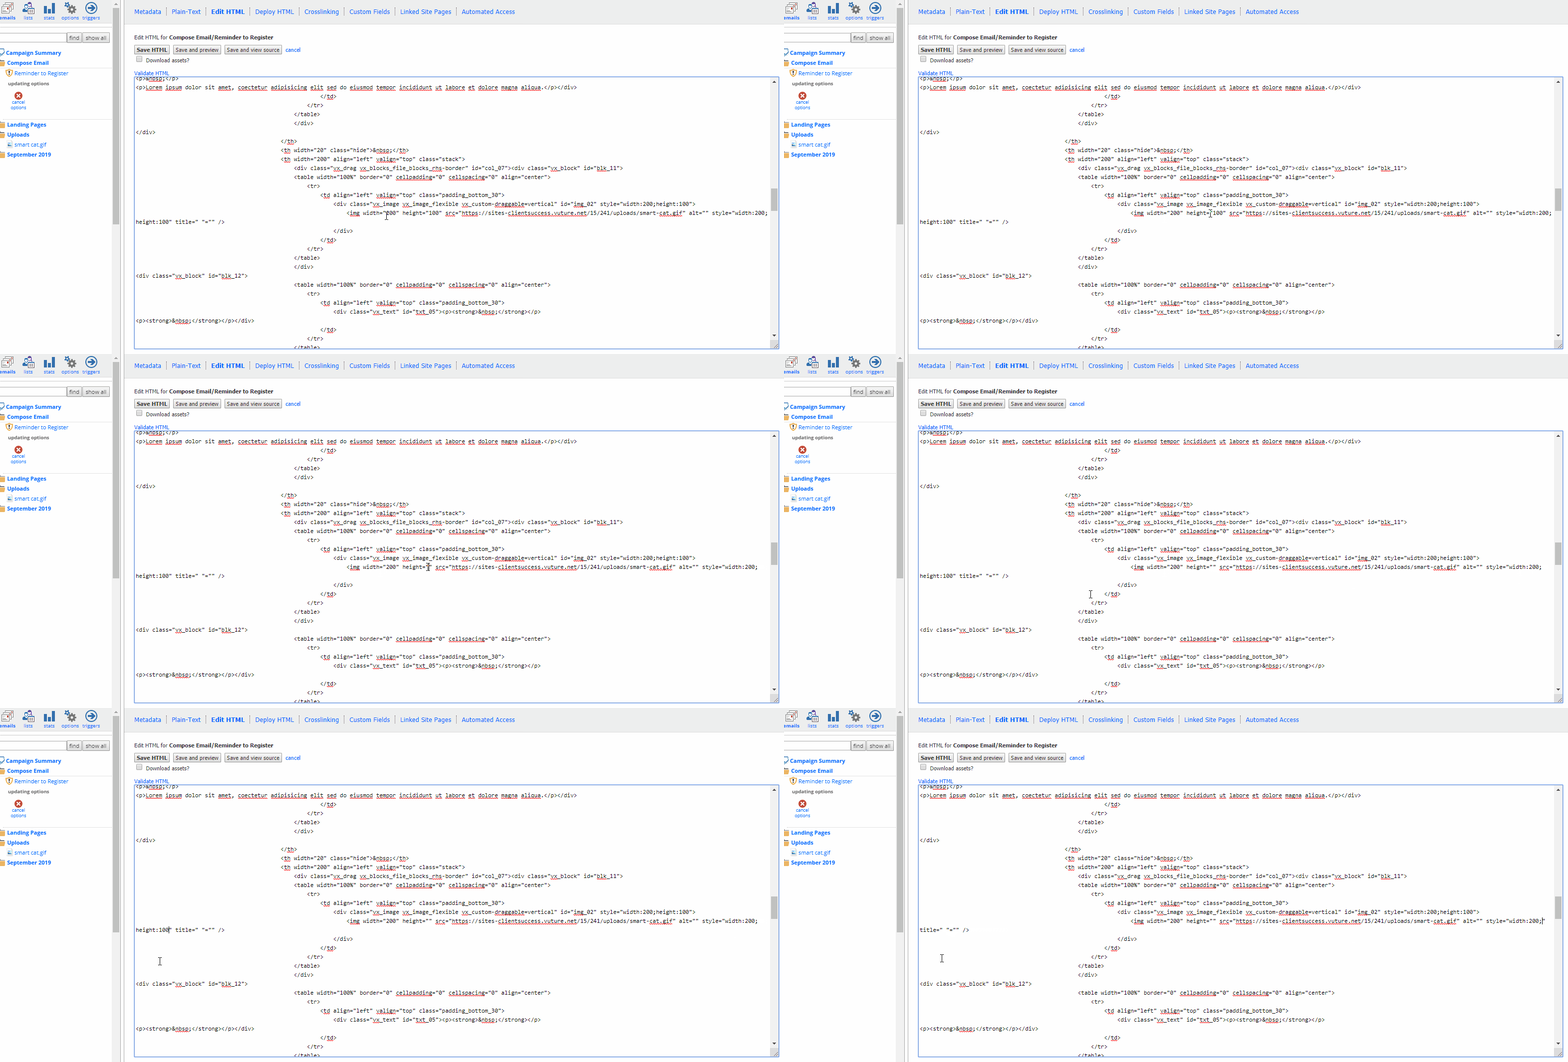
You should now see your animated GIF in your email with the fixed width and appropriate height.