This article covers email automation (Triggers) for Vuture clients using ContactEase.
What are Triggers?
Triggers are the way we describe email automation at Vuture. When setting up a workflow, you will need a Trigger (such as "on this date", for example) and an Action (such as "send an email").
How do I get Triggers?
Triggers are a premium feature. If you would like to have triggers enabled, please contact your Account Manager. They will enable them via:
"Admin.System.Triggers.Triggers Enabled" and
"Admin.System.Versions.Triggers Version 3" and
"Admin.Roles.Enable Email Triggers Version 3"
Where can I find Triggers?
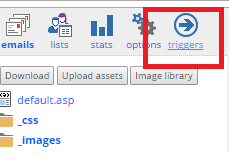
Triggers are associated to campaigns. You can access the Triggers for a certain campaign by selecting the option in the campaign menu.
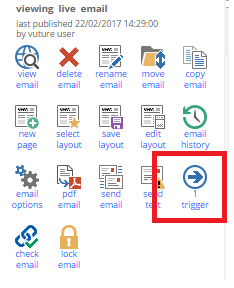
There is also a Triggers button on the menu for each page in the campaign which shows how many Triggers are related to that email or page.
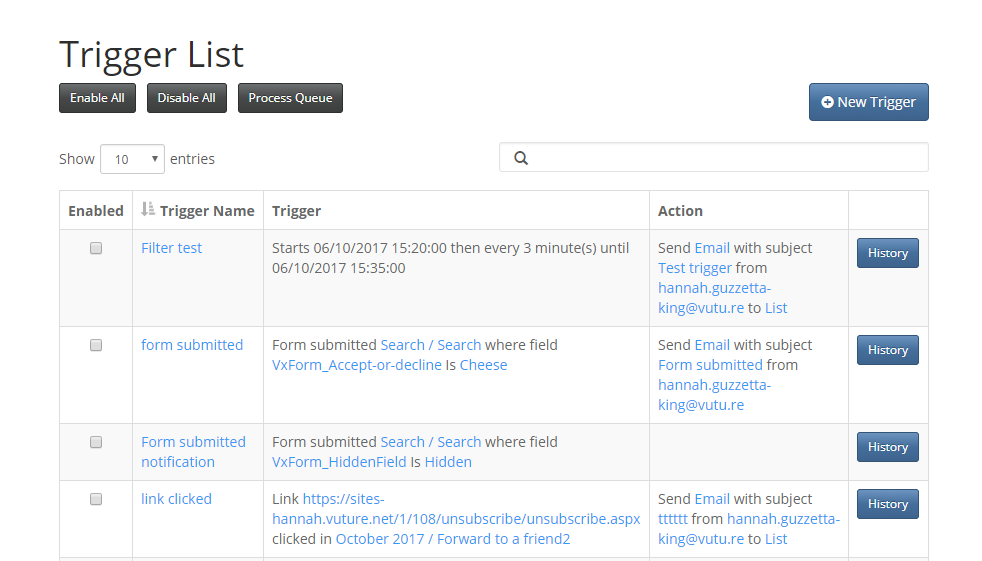
Trigger List Screen
When on the Triggers screen, you are presented with the list of Triggers associated with the current email campaign.
Trigger Commands
While still on the Trigger List screen (see screenshot above), you'll notice three buttons in the top left of the screen: Enable All, Disable All, and Process Queue.
Enable All
Start all Triggers (note that certain kinds of Triggers can only fire once, so even enabled they won't fire again if they have a history value of 1)
Disable All
Stop all Triggers
Process Queue
Process all Triggers right away without waiting for the Trigger Service. This can be used for testing. The Trigger Service is configured by your system administrator to check for Triggers periodically (default is every 5 minutes).
Trigger List Fields
While still on the Trigger List screen (see screenshot above), you will notice the field names for each trigger in your email campaign.
Enabled
Shows if the Trigger is enabled or disabled
Trigger Name
Trigger's name given by its creator
Trigger
Description of the condition that has to be met for the Trigger to fire
Action
Action that will be performed by the Trigger if the conditions are met
History
How many times the Trigger has already fired.
Creating a Trigger
When you click on the New Trigger button in the triggers screen, you are sent to the Edit Trigger screen where you can create a new trigger or edit an existing one.
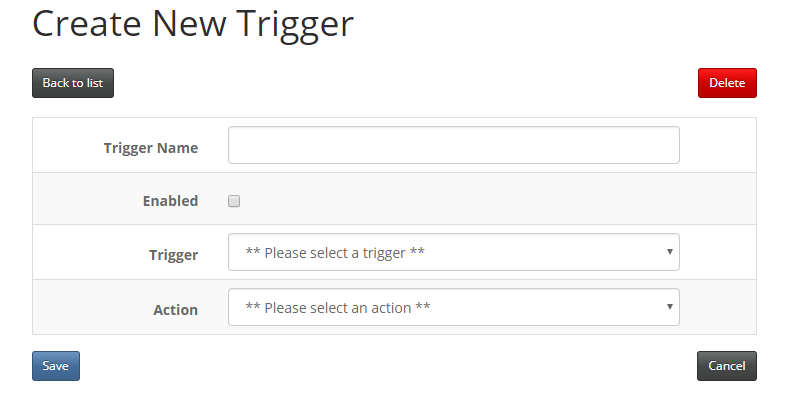
You are presented with 4 items you need to choose to create a Trigger:
Trigger Name
A name so you can easily distinguish the trigger among the others in the trigger list. Try to ensure the name is descriptive and unique. For example, if you want the trigger action to send an email to all contacts who RSVP'd yes, you could call the trigger "Send Confirmations to RSVP = Yes".
Enabled
Determines whether the Trigger is started or stopped. Leave the trigger Not Enabled while you are building it. Enable it only once you are ready. Be aware that a recurring trigger will fire immediately it is enabled, and then recur as often as you have set it, after that.
Trigger
Defines the condition that has to be met in order for the trigger to fire; for example, the date.
Action
Action that is performed when the trigger fires; for example, Send an email.
There are several triggers available to automate emails, for example Date, Form Submitted, or Link Clicked. These triggers cause an Action to be performed, for example Send an Email.
Which Triggers and Actions are available for ContactEase?
Trigger Action
On Date | Send Email
On Date | Move a Page
On Date | Publish a Page
Email Opened | Send to Matches
Email Not Opened | Send to Matches
Link Clicked | Send Email
Link Clicked | Send to Matches
Link Clicked | Redirect To
Link Not Clicked | Send to Matches
Form Submitted | Send to Matches
Form Submitted | Redirect To
Form Not Submitted | Send to Matches
Email Sent | Send to Matches
Enable and Disable
What is Send to Matches?
Matches means that the email will be sent to a person who matches the email address on the mailing list. Or, to any contact who matches the criteria such as clicked a link. It works with the following triggers:
- Email Open
- Form Submission - prefilled forms only *(See note below about greater than and less than)
- Link Clicked
- Email Not Opened
- Form Not submitted
- Link Not Clicked
Enable or Disable Triggers. This allows you to select a date and enable all valid triggers, perhaps, in your absence on holiday for example.
*Note: When relying on a Form Submitted trigger to generate an action, it is only possible to use Greater than and Less than with integers, not with dates.
For further information about email automation in general, please refer to this article: https://support.vutu.re/hc/en-us/articles/360020699838-Triggers-Version-3