Customising the CRM without a thorough analysis can cause other applications using the CRM to stop working or behave unexpectedly. Always back up your existing CRM solution before applying any changes and consult your CRM administrator before proceeding with any updates.
This guide is meant only for Dynamics CRM Administrators or users who have the rights to customise their instance of Dynamics CRM.
Process
Adding the Preference Manager entity to the CRM is a straightforward process. You can follow the steps given below to get the Preference manager entity and any related changes required set up on the CRM very quickly.
-
Step 1. Download the latest version of the Preference Manager which can be found at the bottom of this post. This will be a zip file which you should save in an easily accessible location.
-
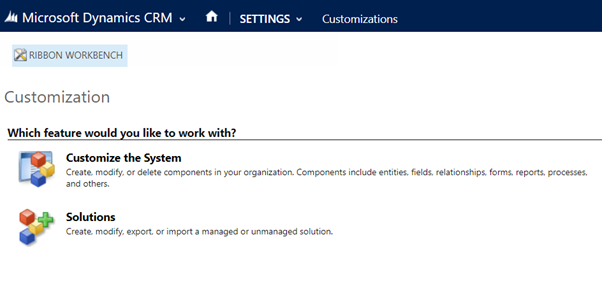
Step 2. Launch the CRM installation that you want to add Preference Manager to and select Settings > Customisations. Then select Solutions.
-
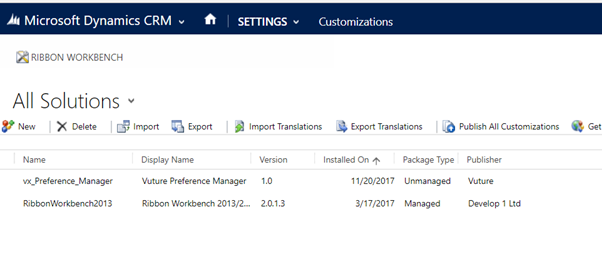
Step 3. On the Solutions screen click on Import.
-
Step 4. Click Choose File and select the file that you saved in Step 1. Now click Next. The CRM will show you information about the solution that you are importing. Click Import. Once the import finishes, click the close button to complete the process. You have successfully import Preference Manager into your CRM.
