Introduction
For InterAction and standalone clients only: We have updated the way that you can create Report Pages in your campaigns. These Report Pages are flexible in their layout which means you can add, edit or delete the report snippets which go to make up the Email Dashboard. You can save the Report Pages as part of the sub-template and choose how you share reports in your mailings.
Currently, the only dashboard you can recreate for yourself is the Email Dashboard. Further dashboards may be made available in later releases, depending on take-up by our clients.
How Will I Use This?
First, you will create a Reports Folder in your campaign, build report pages in that folder which may vary according to your audience (one for stakeholders, one for Events Team for example) and save the folder for the next campaign. Those report pages will then appear in a drop down list at the top right of your screen when viewing a Sent Email in the Email History screen.
Please note: to see the reports working, you will need to 1. have sent an email and 2. navigate to the Email History screen for that email. The reports will be in the top right hand side of the screen - explained below.
Prerequisites
Process for creating Report Pages
Suggestion: Follow the process below, then save the campaign as a new sub-template and any future campaigns built from that sub-template will have the Reports folder already created.
1. Create a new Folder
In your email campaign (the campaign can be any type - Mailing or Event or other subject) create a new folder and name it Reports (or other logical name of your choice).
To create a new folder, click on the name of any other folder and choose New Folder.
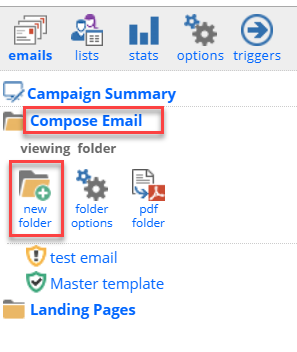
You can then rename the new folder. We recommend naming it Reports.
Best Practice: Click on Folder Options and select Content Type of Report. This will ensure that all new pages created in this folder inherit the correct Content Type.
2. Create a new Page in your Reports Folder
Create a new page. When you click on New Page the selection available in your template will appear.
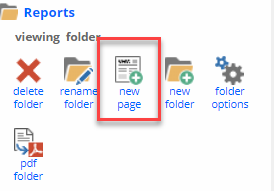
Select the Reports Page icon.
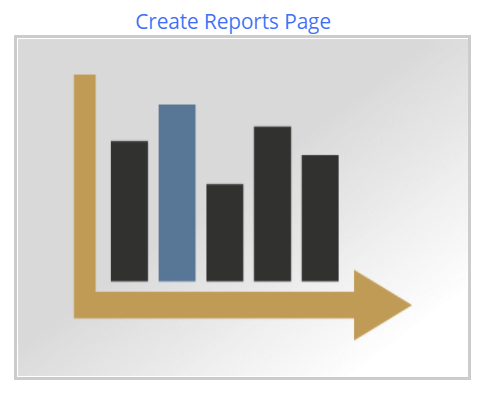
Note: if you do not see the Reports Page icon, ask your Client Success Manager to enable it at Admin.Roles.Reports.Create Reports Page
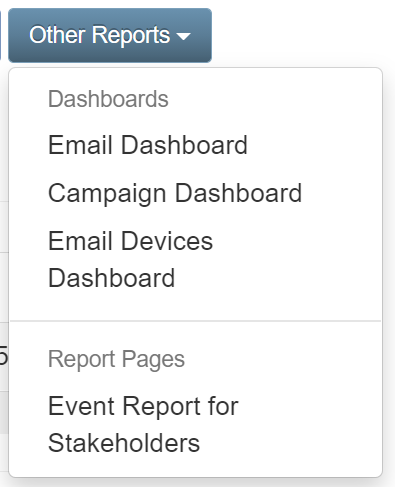
The page will automatically receive the Content Type of Report. This causes the built reports to appear in the drop down list of available reports on the Email History screen like this, below the line and the heading Report Pages:
3. Publish your Page
Reports will not appear until you have published the page at least once.
Configure your reports
If you are working with a Table, you can choose to edit the columns by checking the boxes on and off.
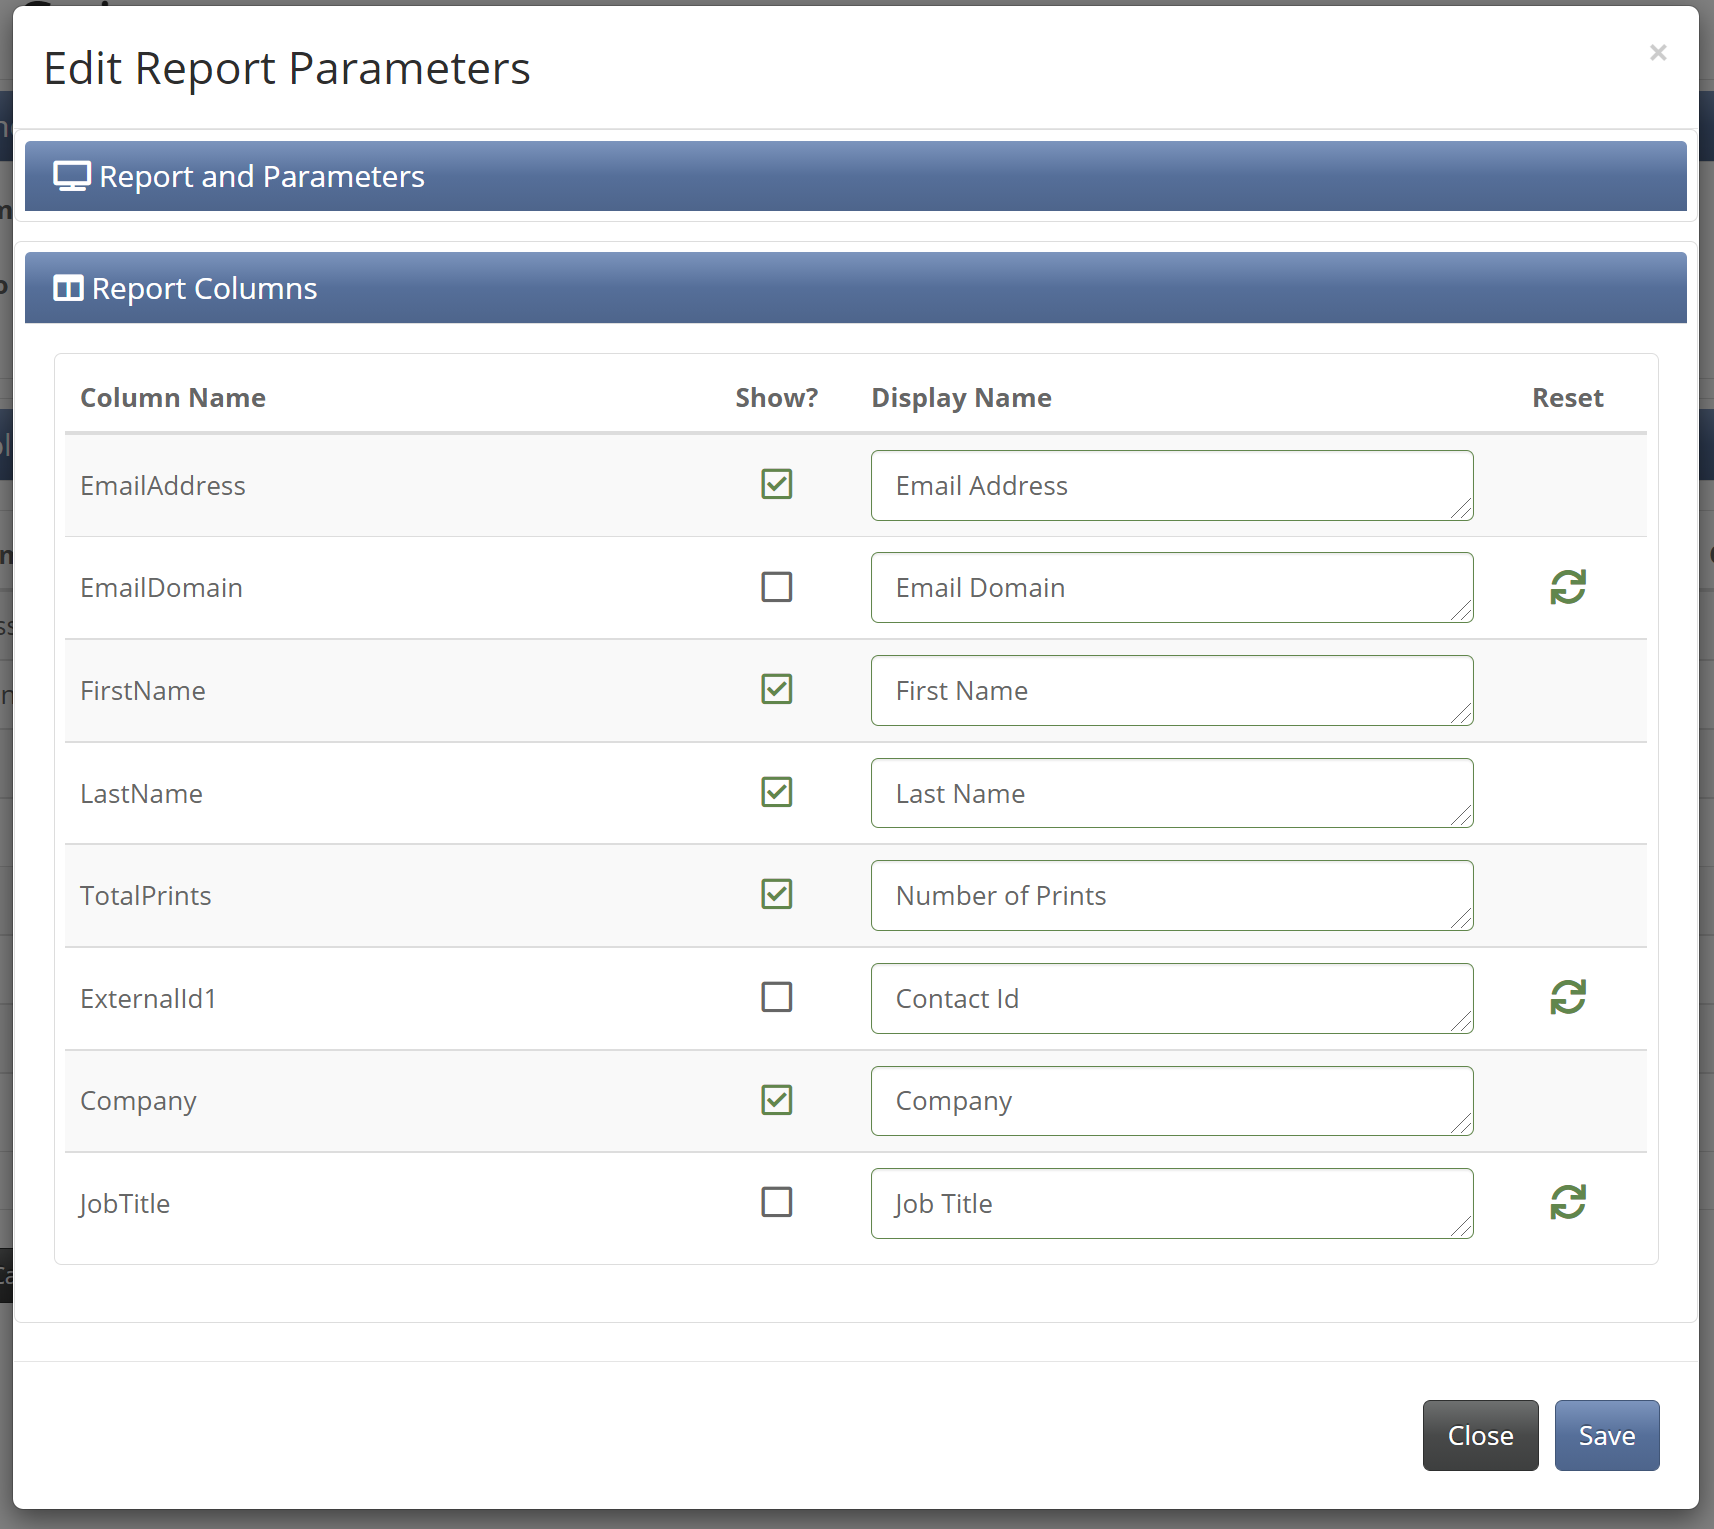
You can also choose to edit the Display Name of the columns.
Resizing your Charts
If you would like to be able to resize the charts, ask your Client Success Manager to enable 'Admin.System.EditOption. Enable image resizing in the main editor' for your Role.
In Edit Mode, grab handles will now appear on the edge of the snippet. Move them vertically to resize any chart on the page.
You cannot resize the charts horizontally. They are pre-sized to fit your campaign page.
Note: If you do need to re-size horizontally, you can ask your CSM to arrange this, but it will incur a charge from the Front End team. Other changes to your template (increasing the page width, changing the background colour of the page or adding highlight boxes, for example) would also incur a charge.
Campaign Reports are Viewed via the Email History page
Once you have set up your report pages with content type of Report and sent out an email, (to give you some data to report on) you should view the reports, with dynamic results, from the Email History page. Go to your Date Sent folder in your campaign and click on any sent email first, so the reports understand what they are reporting on.
On the Email History screen you will now see a link at the top right of your screen called Reports. This drop down list will show first some of the standard dashboards and secondly, all the pages with the content type Report - as long as they have been published.
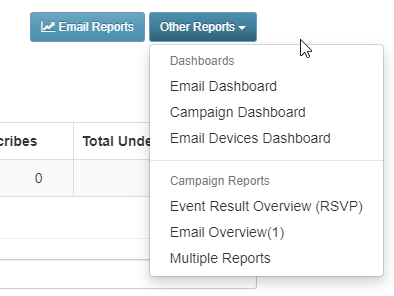
Note, a Reports page will not show in this drop down if it has never been published. If it has been published before but is now in draft mode then it will show the published page, not the draft version.
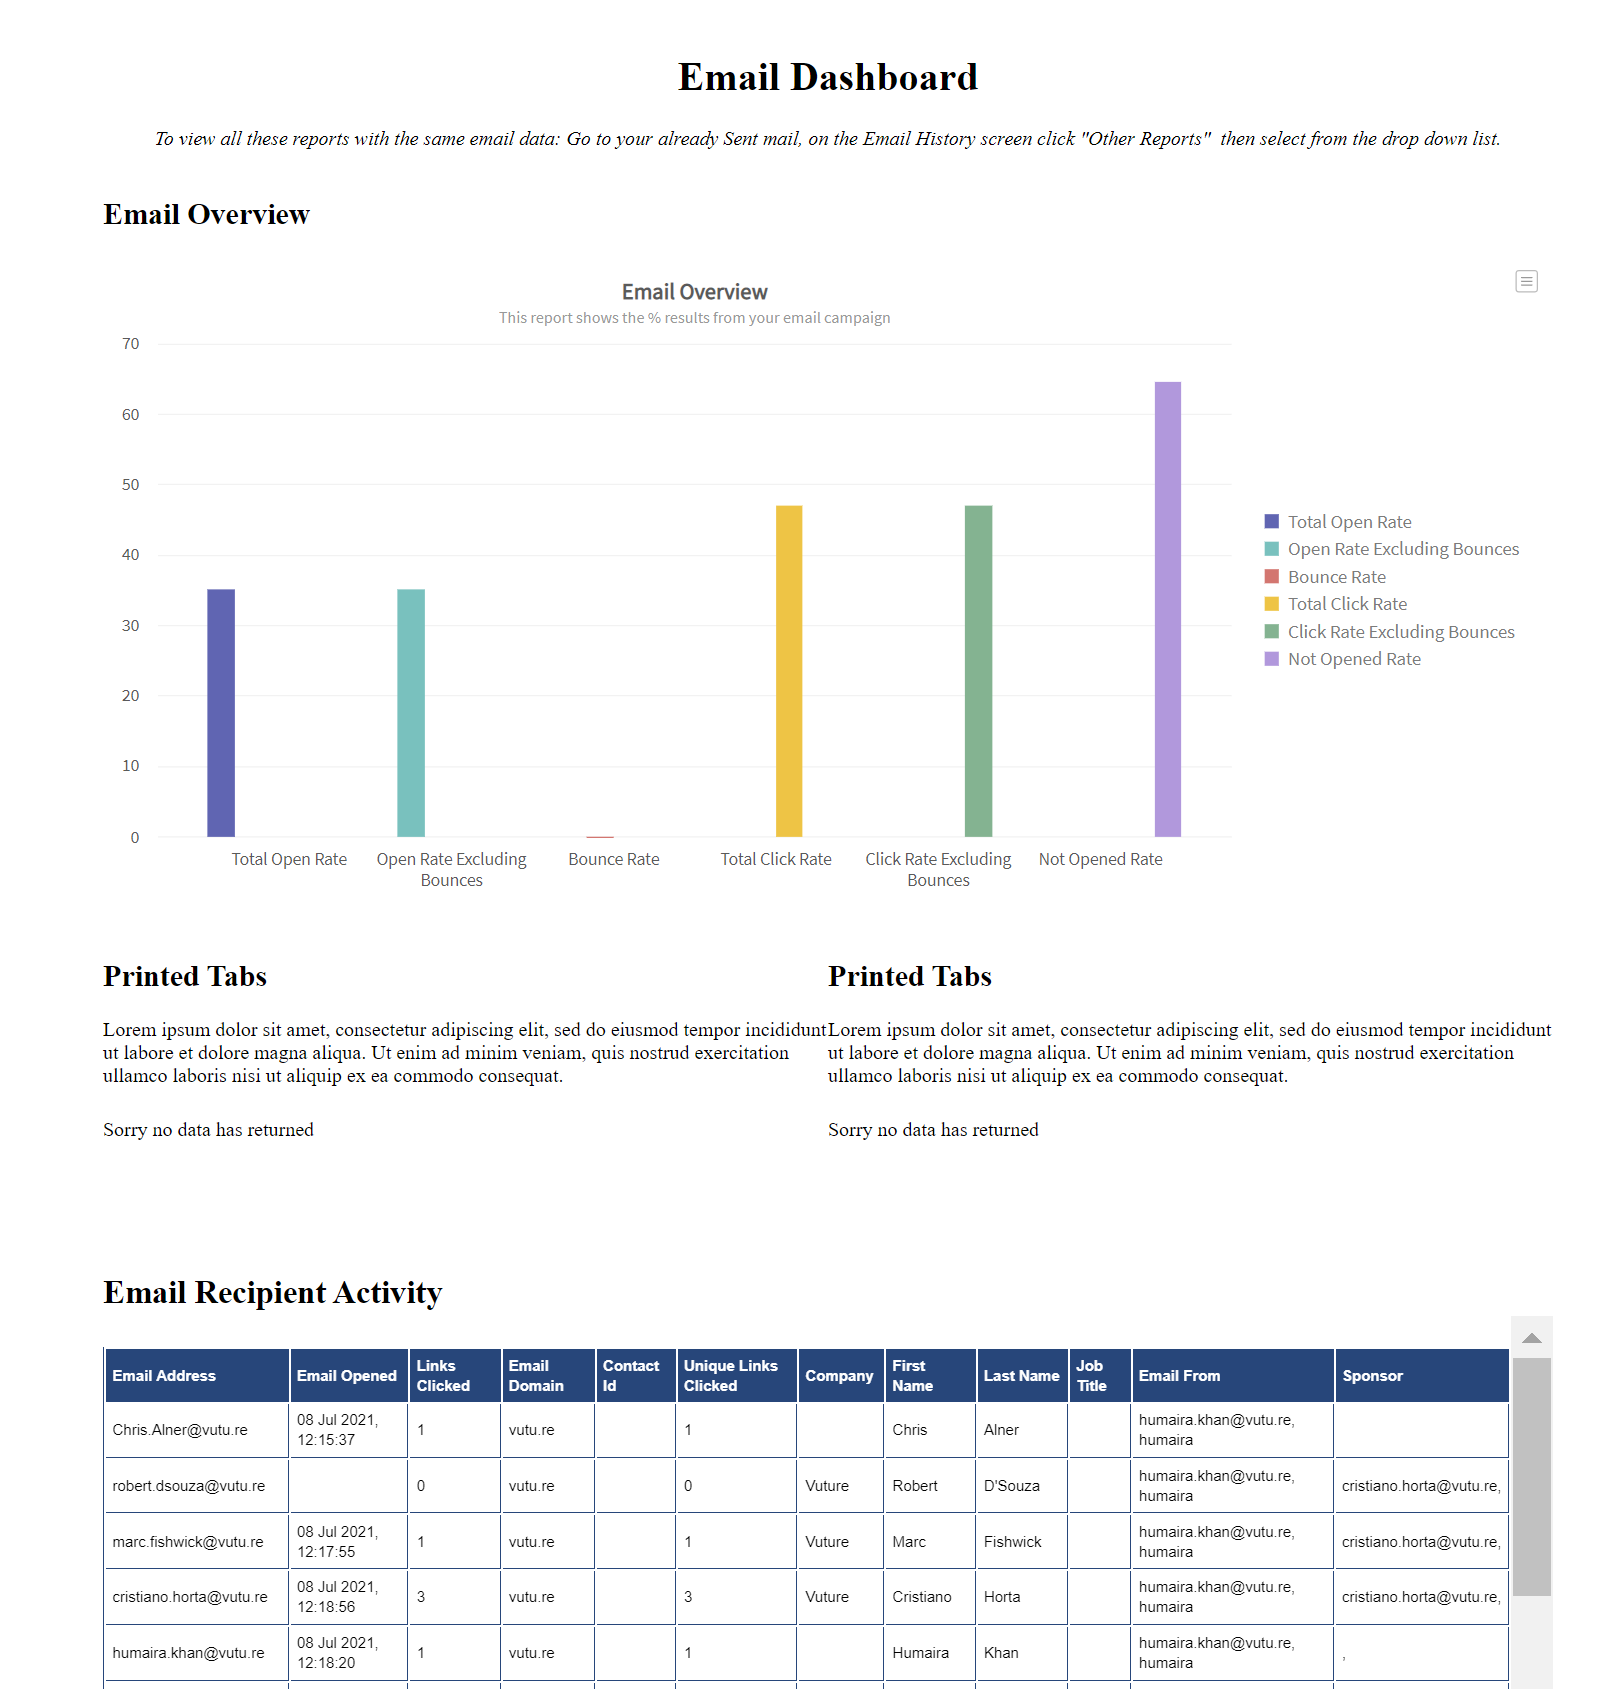
Clicking through to a report from this drop down list will populate the report snippet with the latest data from your email.
Sharing your Report Pages
1. Across the top of the populated report page, there is a unique URL. You can copy and paste this URL into an email in Outlook, as a hyperlink, to share these reports with stakeholders, for example.
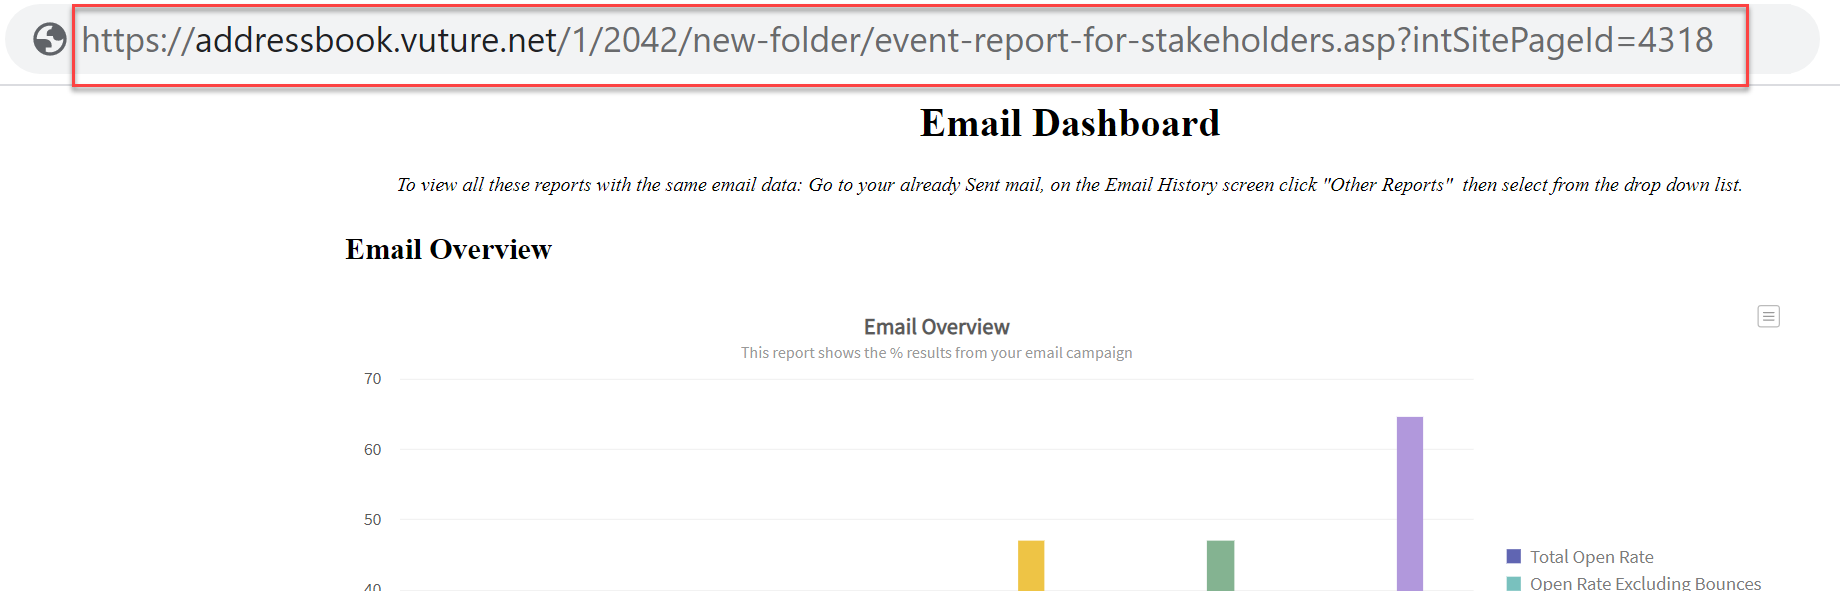
2. Alternatively, you could set up an internal mailing list containing your stakeholders. Then create a Vuture email inside your campaign, to be triggered to your internal stakeholders, on a Date Trigger, maybe a week or two after the invitation has gone out. In that email you will need to add the URL as above, copied from the top of the report page once you have accessed it from the Email History screen. As partners click on the URL the system will present refreshed data each time they click.
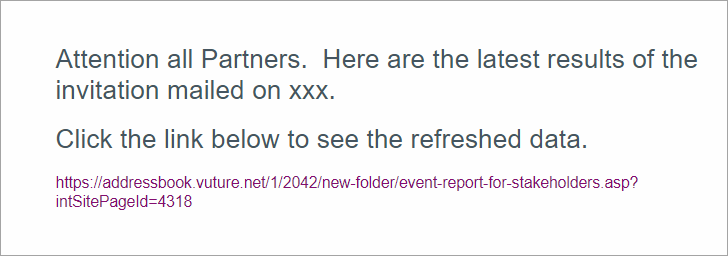
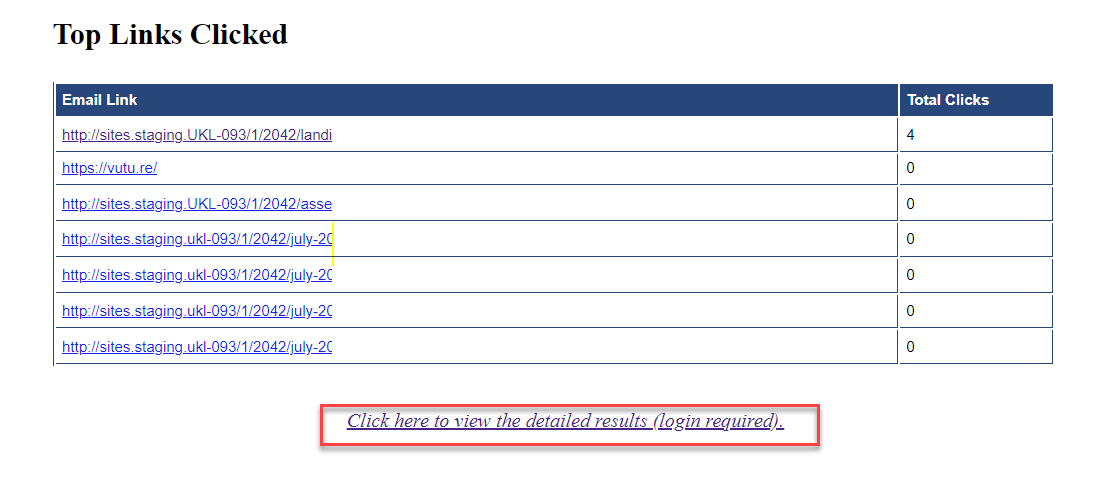
If stakeholders click to open this email and click the URL to view the report, they can then further click to "View the detailed results". However, at this point they will have to be signed in to Vuture to see the data. This has been put in place as a security measure to protect the personal data of those contacts contained in the report.
Troubleshooting
1. If your reports are not appearing in the dropdown, it could be because the pages are not marked as content type Reports.
Check the Content Type of your new Folder
To check the Content Type, in your campaign, select the new Reports folder and click on Folder Options
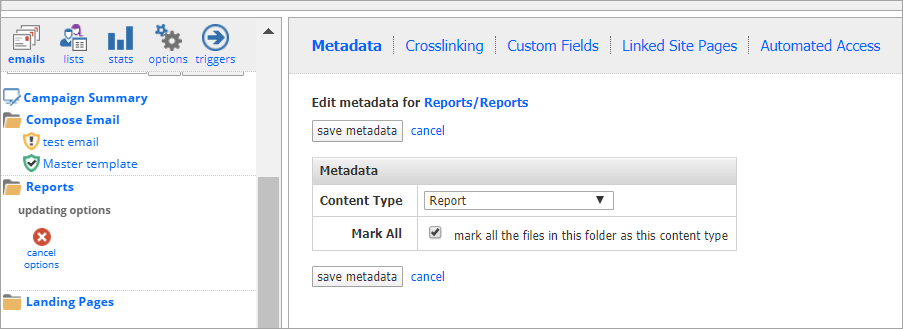
By choosing Report from the drop down menu and selecting Mark All, every page that you put into this new folder will have the content type of Report. Save the Metadata.
2. Ensure that you select any folder EXCEPT Compose Email. The icon Create Report Page will not appear under New Page options in the Compose Email folder.
FAQs
Q. Can I reuse a report layout once I have set it up?
A. It is possible to setup a report page and have it be reusable. To do this, create a Report Page in a campaign (perhaps in a new Reports folder to keep it easily available in future) and save as part of a new sub template. It will then be available each time you use that sub template.
