Overview
Many of the available Dashboards have the very similar layout and functions available. Once you understand how to navigate and use one Dashboard you can transfer that to any other Dashboard.
Contents
Accessing Dashboards
You can be in any container to access the Dashboards.
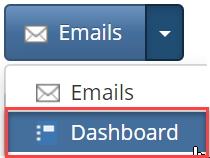
- Click the Module selector and choose Dashboards.
When you hover over a thumbnail of a Dashboard a popup displays information regarding that Dashboard.
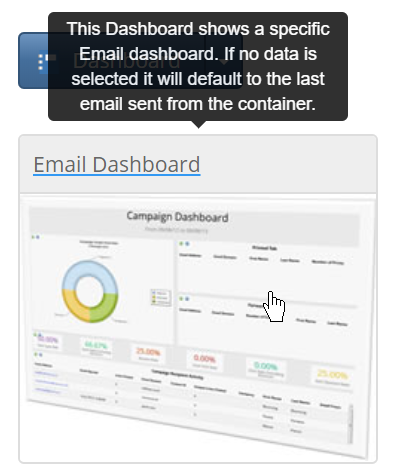
- Click onto the thumbnail to open that Dashboard.
Reviewing the Dashboard screen
Navigation panel
-
Email: Search by typing, or scroll from listed Emails, or drill down to Containers or Campaigns to locate a specific email.
-
Exclude a Domain: To exclude your own domain from the results. This is useful if you want to see all external send data.
-
Bounceback Category: Allows you to select from Hard & Soft, Hard, or Soft bounces.
-
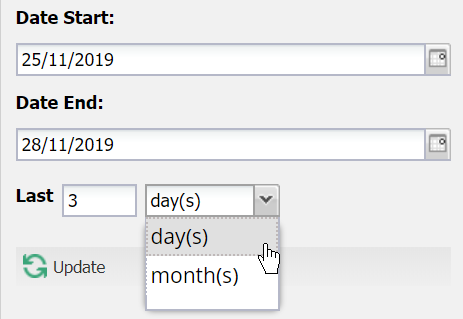
Start and End Date: Allows you to select a specific date range. Alternatively select the number of days or months.
-
Update: Loads the Dashboard showing the selected options result.

-
Info: Displays a small overview summary of the Dashboard you are in.
-
Print: Loads the Dashboard into a print format ready to send to the printer.
-
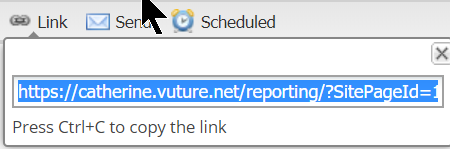
Link: Displays and selects the URL. You can use Ctrl+C to copy into an email. This can be used to share the Dashboard with someone who has access to the Vuture instance. The link includes the same search criteria used. Click the 'x' of this window to close it.
-
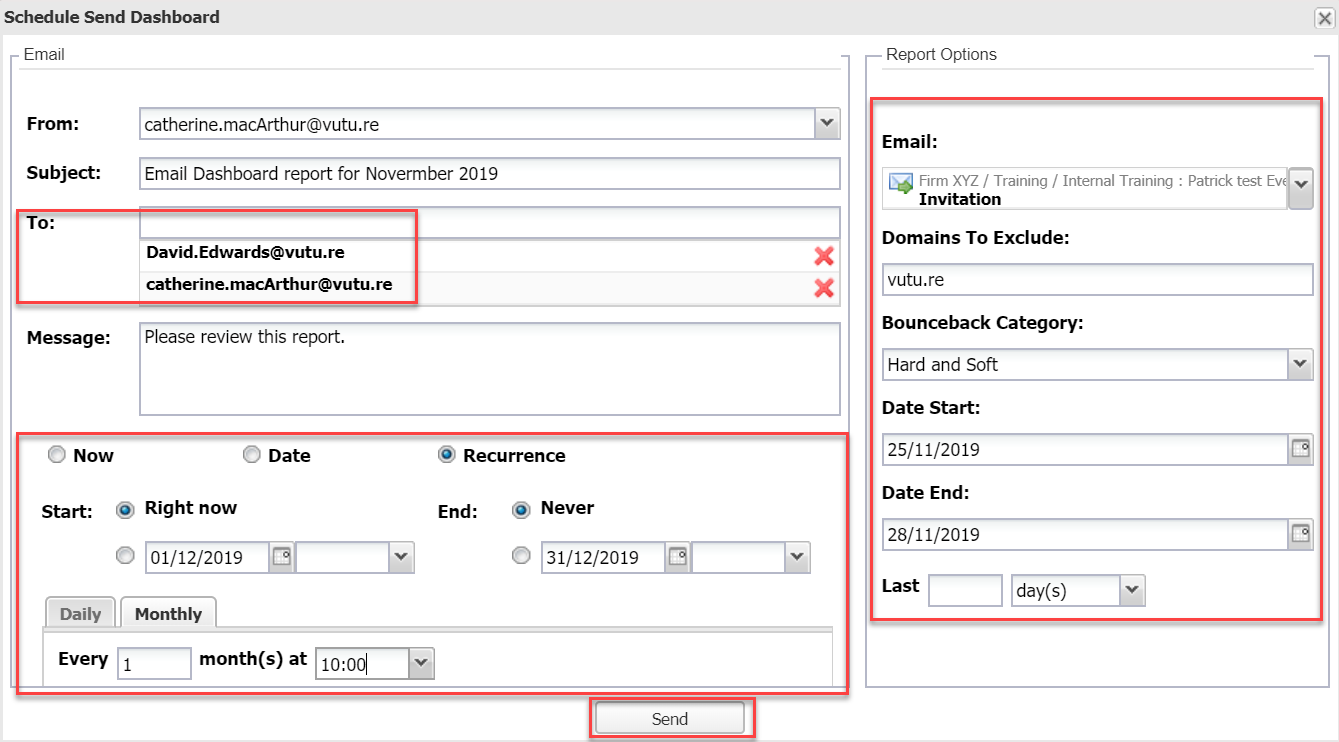
Send: Opens the Schedule Send Dashboard window. You can send to anyone who does not have access to Vuture. It will limit to the top 50 rows of data, as there is only so much information that can be include in an email due to size limitations in email clients.
- Email Section:
-
From: Must be a valid Send From email address.
-
Subject: Is a required field, typically the name of the Dashboard being sent.
-
To: You may add multiple email addresses.
-
Message: Not a required field.
You to may select to send Now, on a specific Date or create a Recurring Send.
To create a recurring Dashboard Send
- Select the Start and End Date.
- Choose from Daily or Monthly.
- Select the desired time of day to send.
The Report Options on the right side will already have the search criteria originally selected. Changes can be made in this window if required.
- Click Send at the bottom of the window.
A popup will tell you the report has been sent.
Viewing all Recurring Dashboard Sends
The Schedule Sends Dashboard window opens, and lists all Scheduled sends for your Vuture instance.
- To delete a Schedule send click the Red ''x' beside that Send.

To view Expanded Dashboard Reports
When viewing Dashboards reports the amount of data that can be viewed may be limited. For example, looking at the list of recipients who have opened or clicked on links. Expanding reports allows you to view more data, and also export to Excel as a CSV file.
- To expand a report click the green circle with the white plus sign.

The data is displayed in a separate tab.

- Once expanded to work with the data in Excel, for each of searching, sorting, filtering and creating Pivot tables, click Export as CSV.
- Click the 'x' to close that tab and return to the Dashboard window.
To see more articles on various Dashboards click here.
